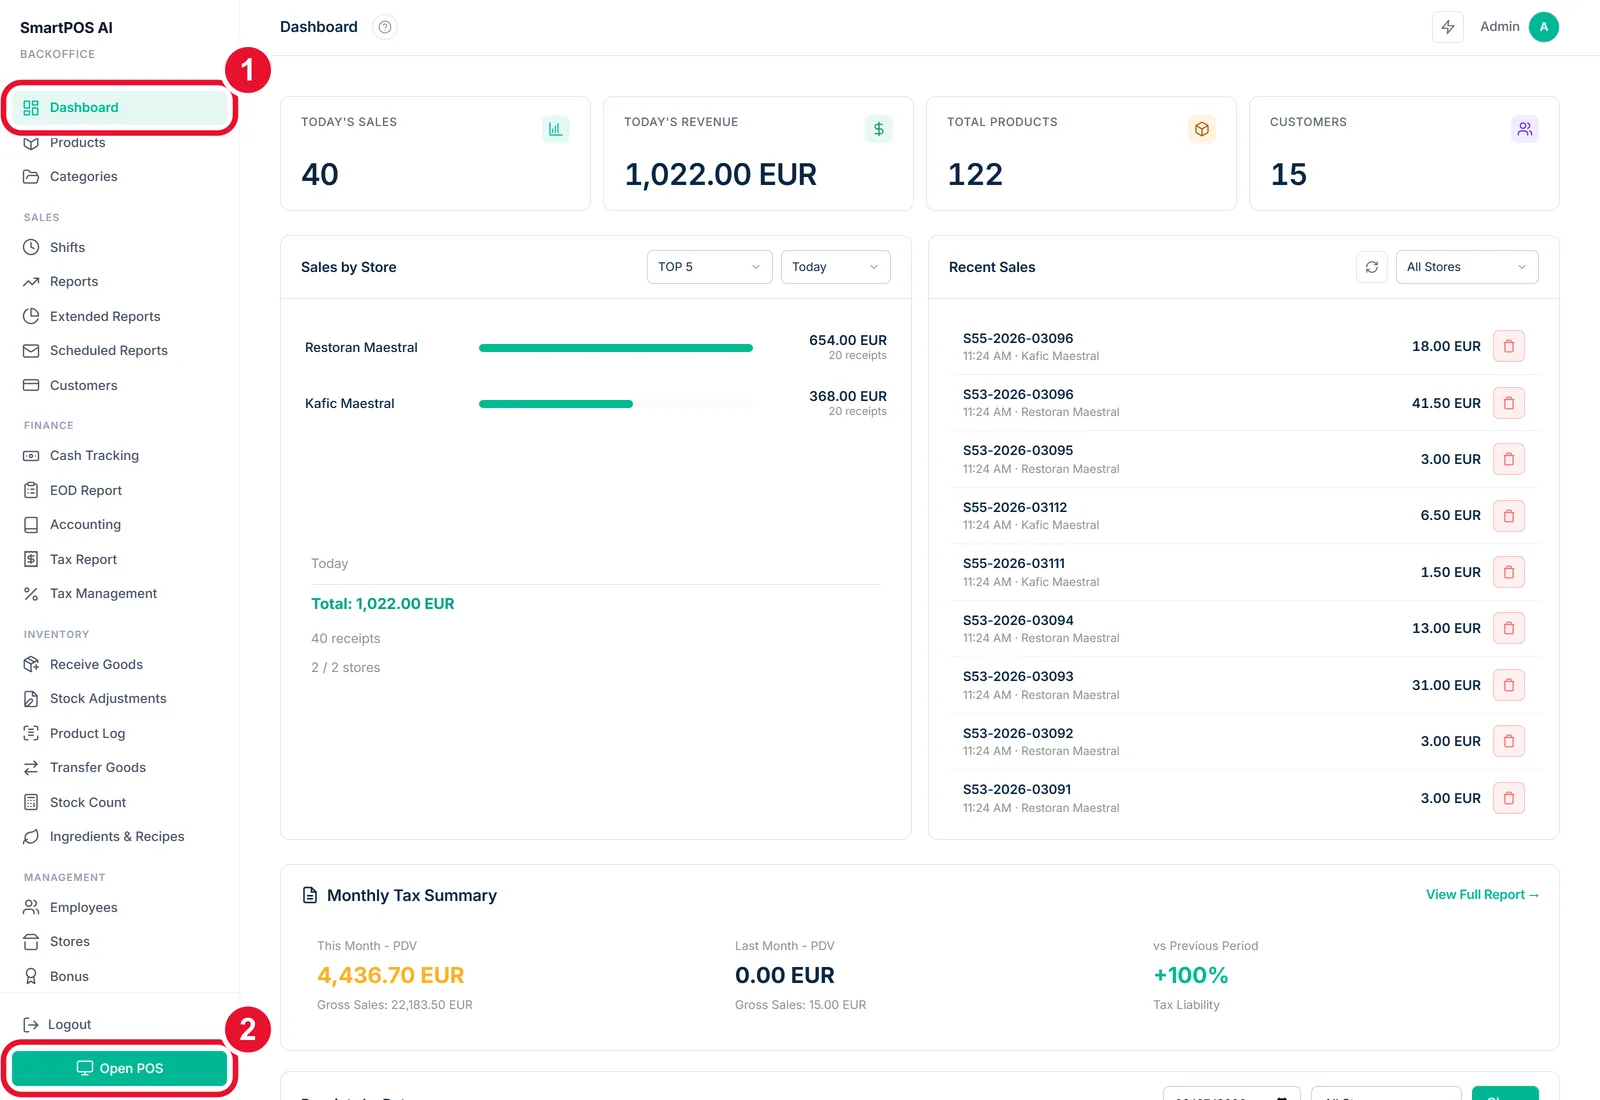
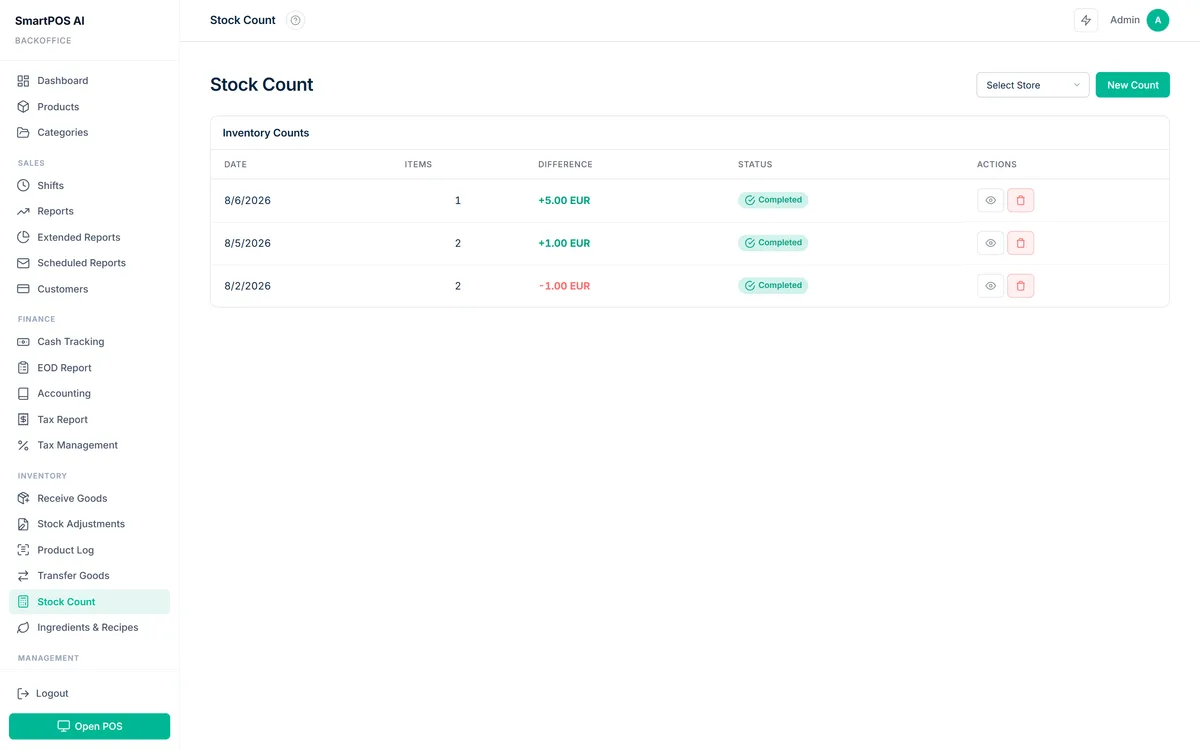
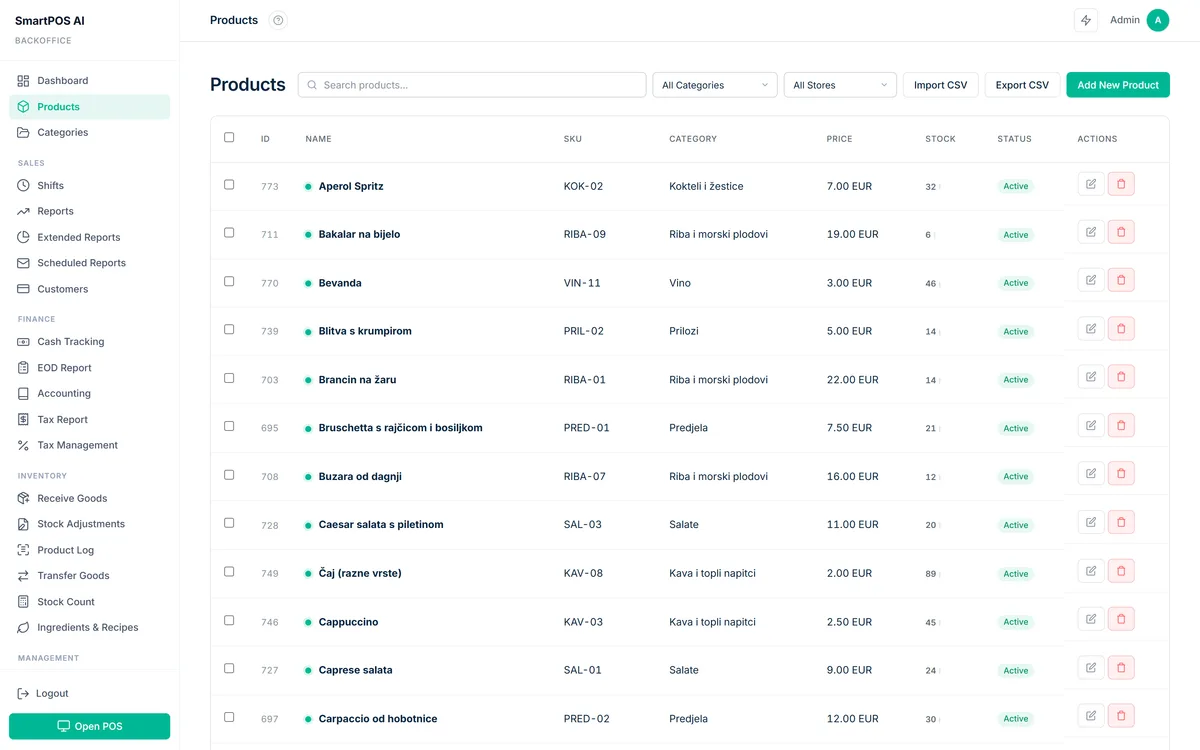
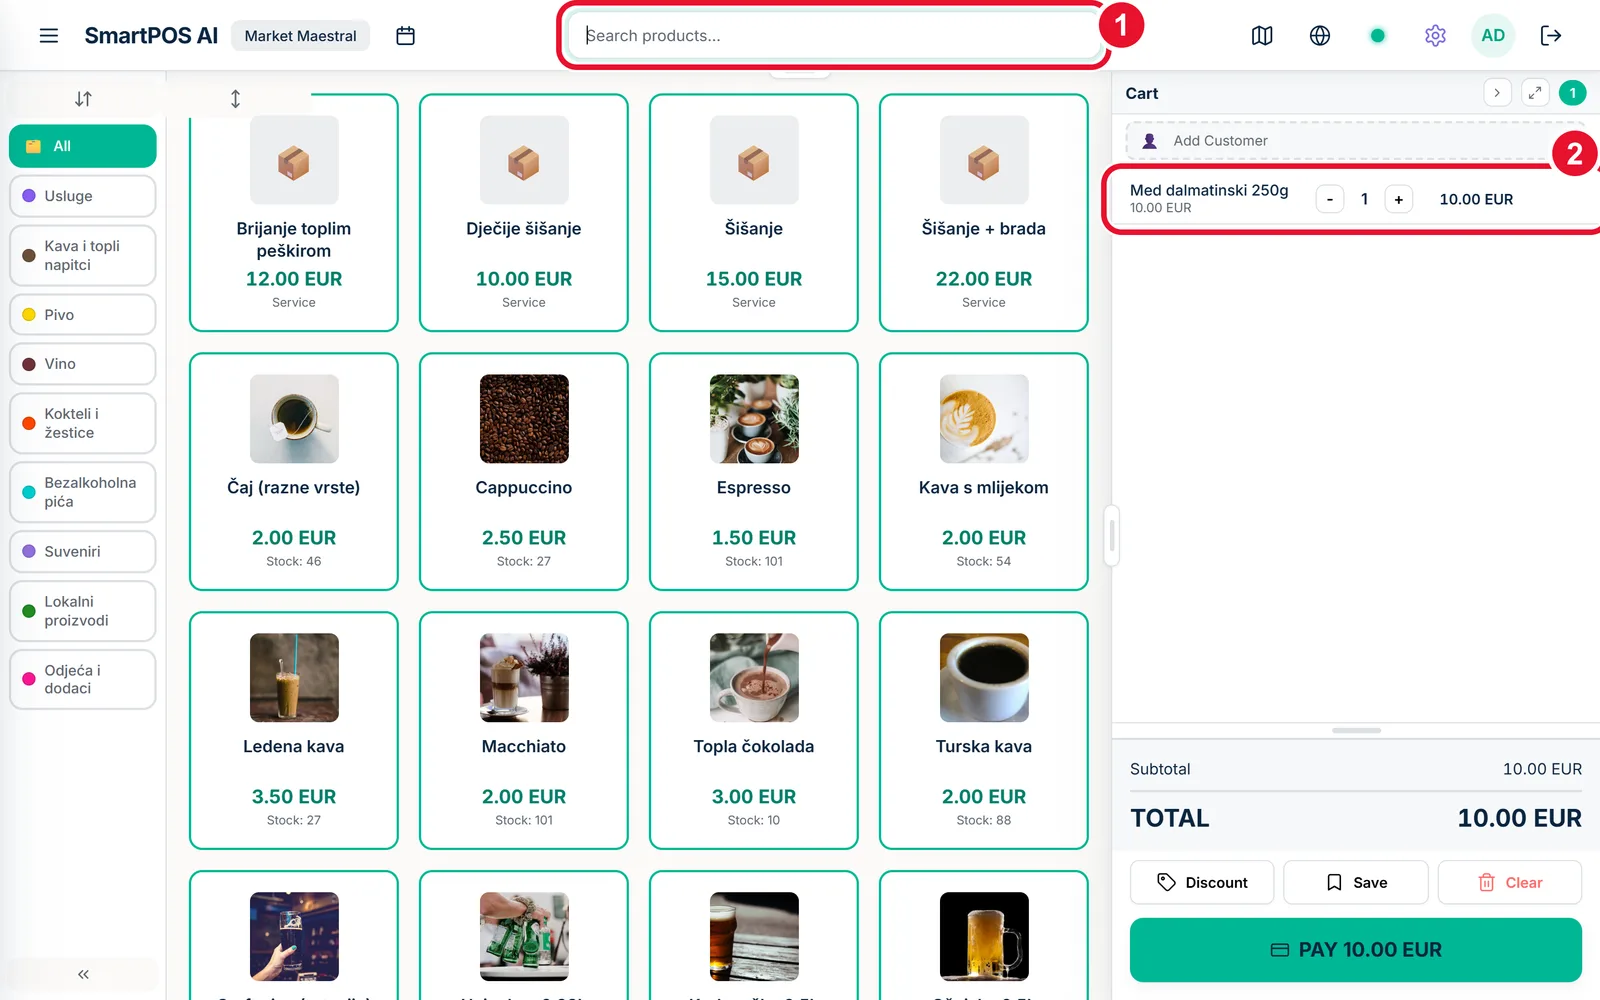
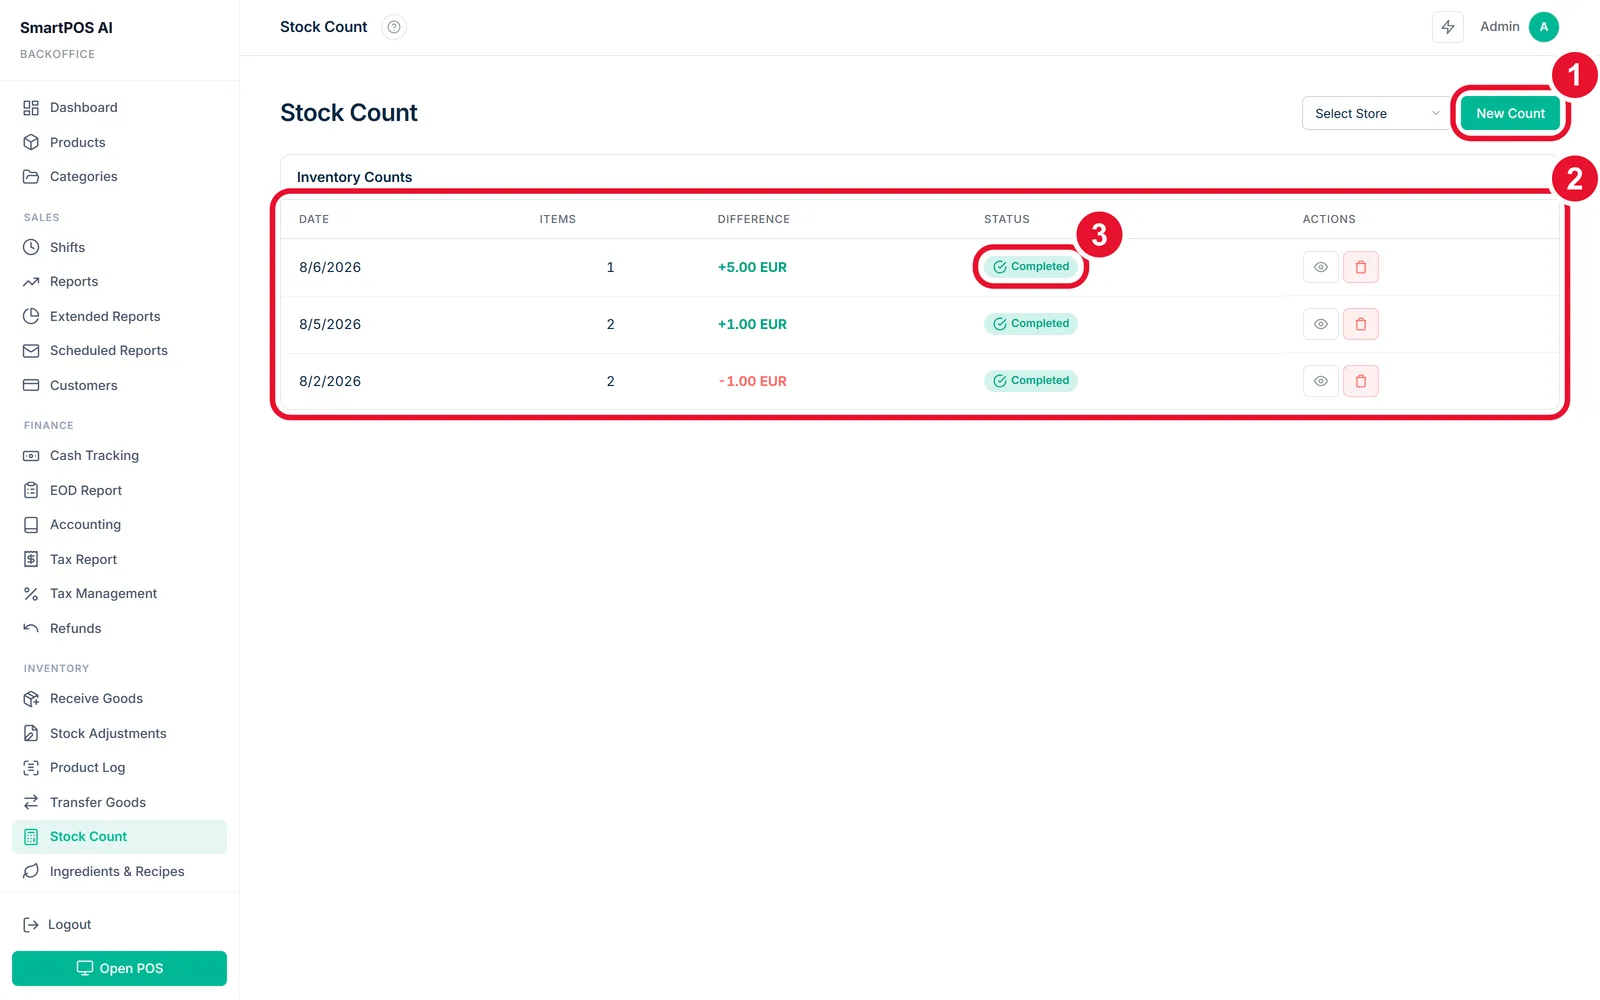
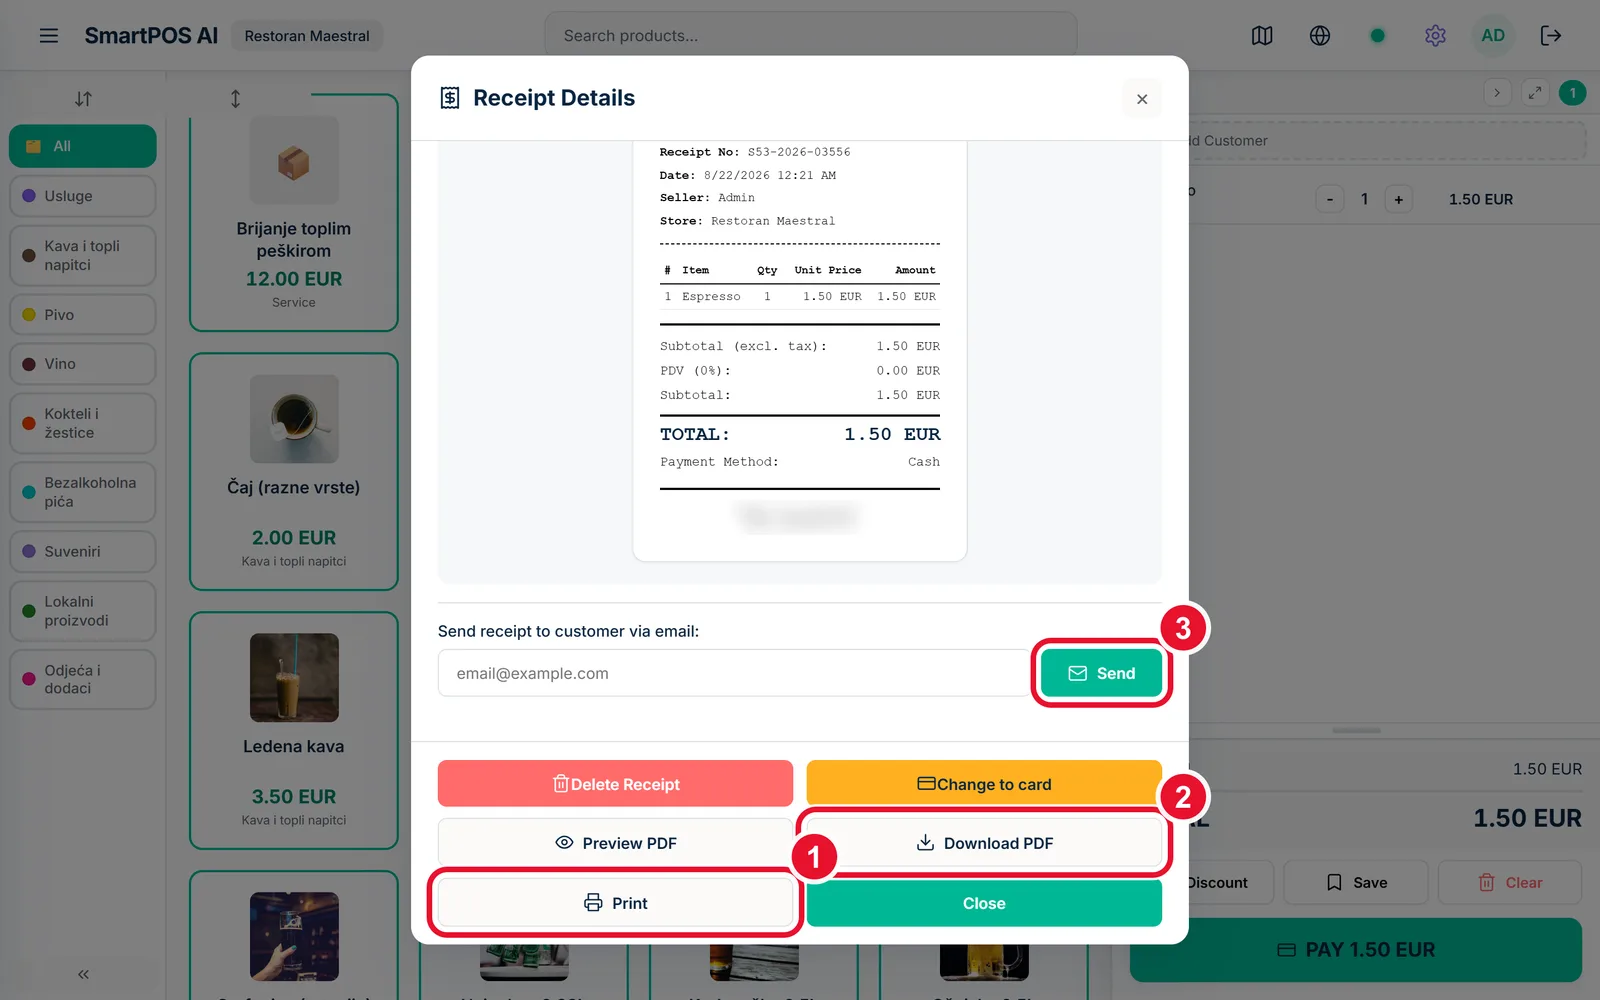
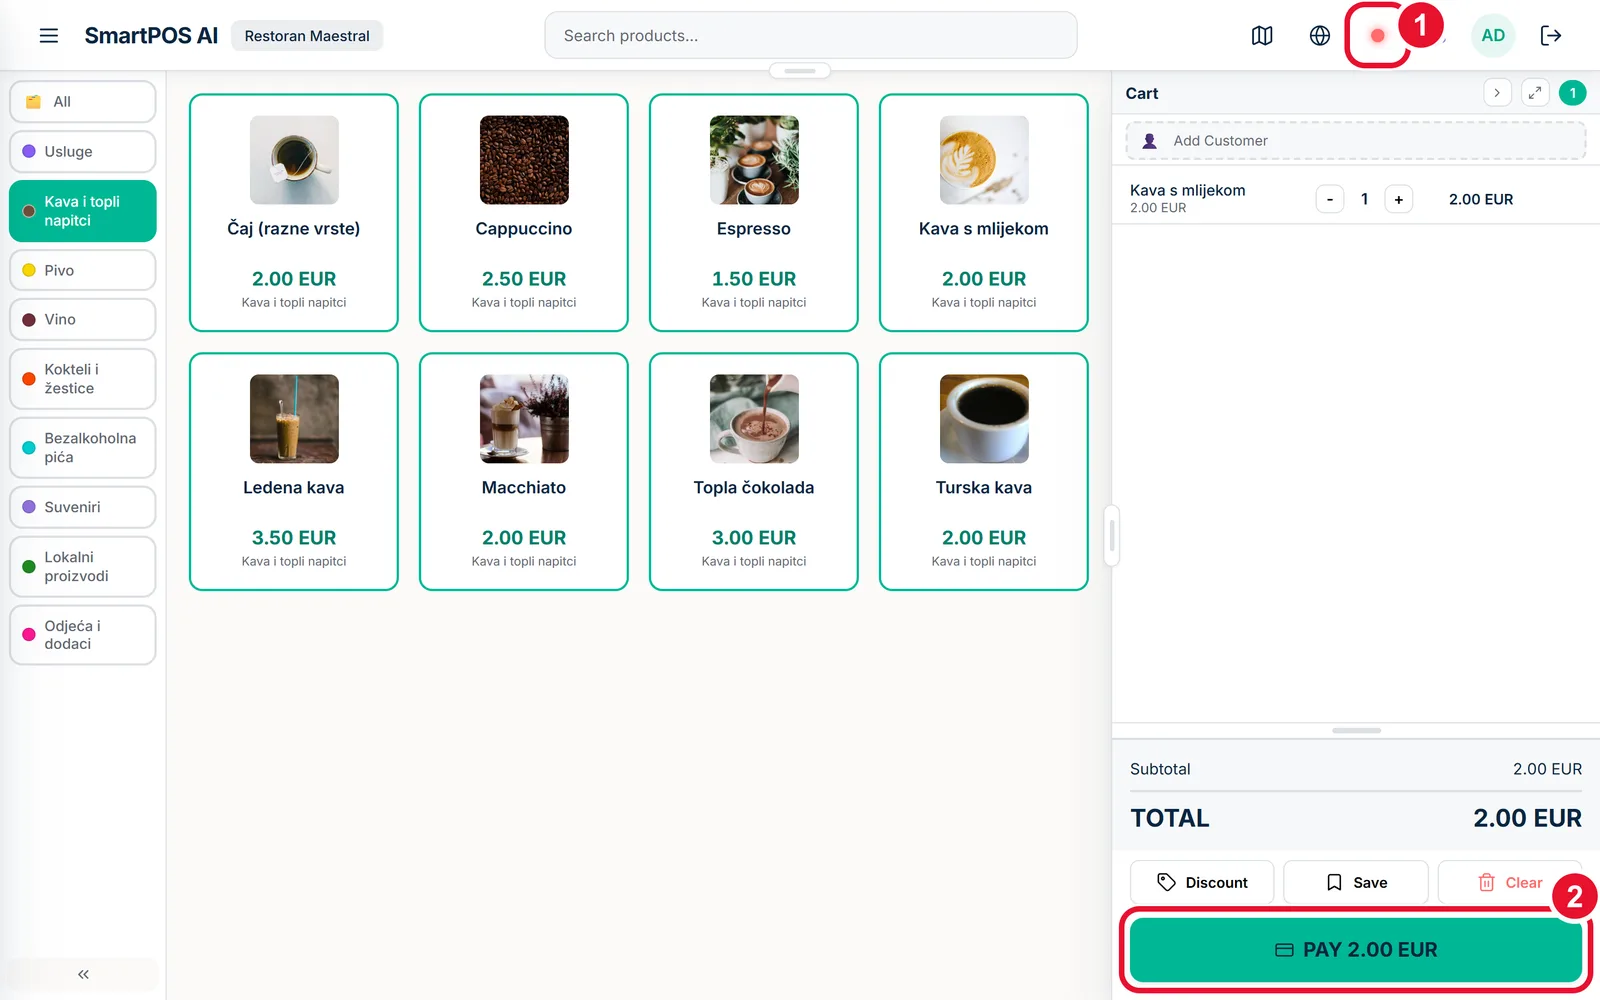
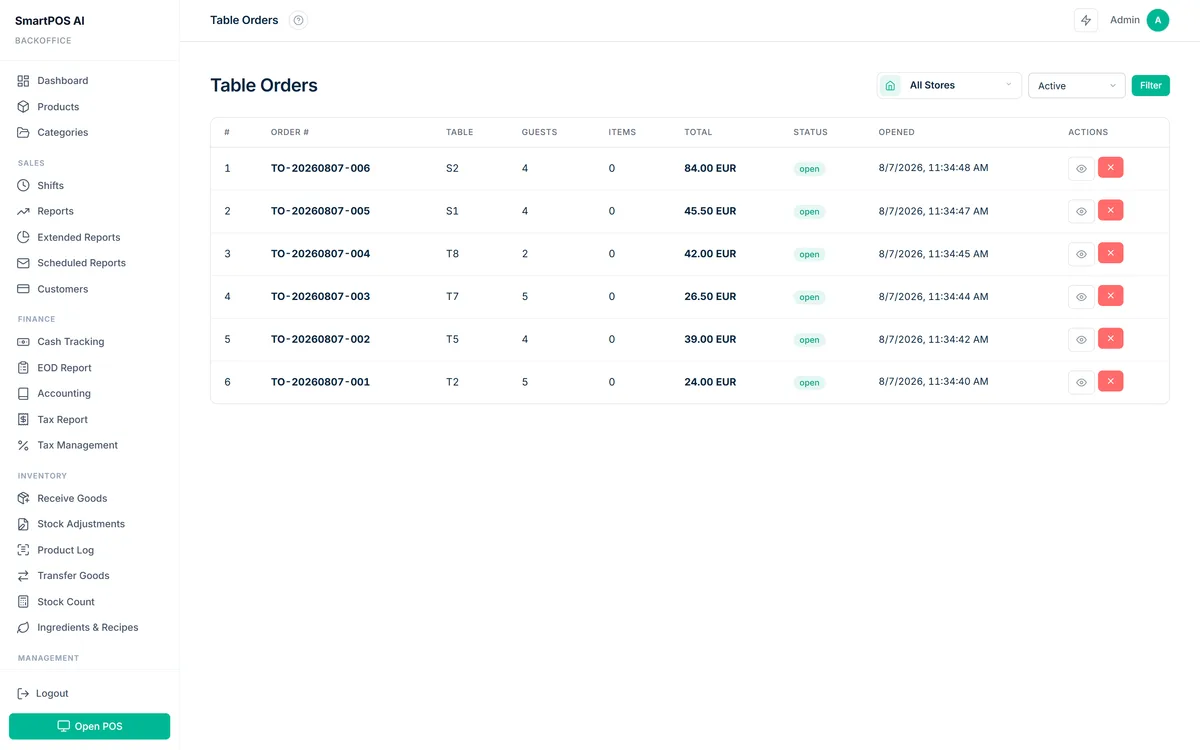
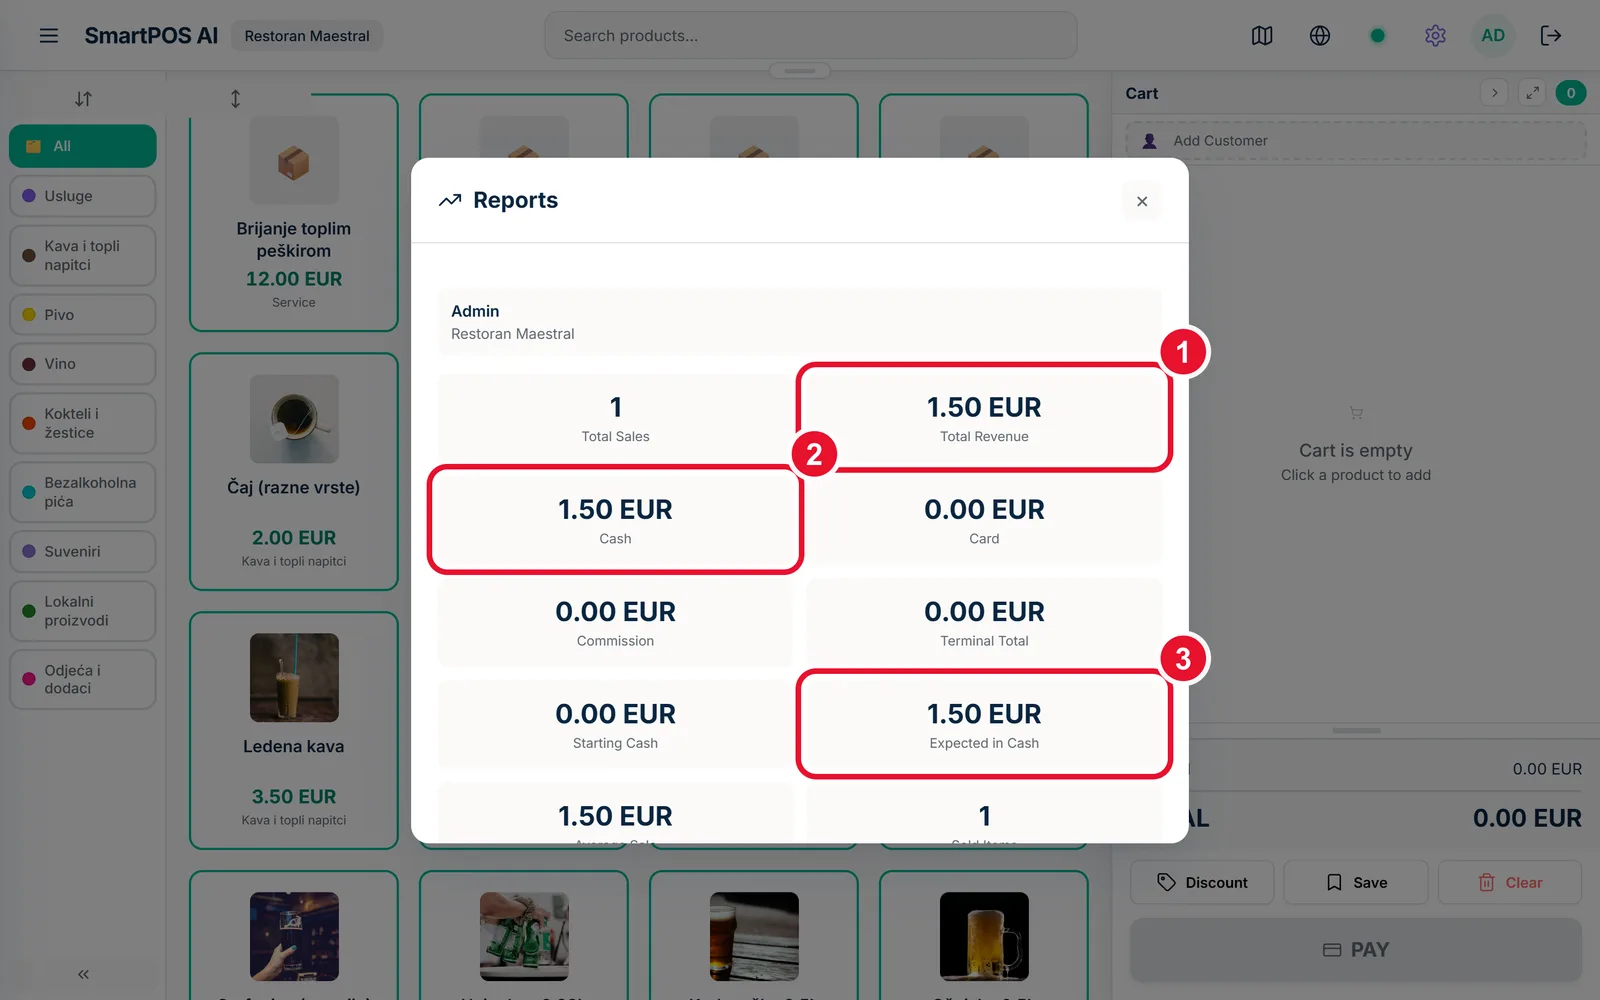
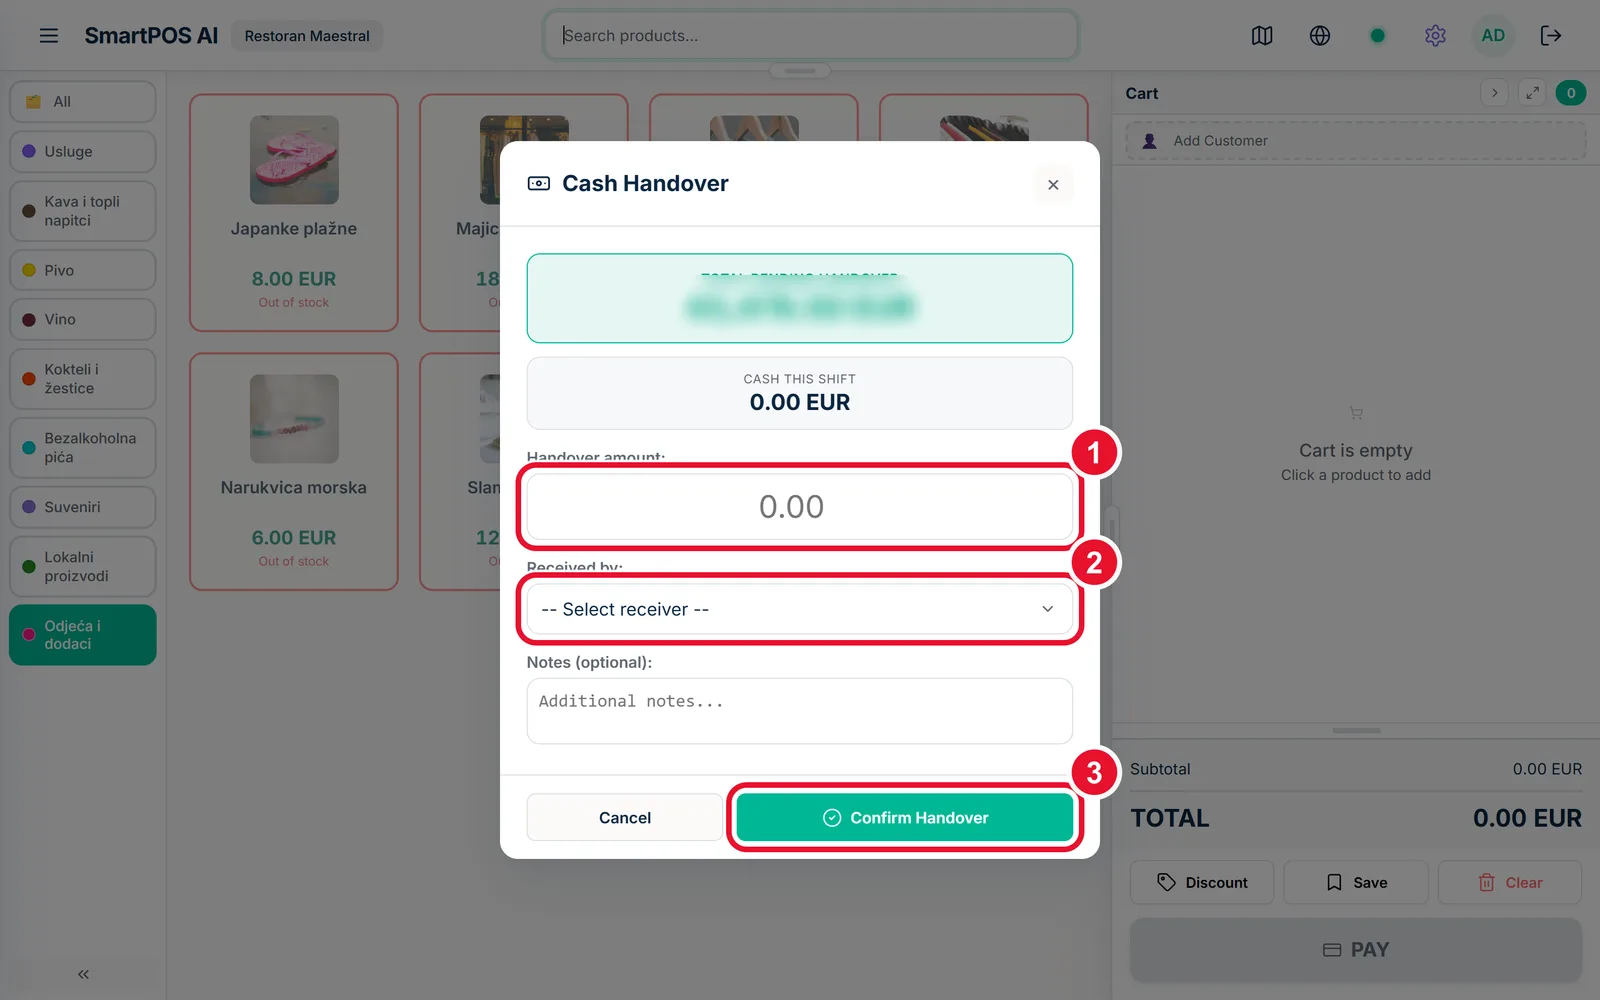
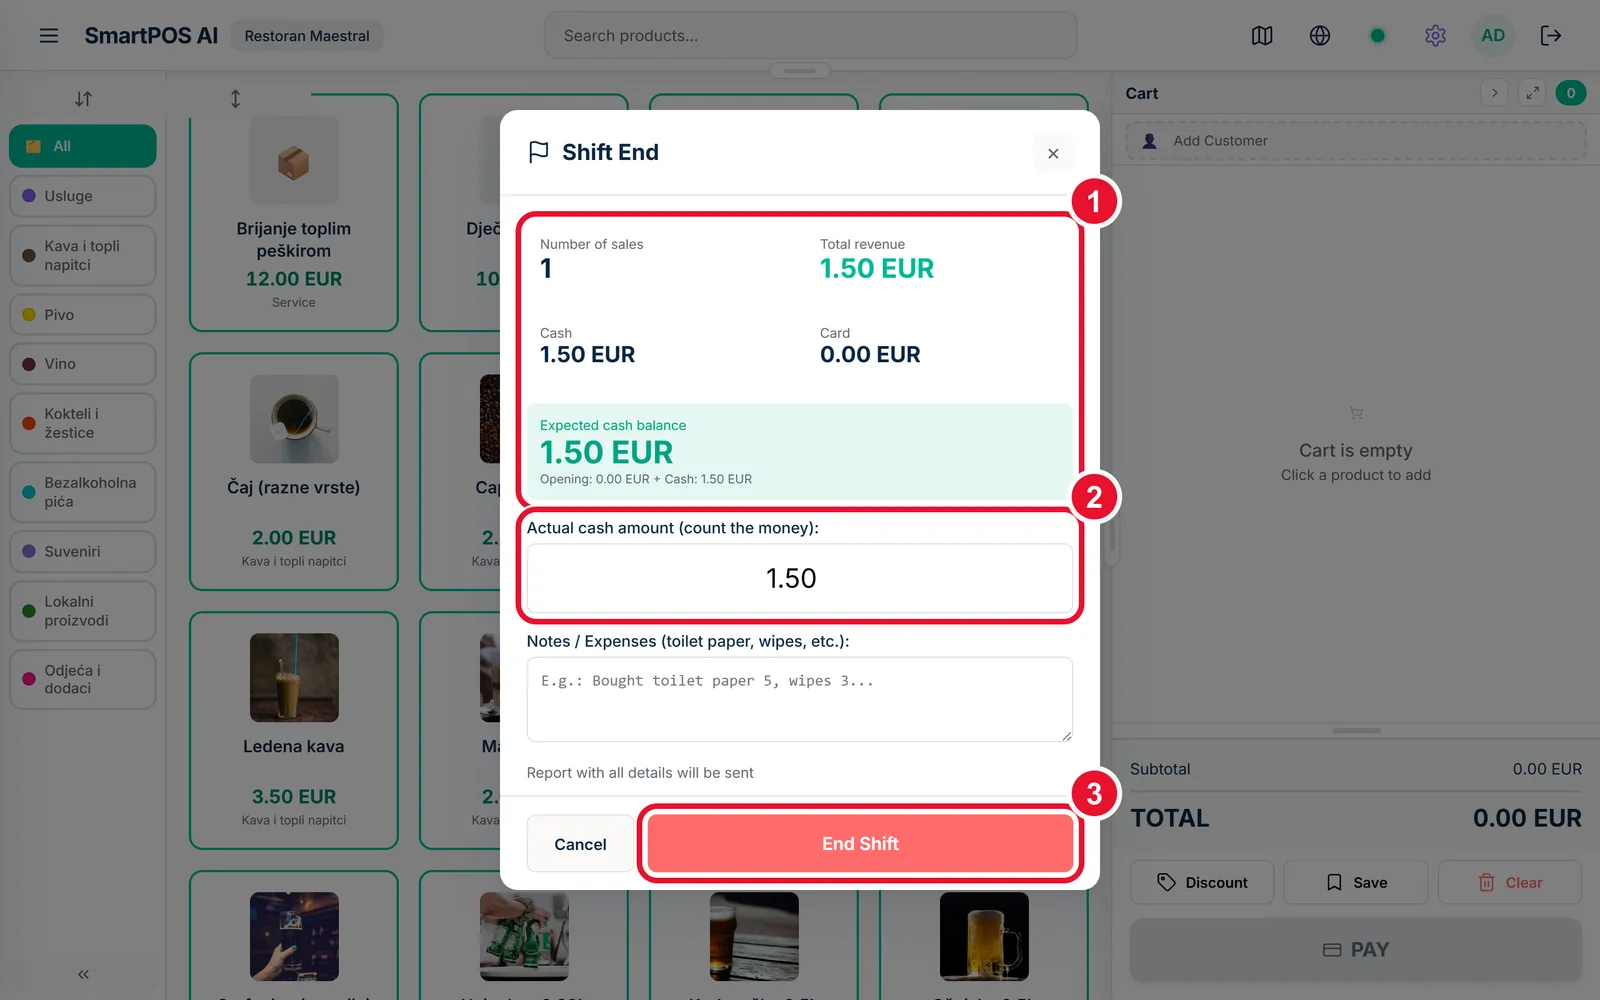
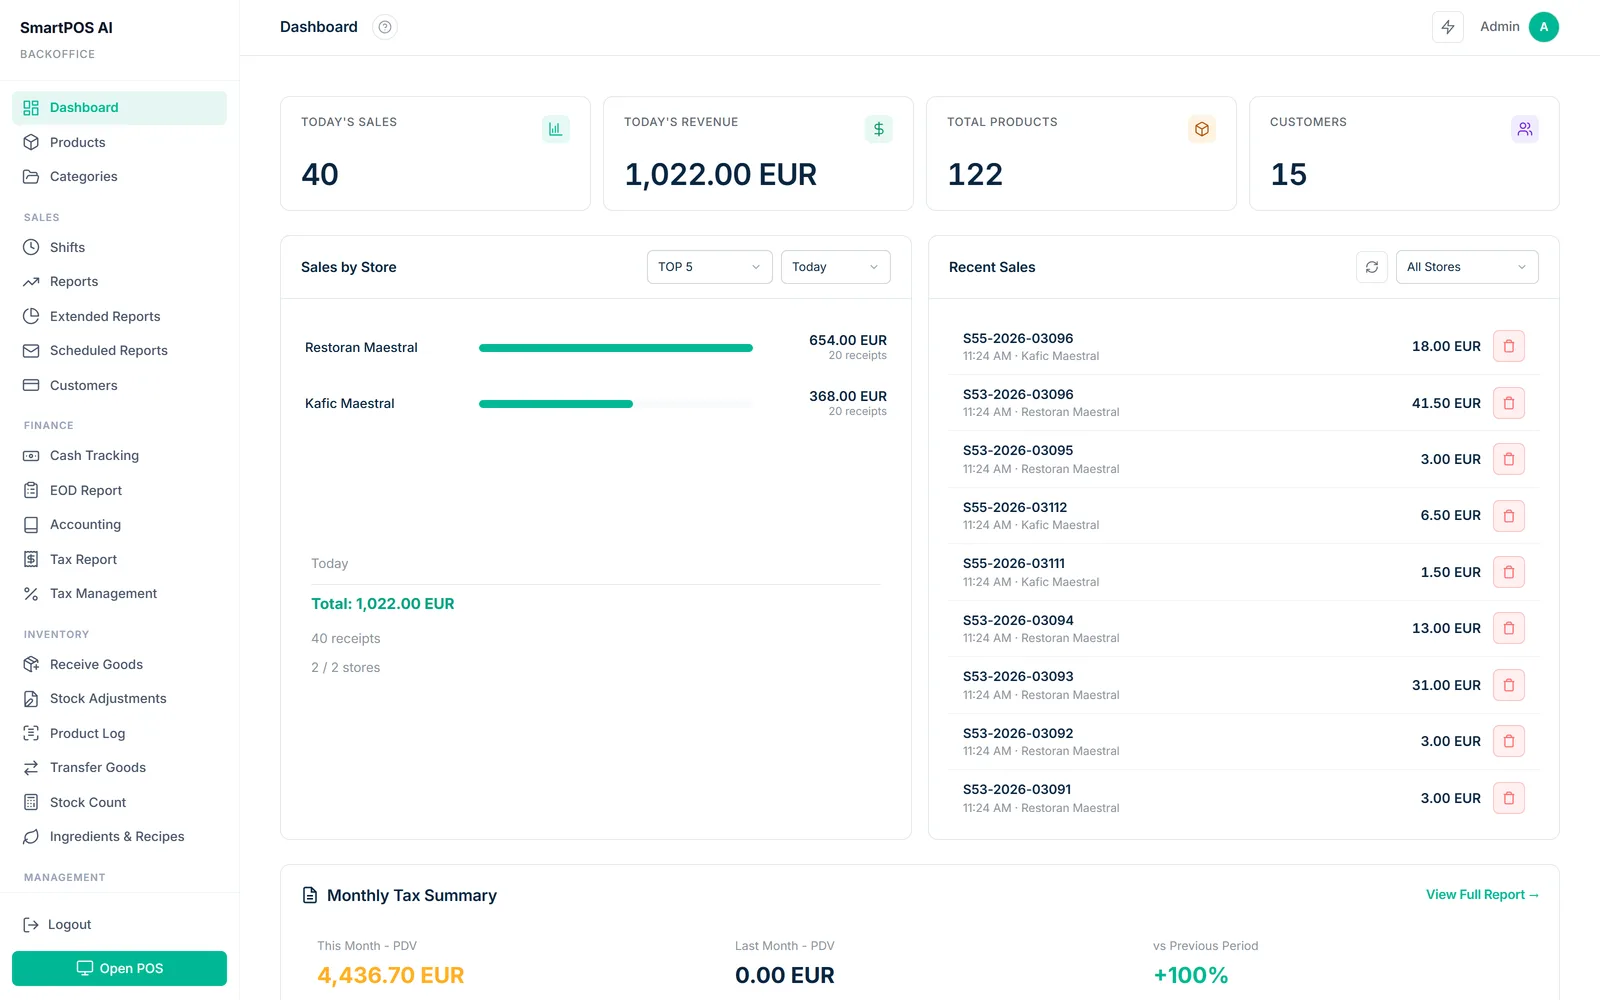
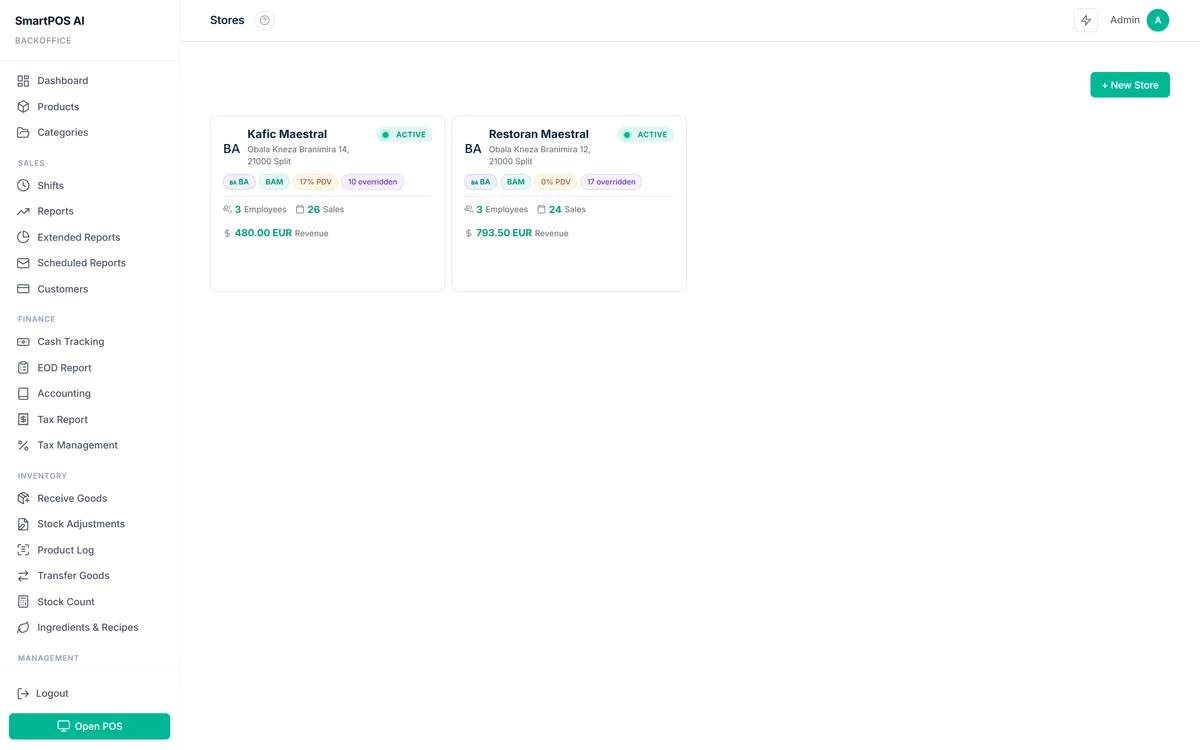
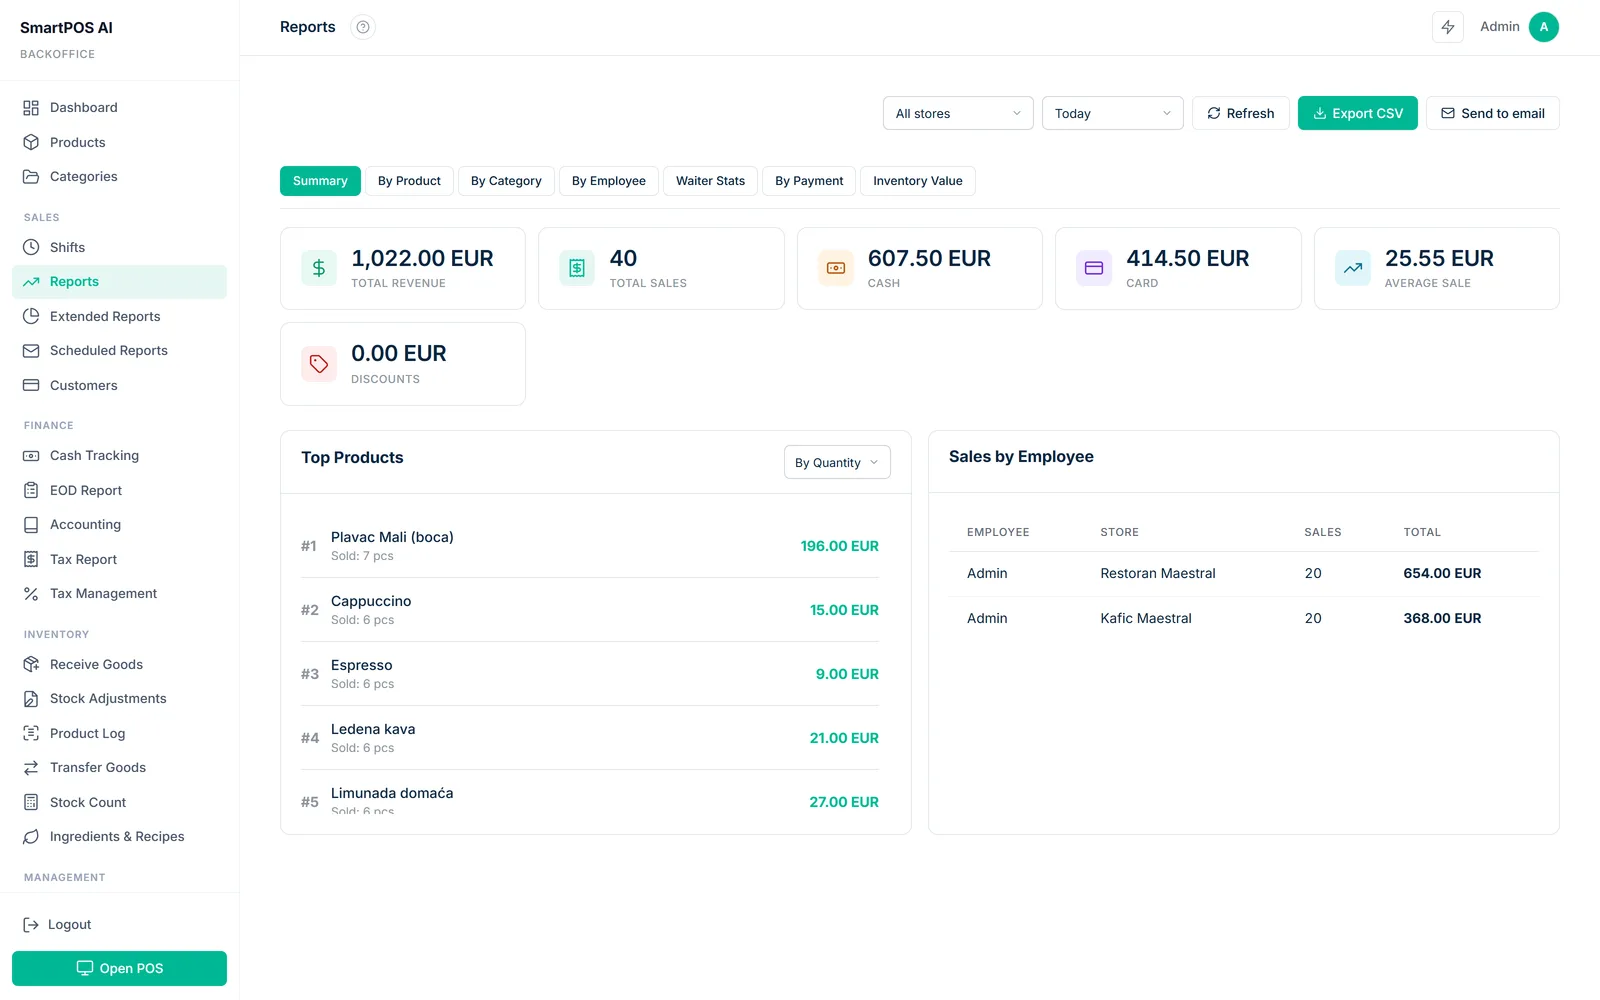
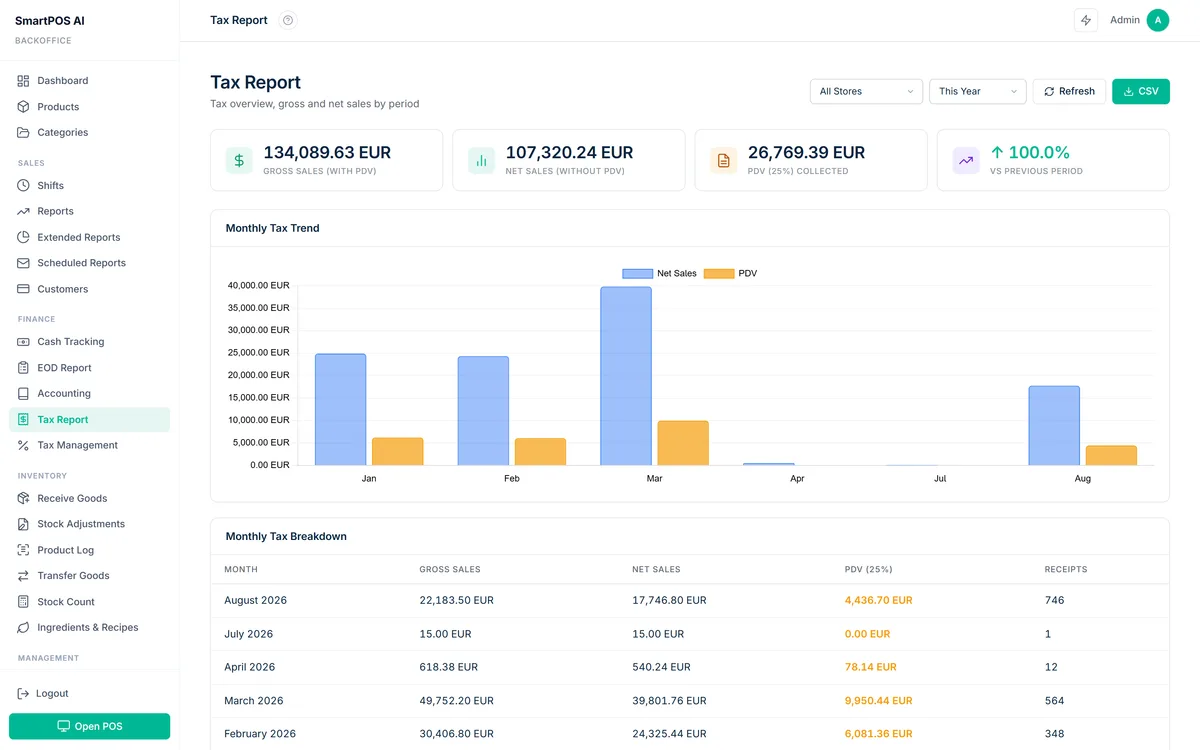
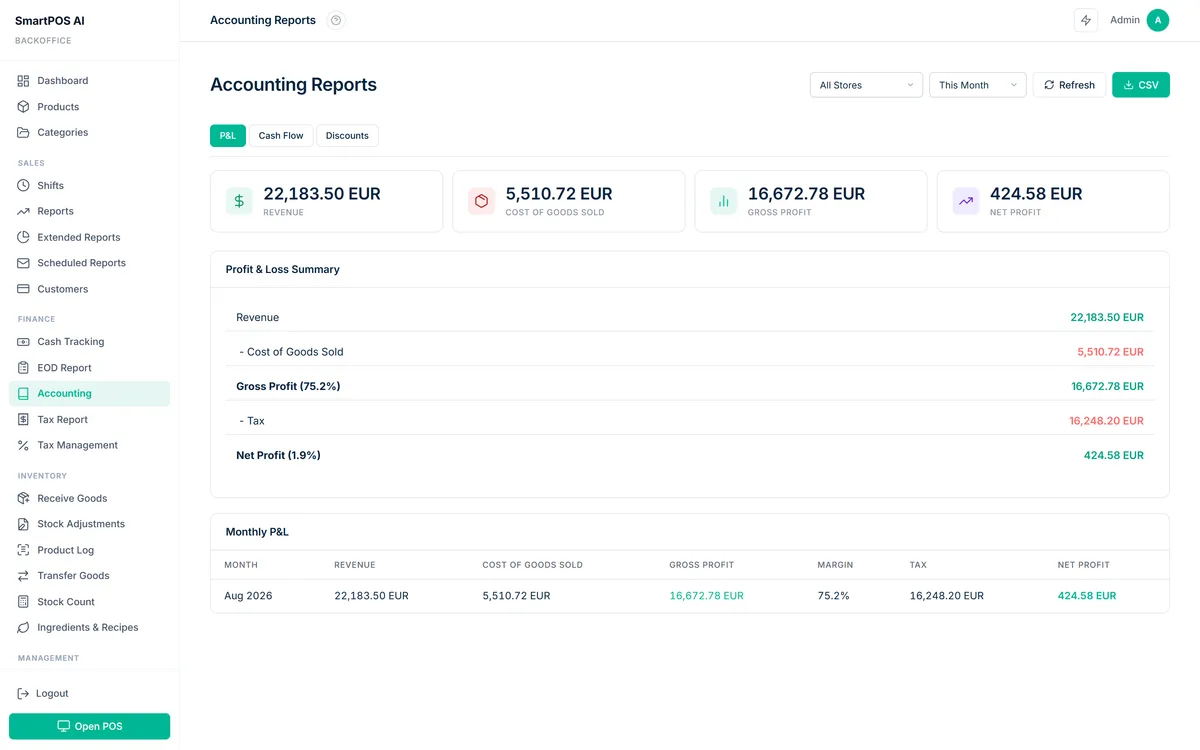
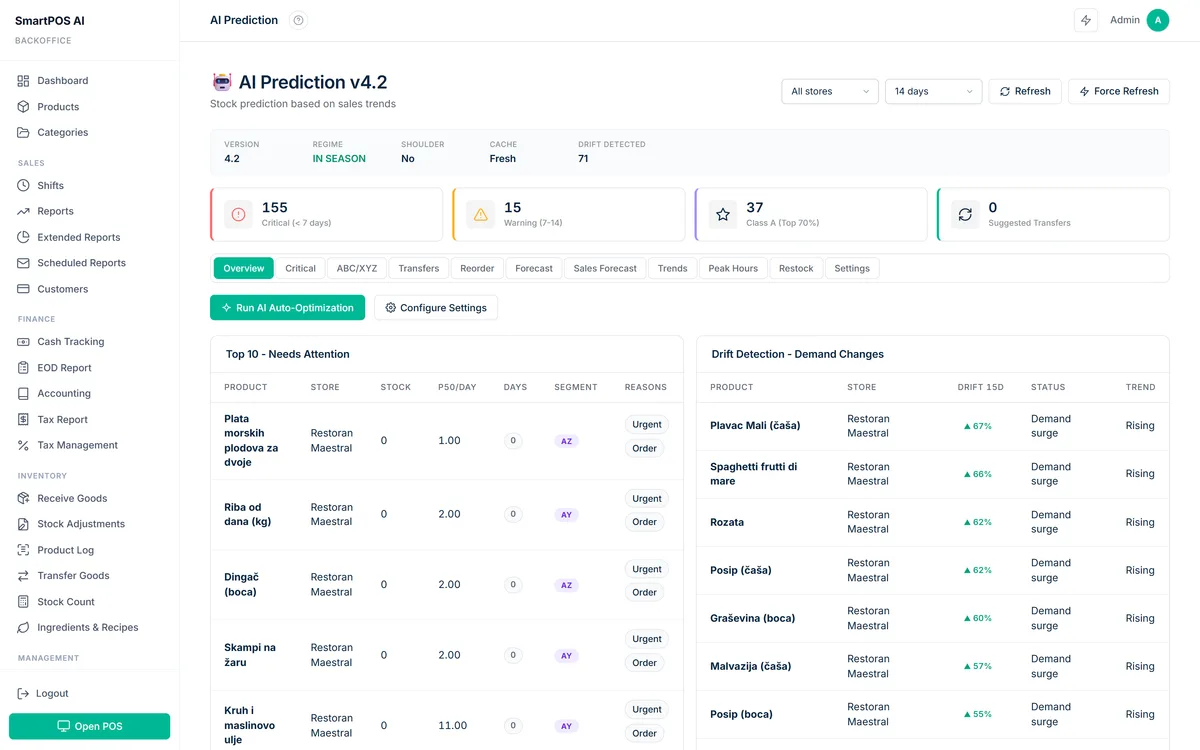
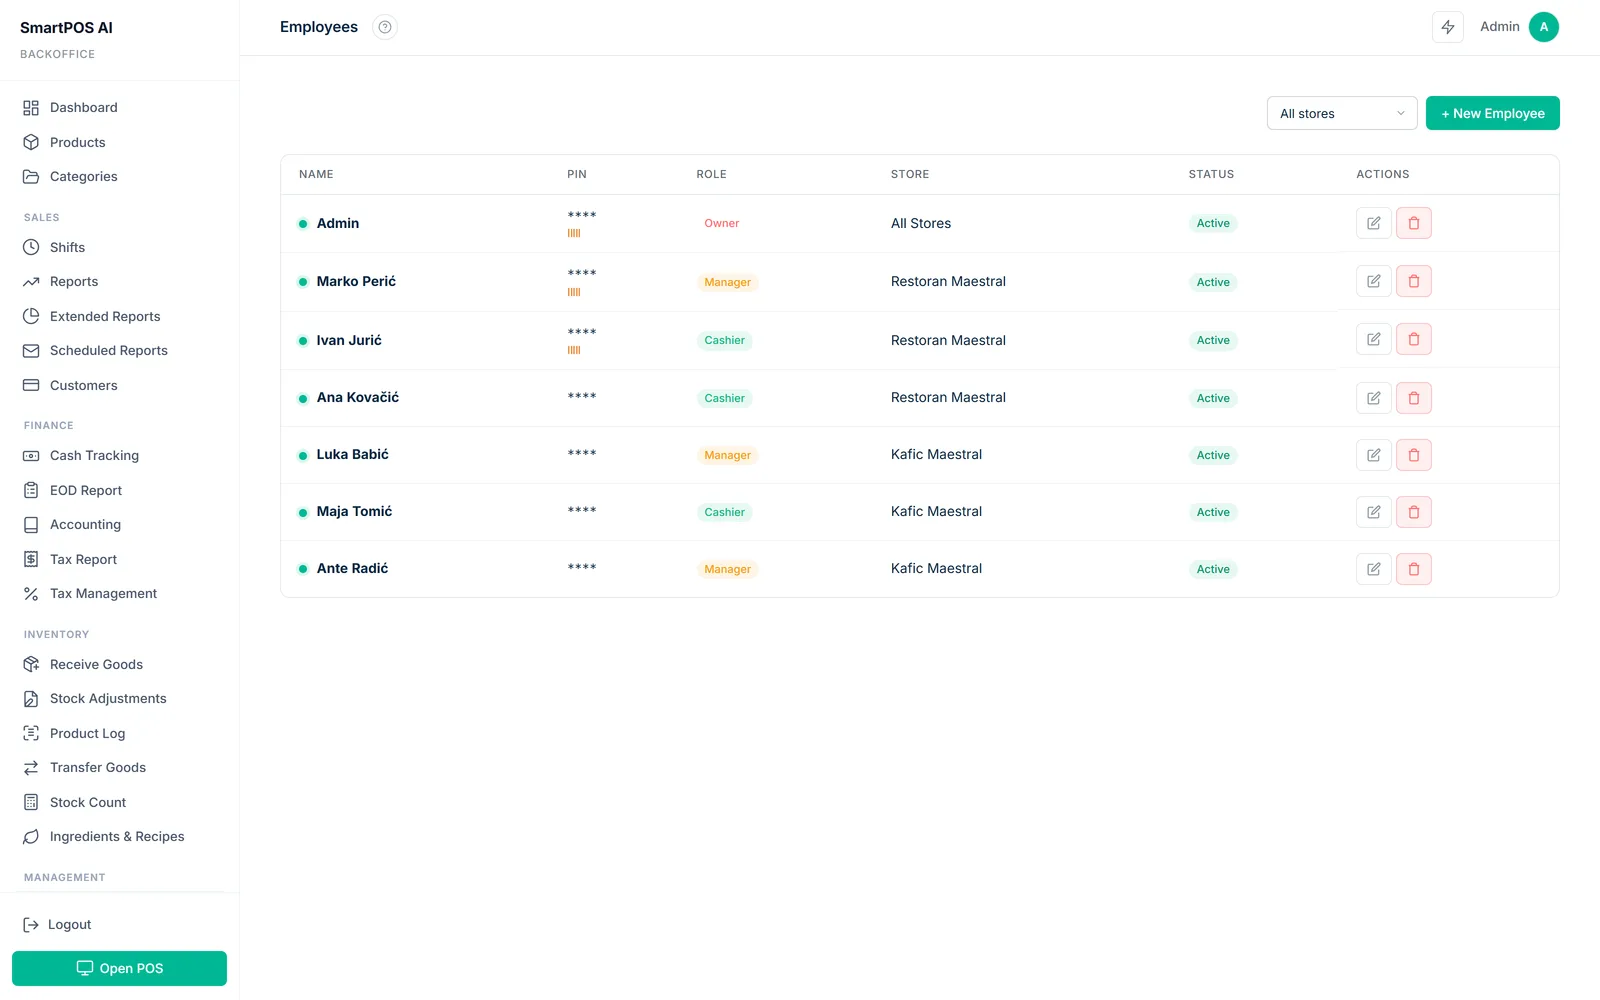
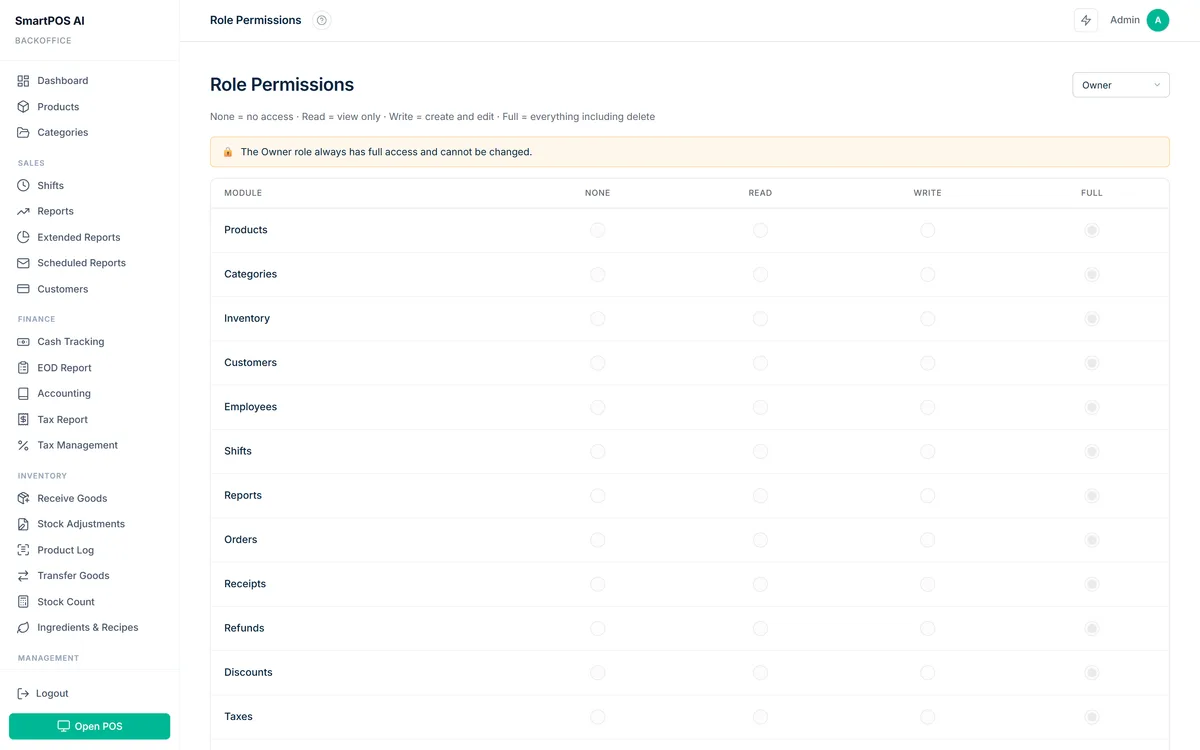
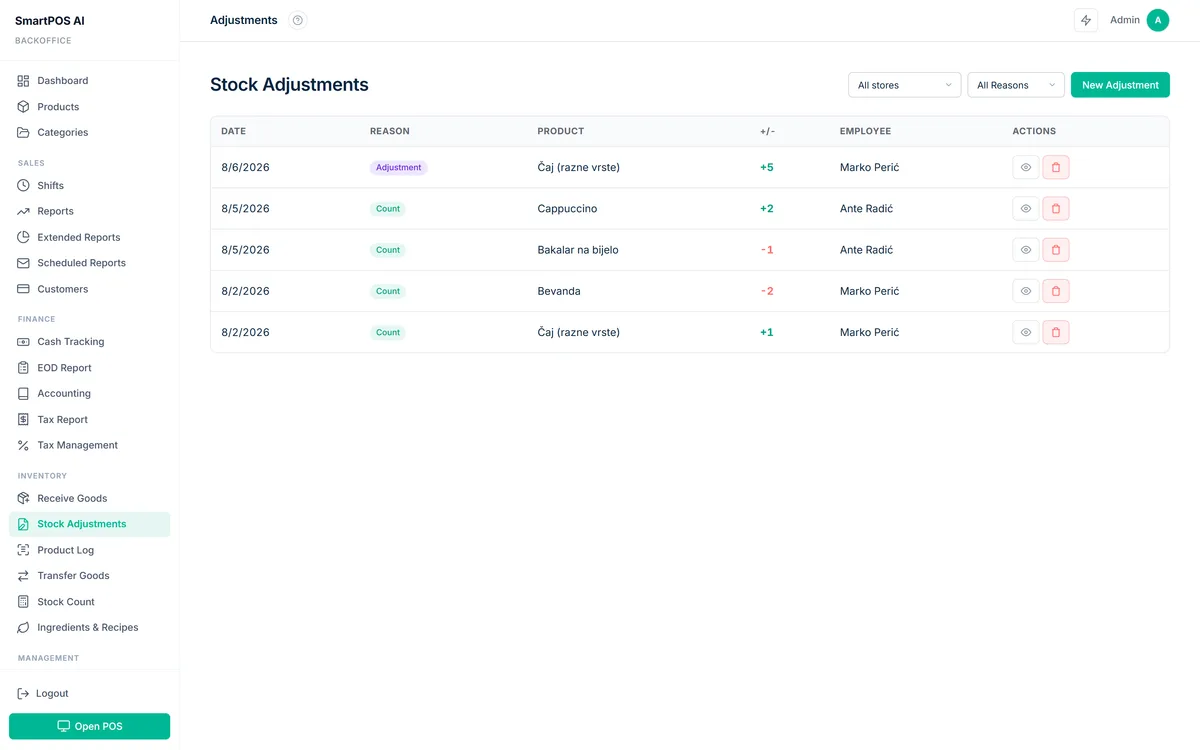
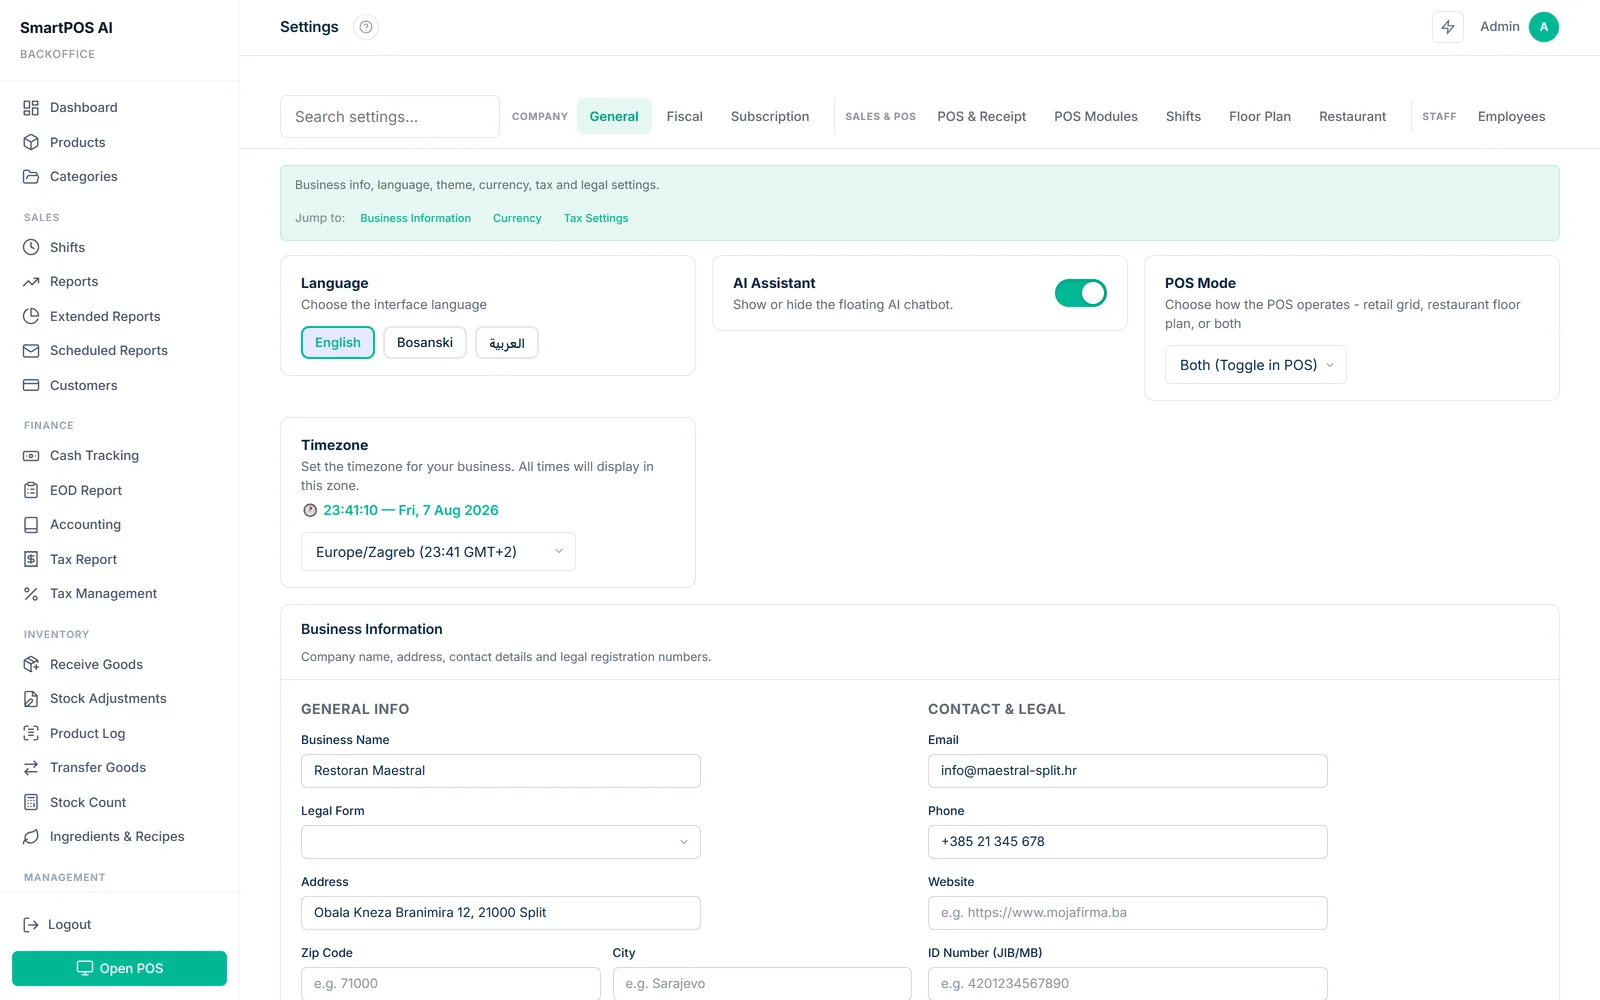
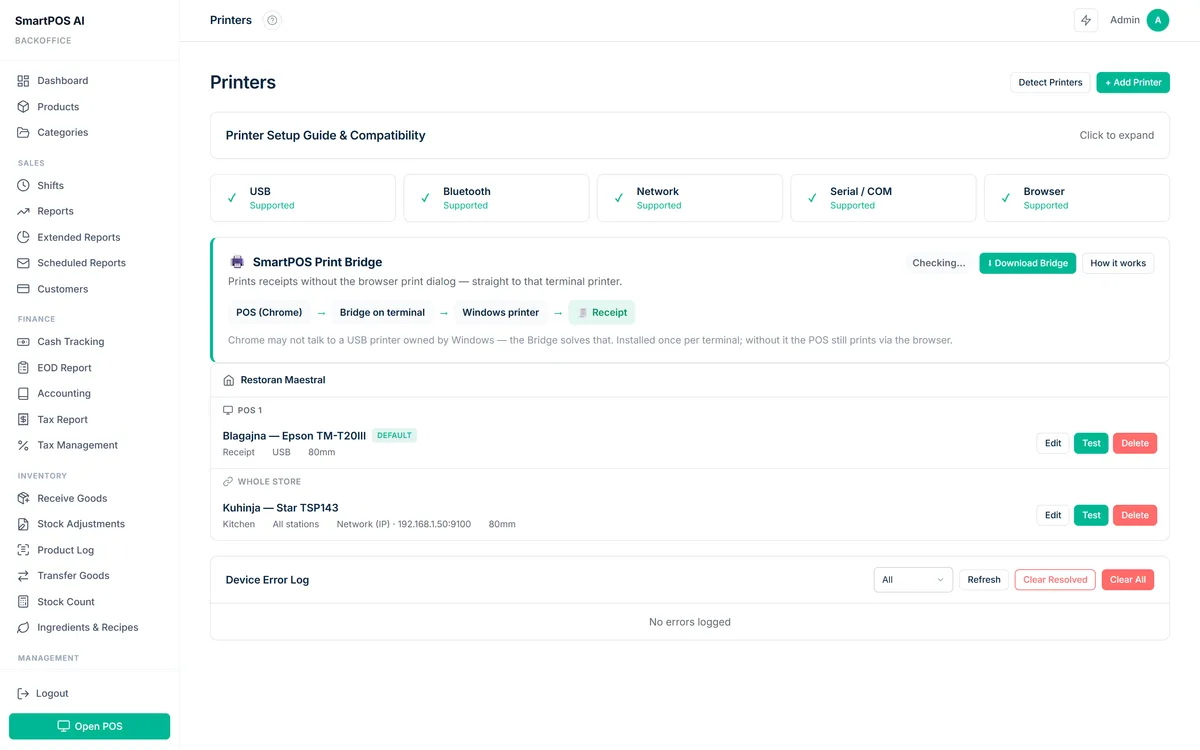
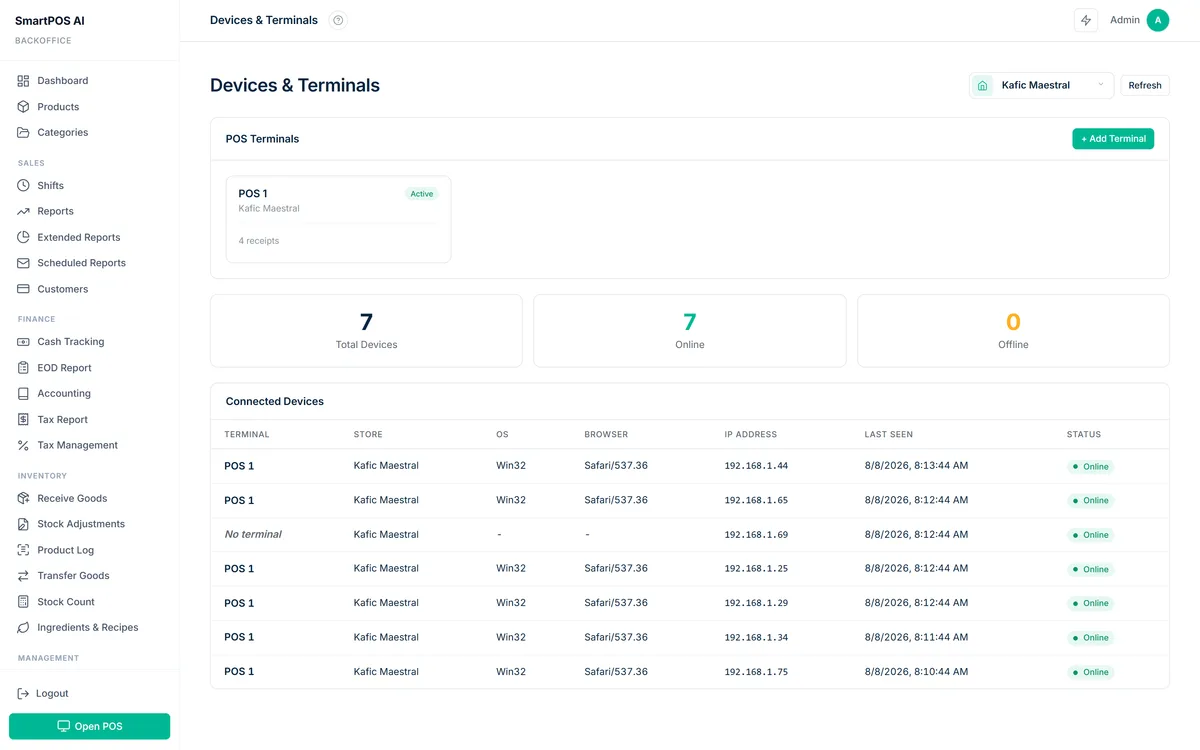
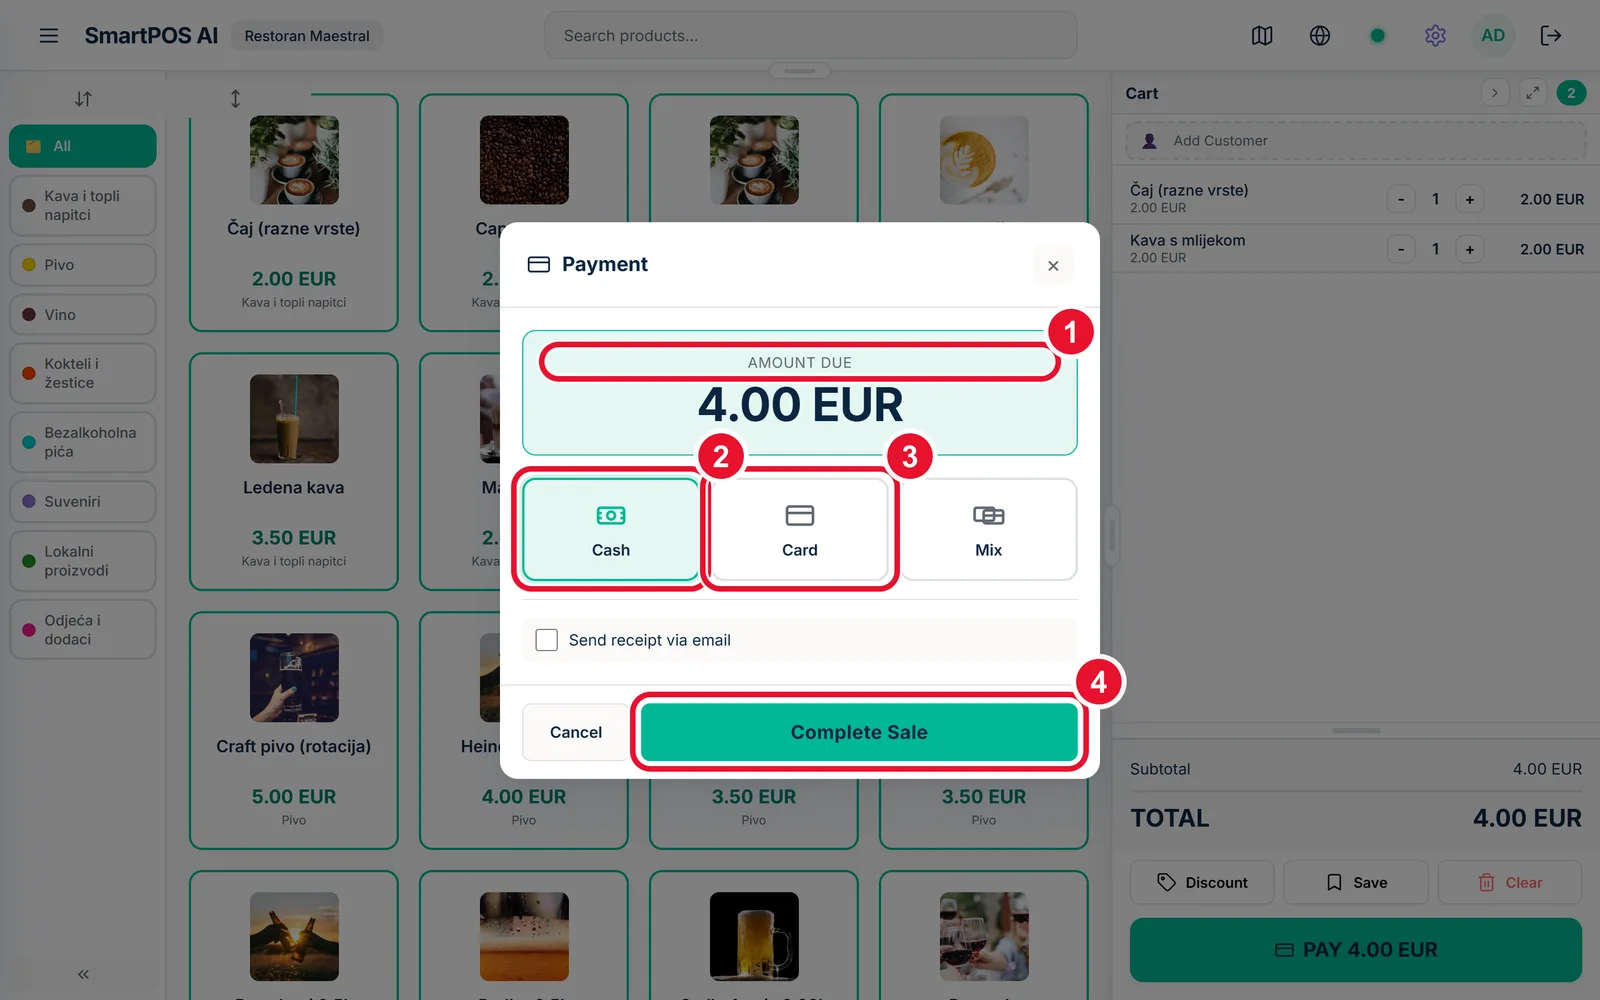
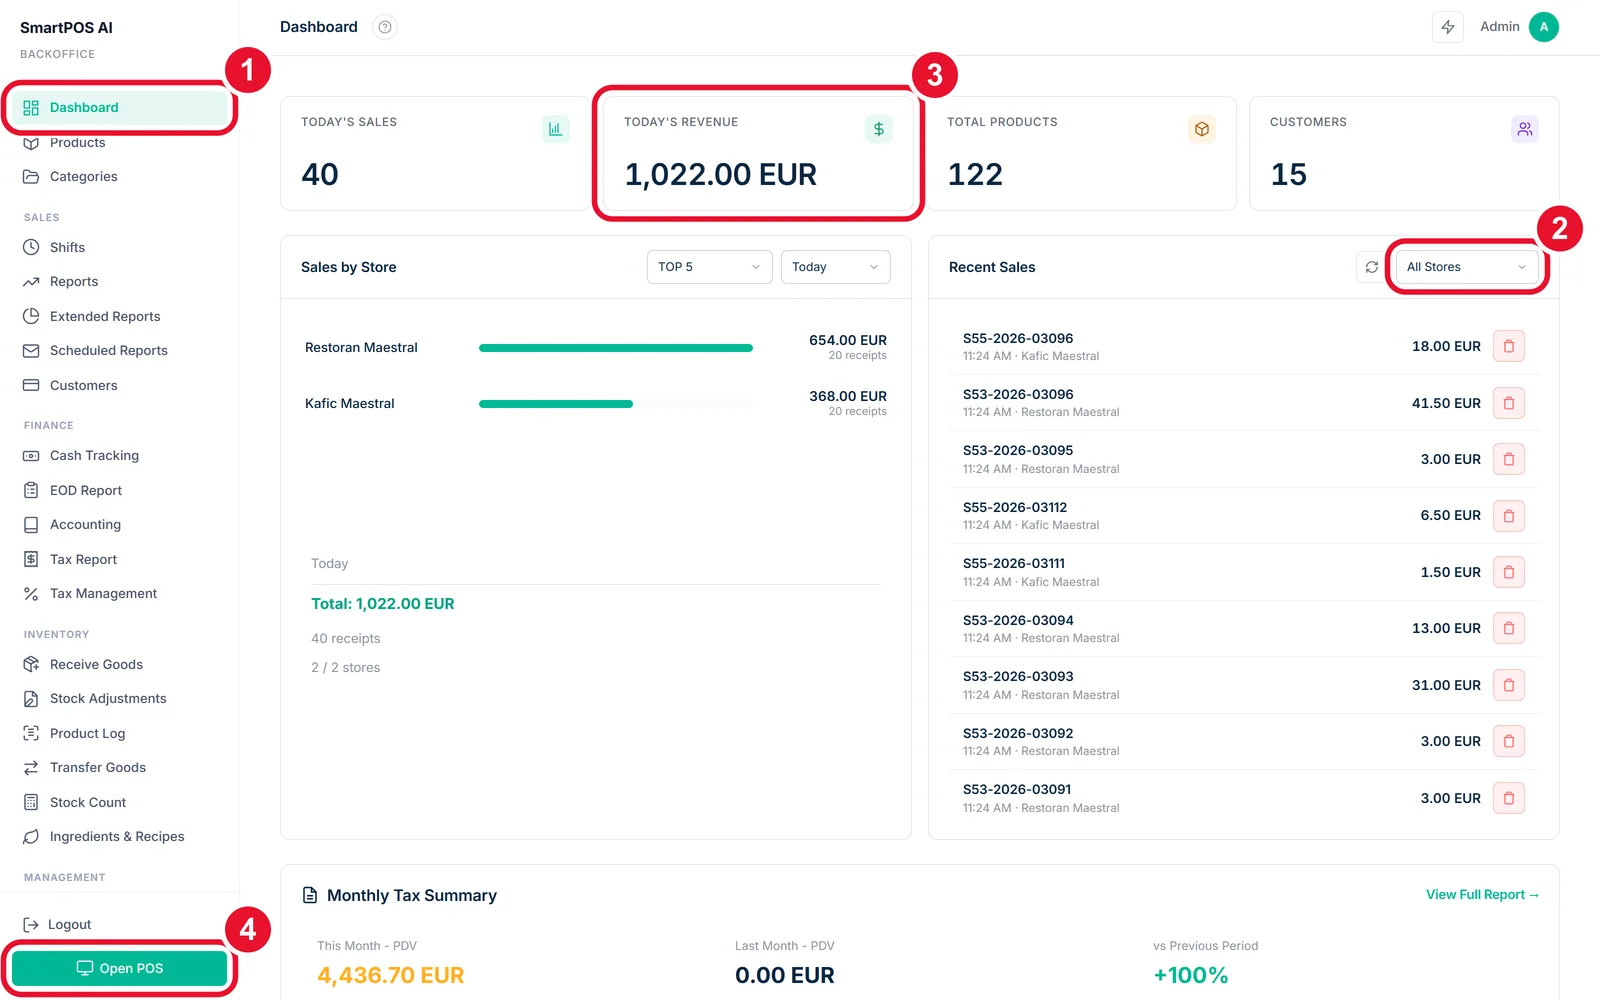
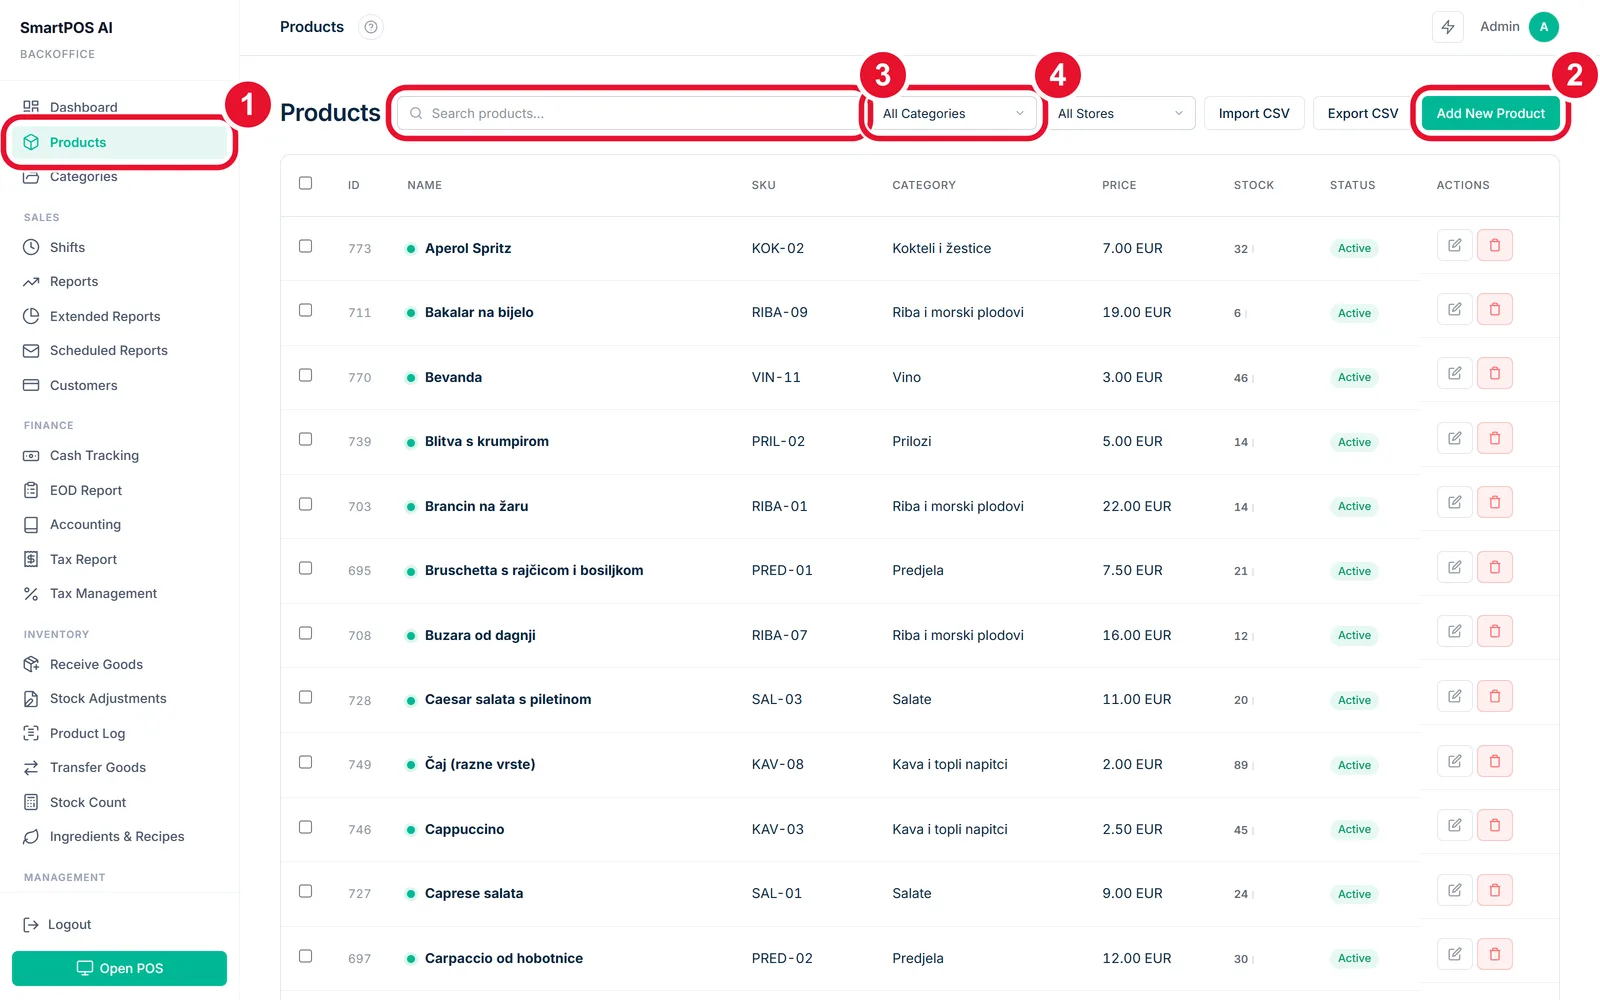
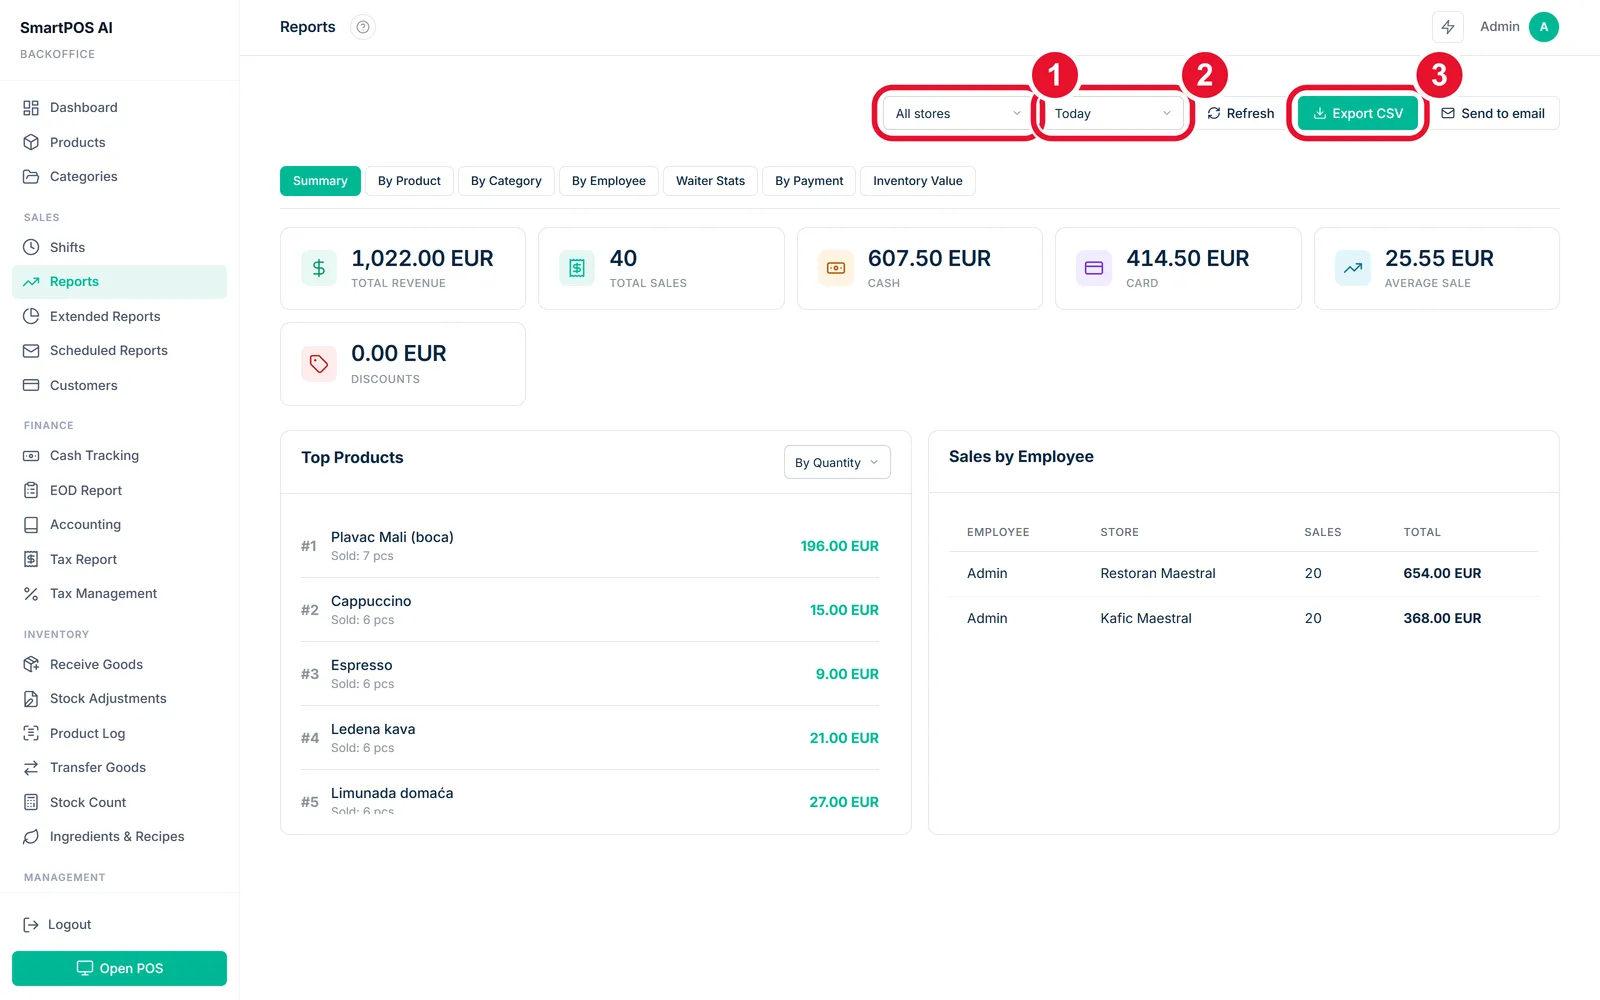
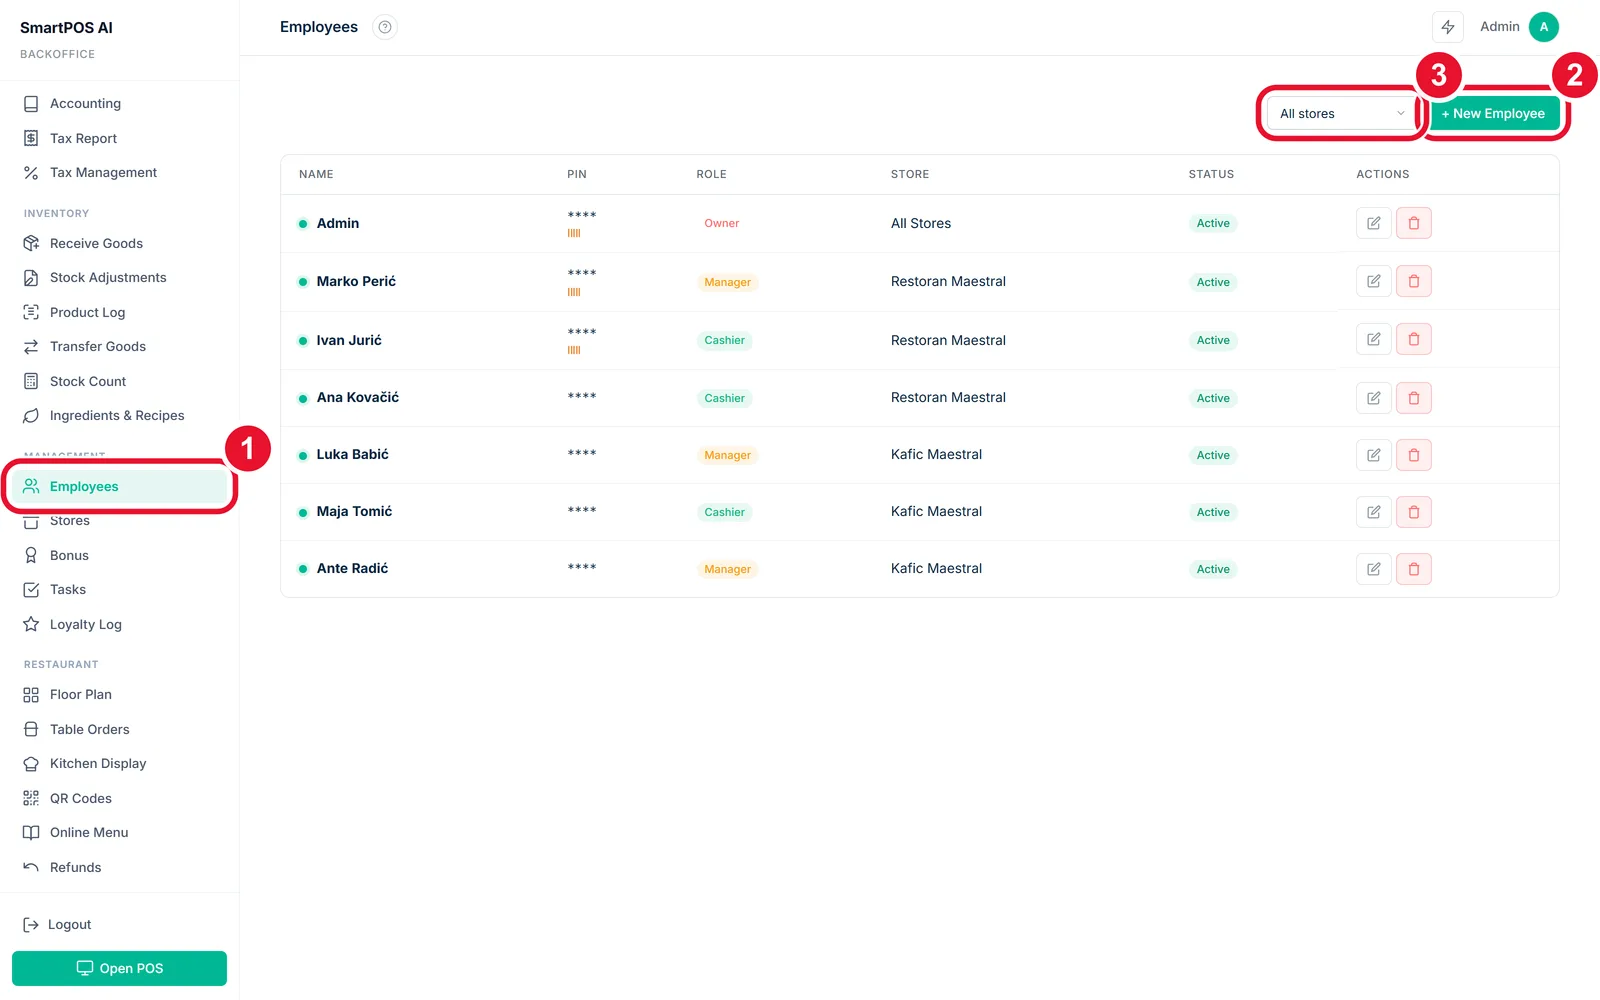
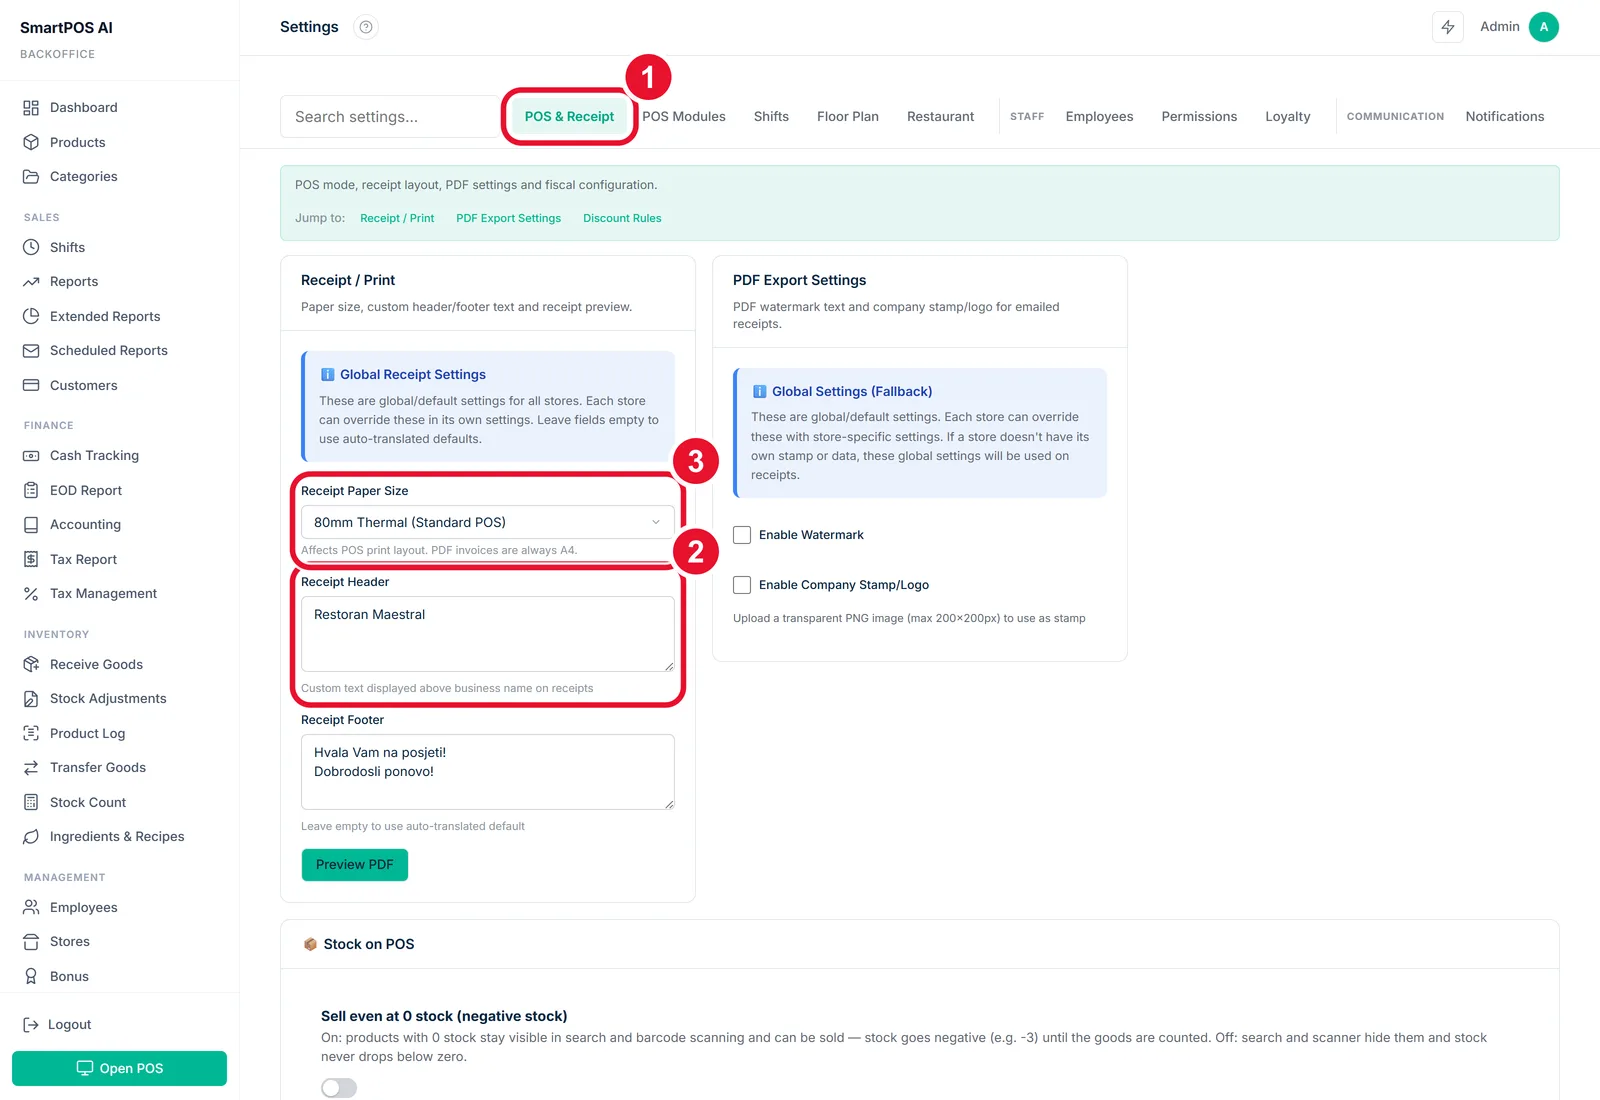
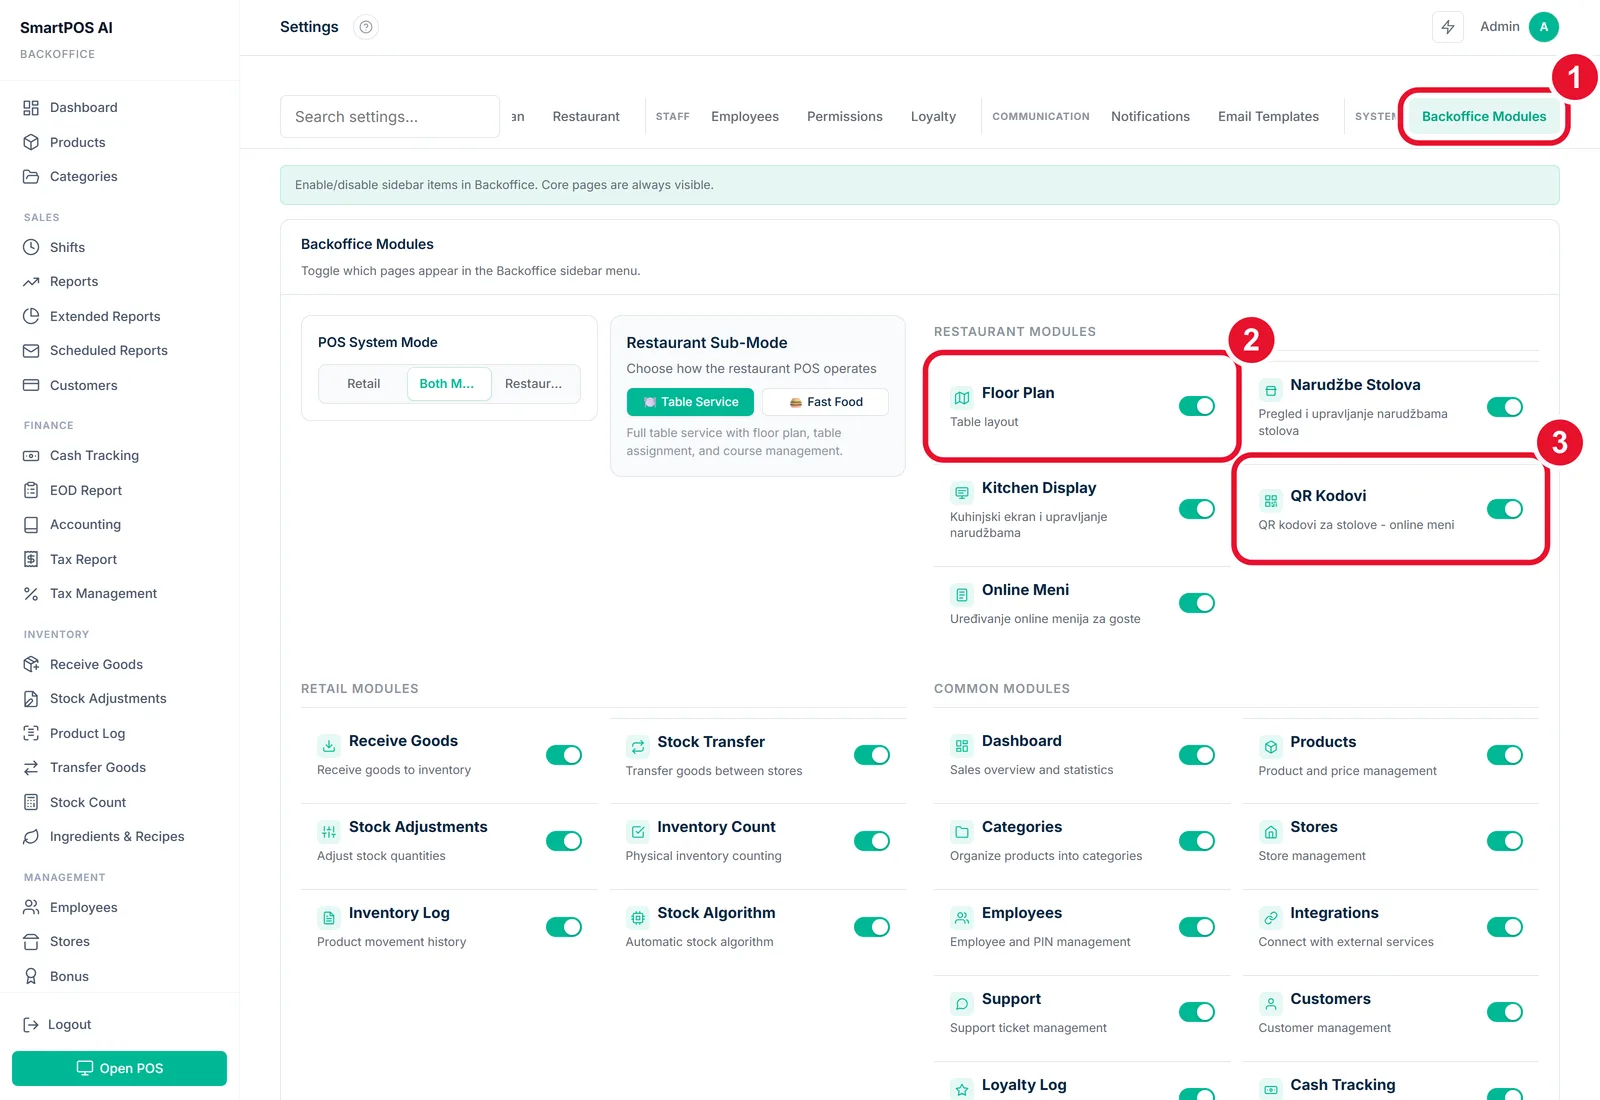
The full menu. Screens tagged retail or restaurant appear only in that mode; any screen can also be switched off per business, so the menu your staff see is exactly as long as it needs to be.
DashboardToday’s takings, receipts and stores at a glance
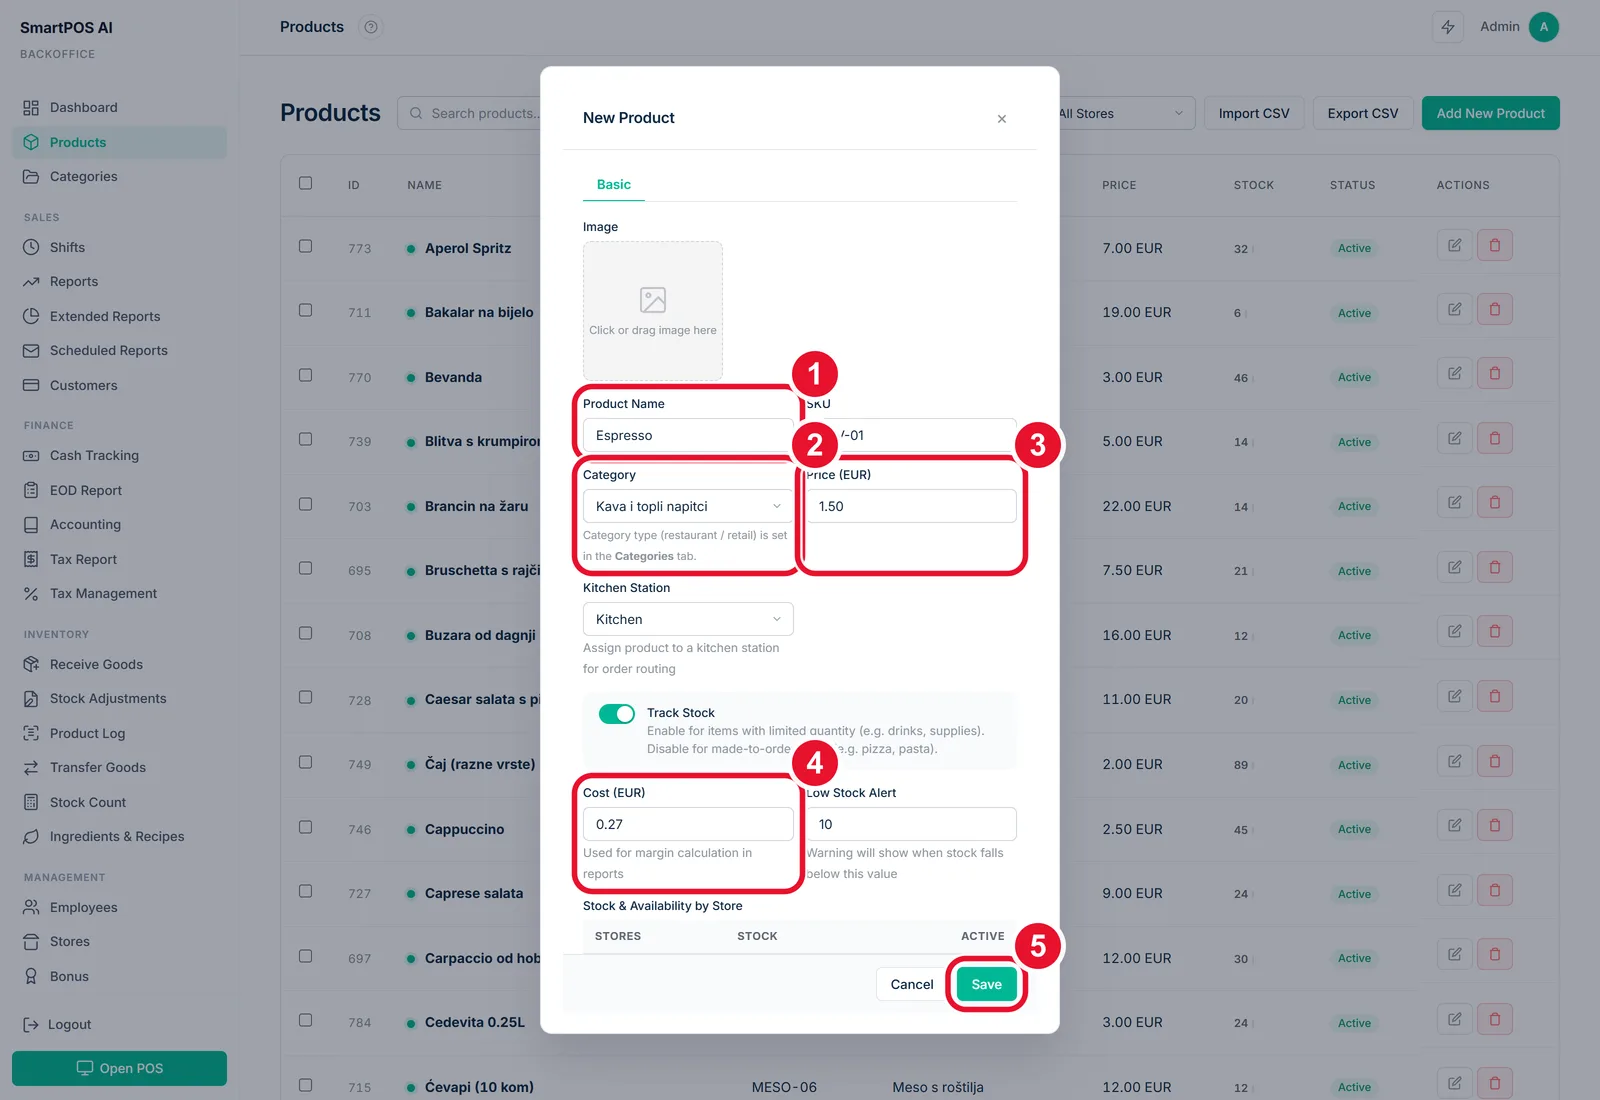
ProductsThe catalogue: prices, costs, barcodes, photos, CSV import
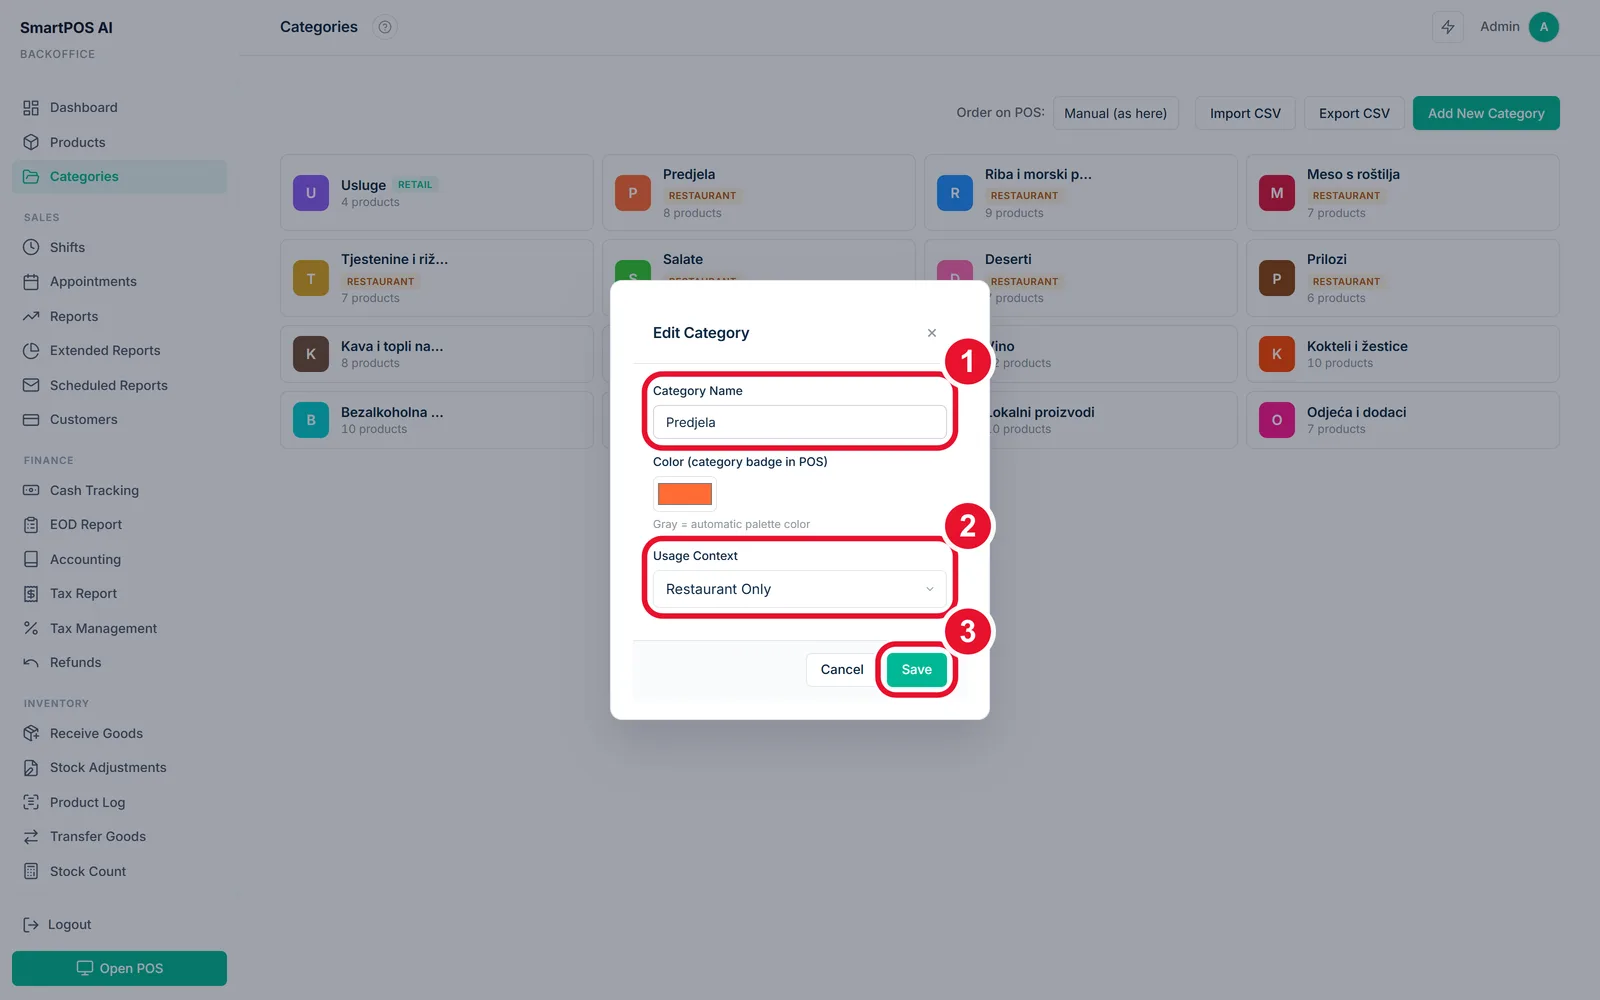
CategoriesGroups, colours, order — and retail or restaurant type
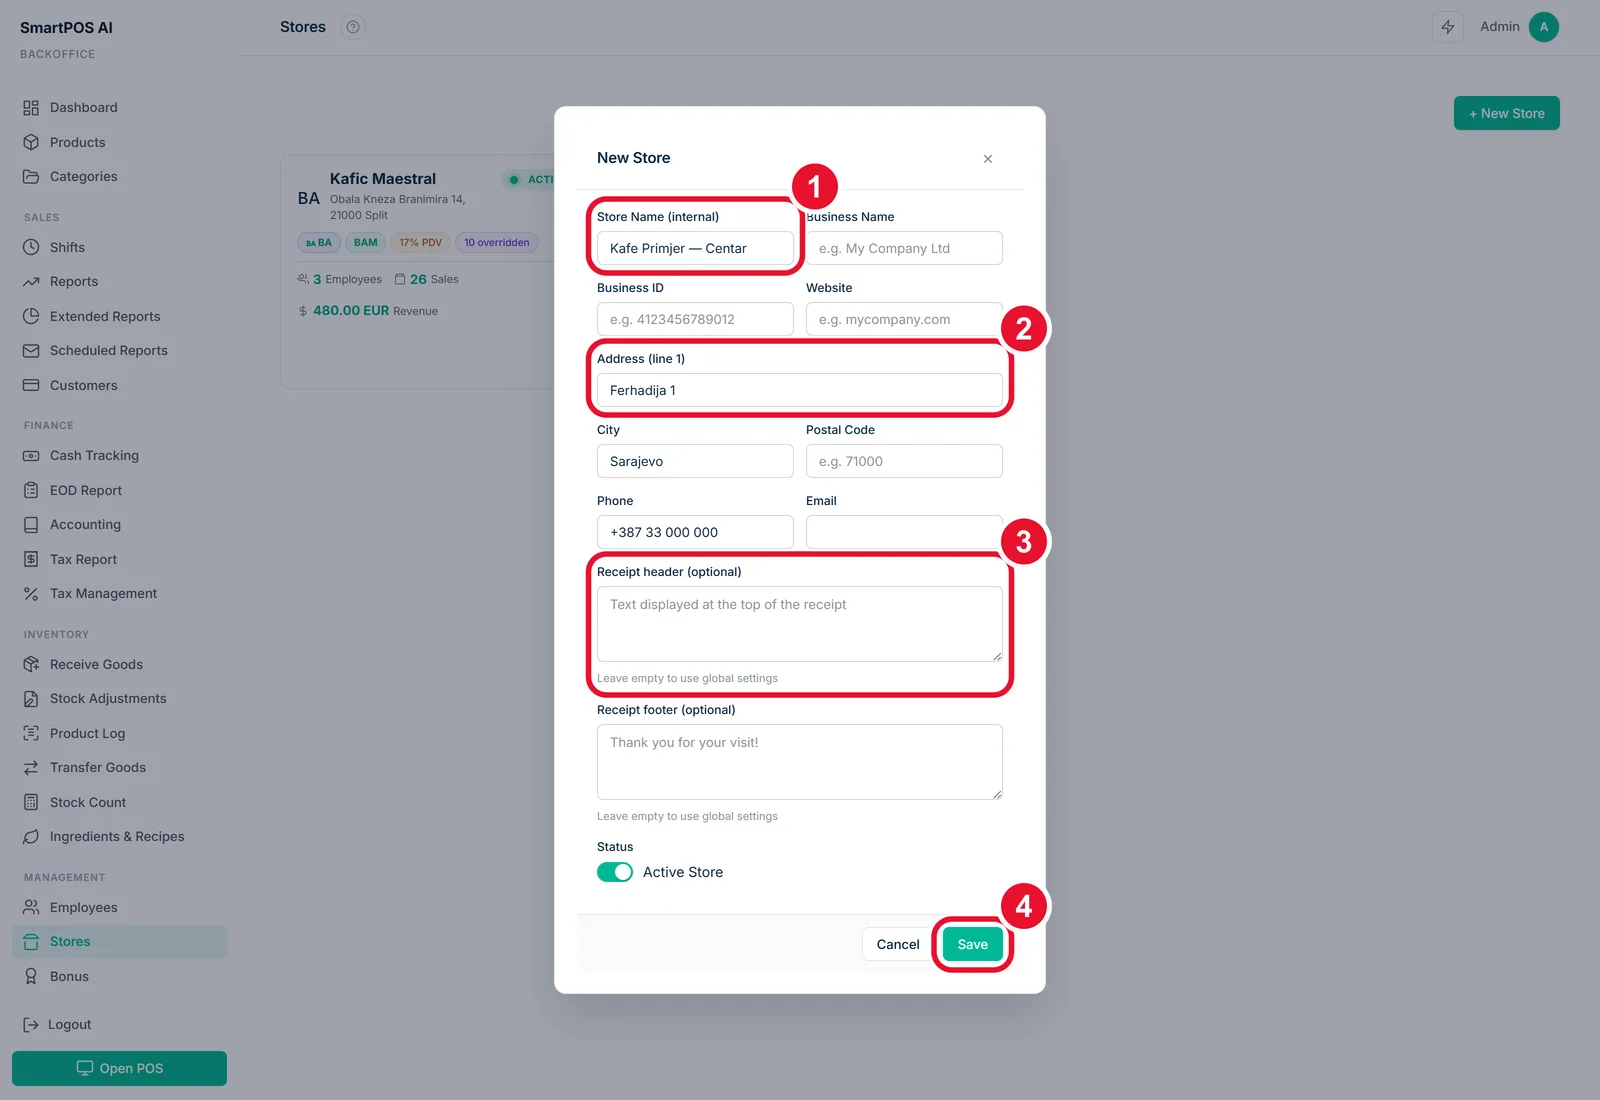
StoresLocations, working hours, each store’s numbers
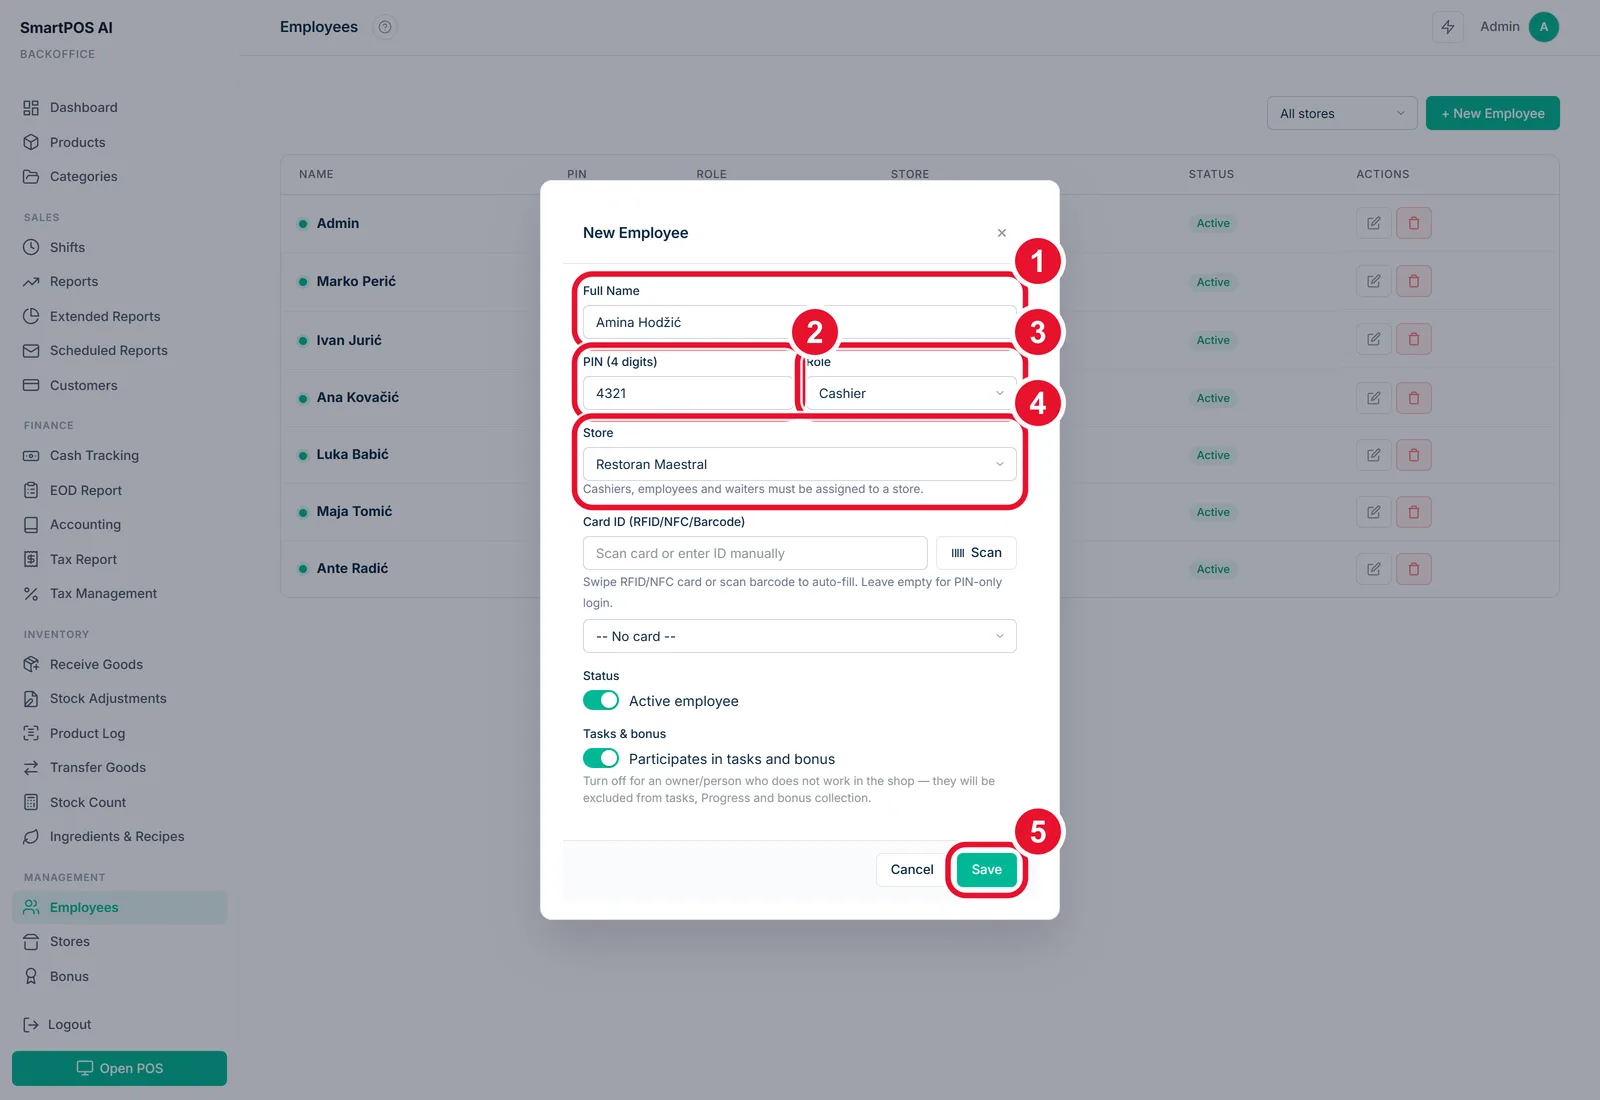
EmployeesPeople, roles, PINs and pay rates
ShiftsEvery opened and closed shift, with the counts
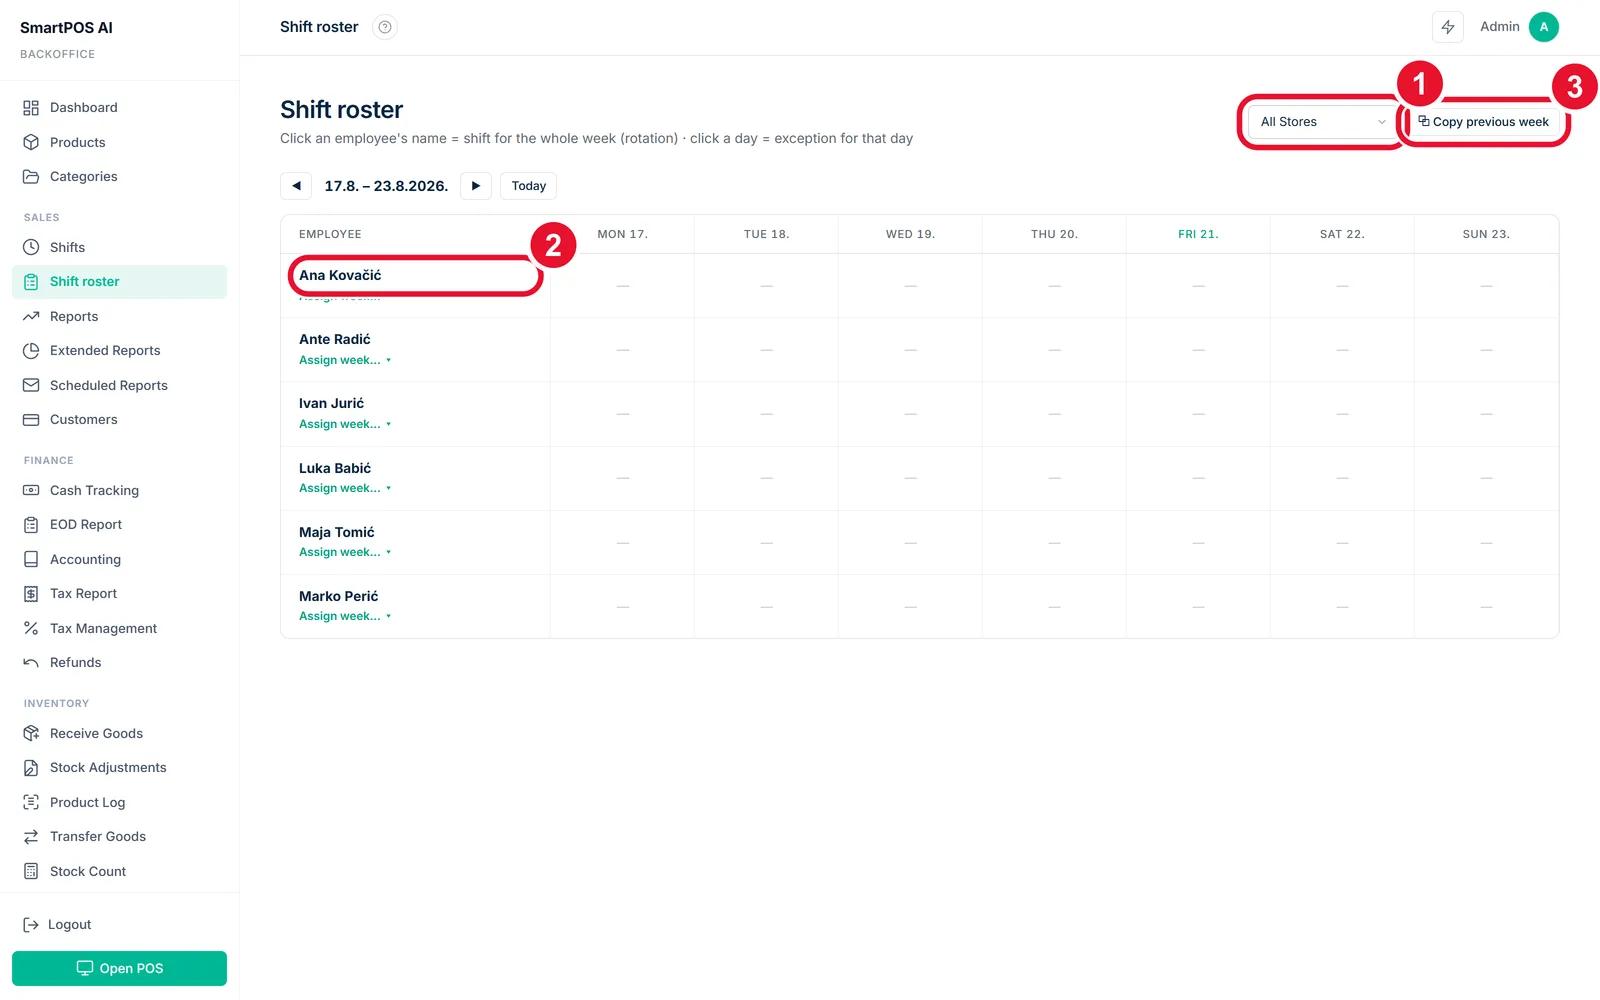
Shift rosterWho works when — the week planned on a grid
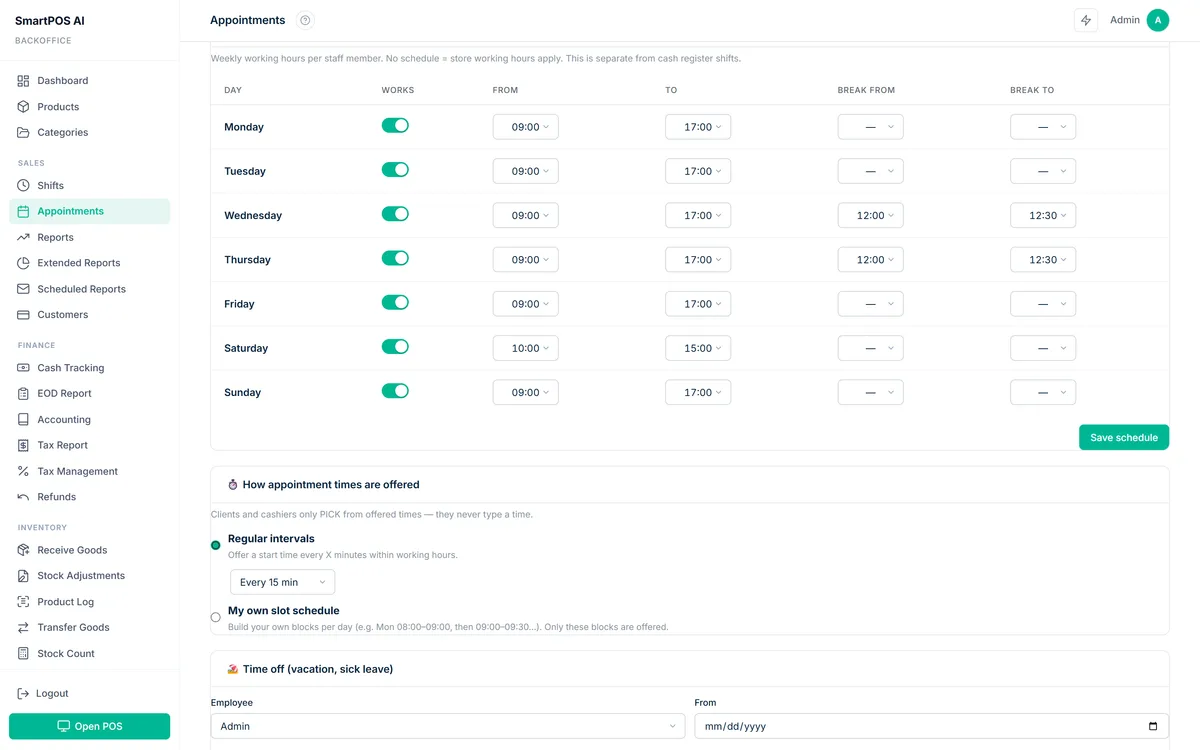
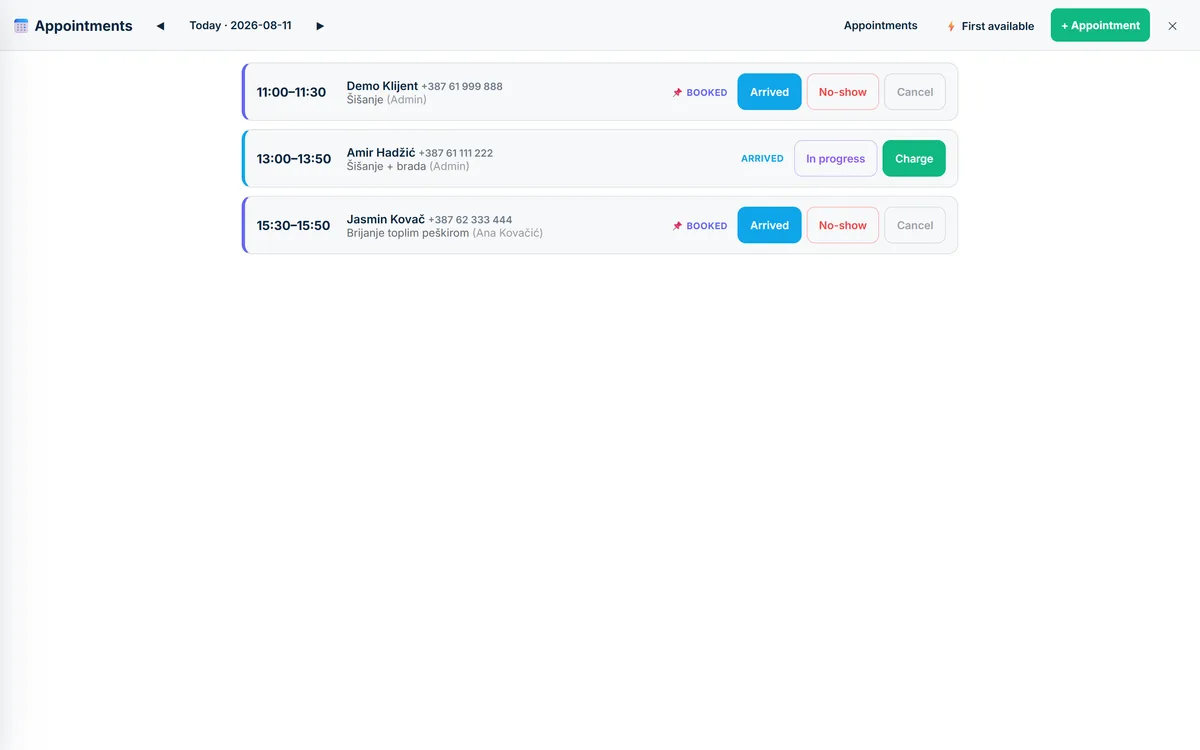
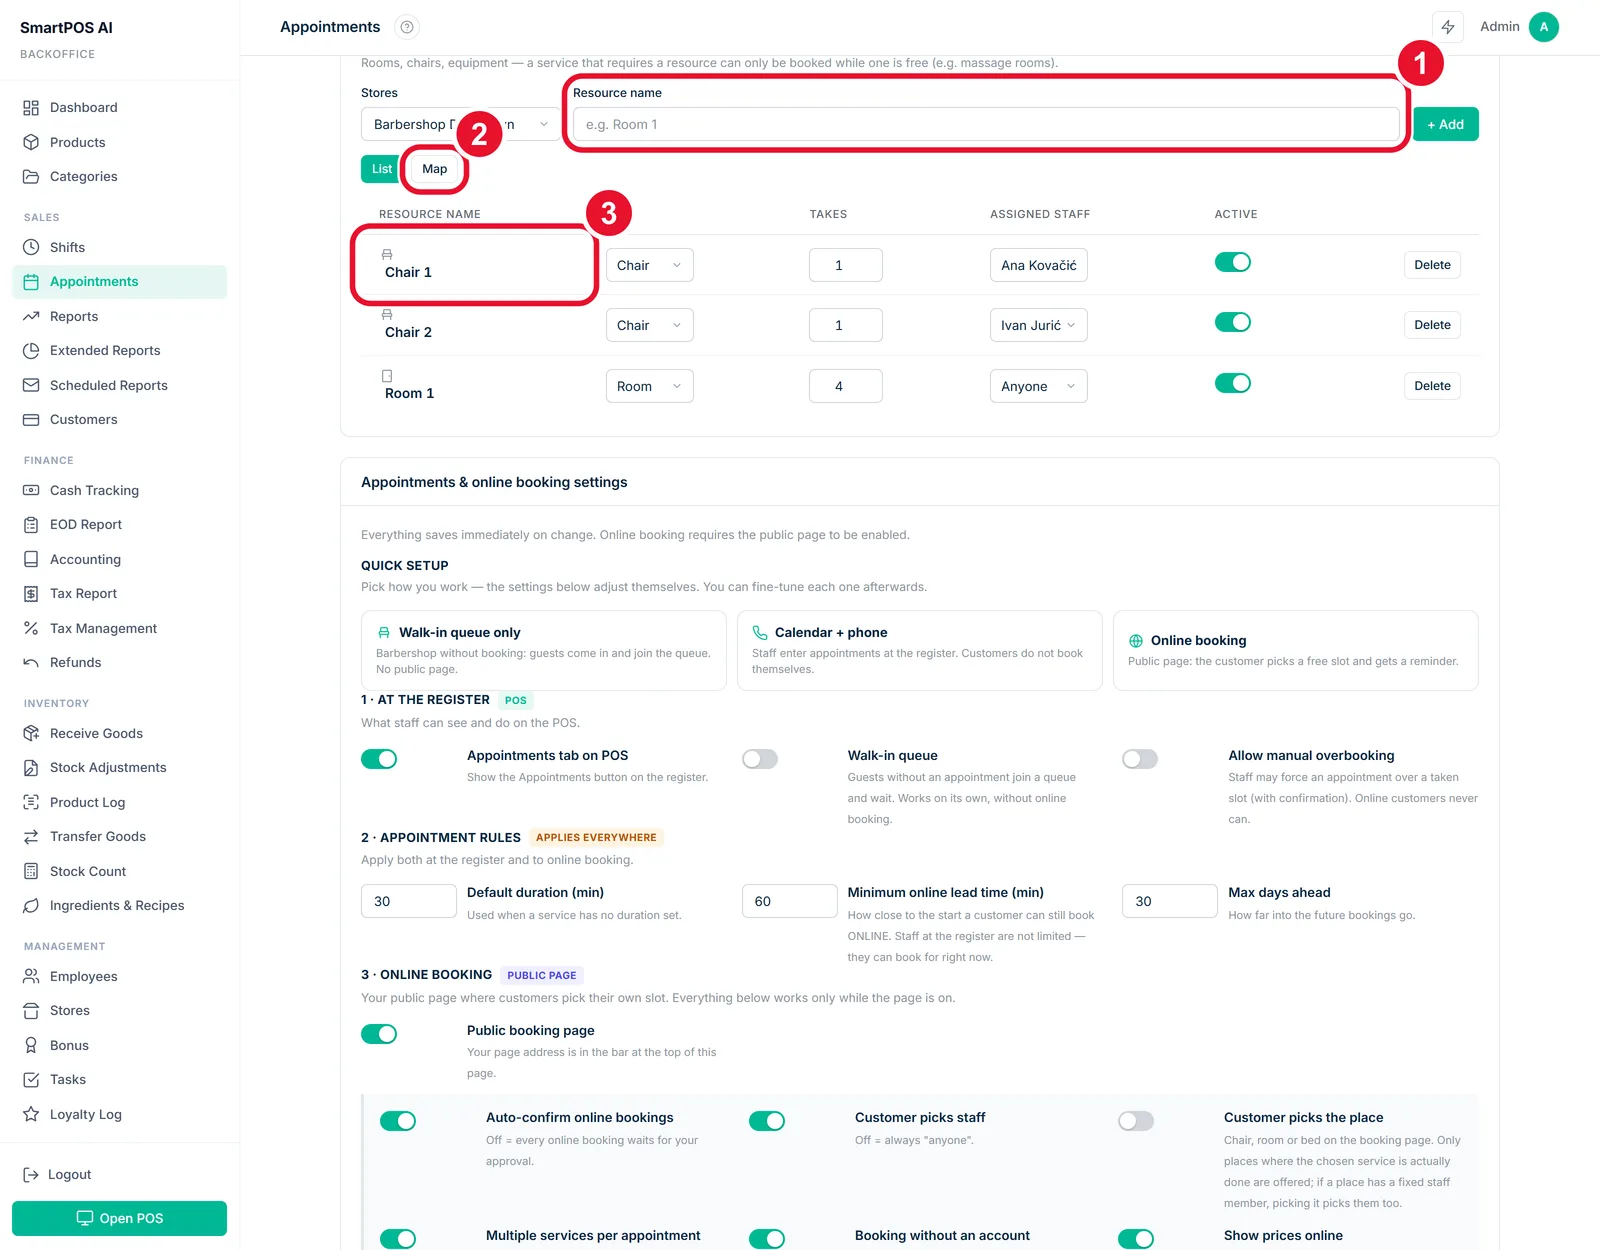
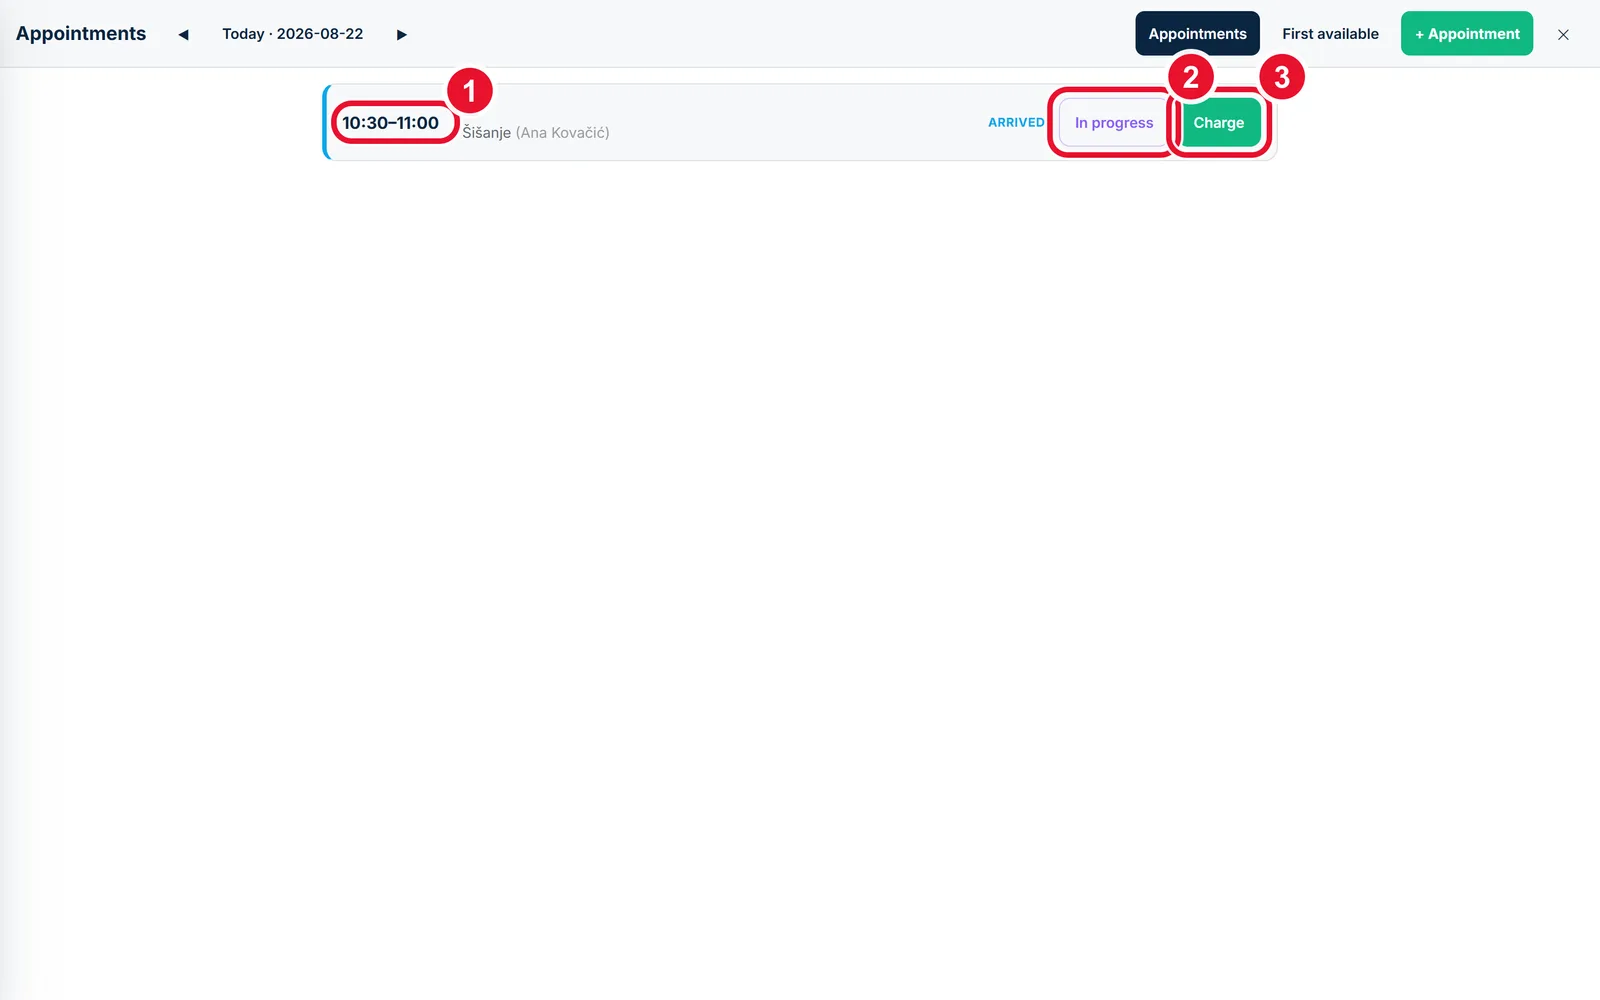
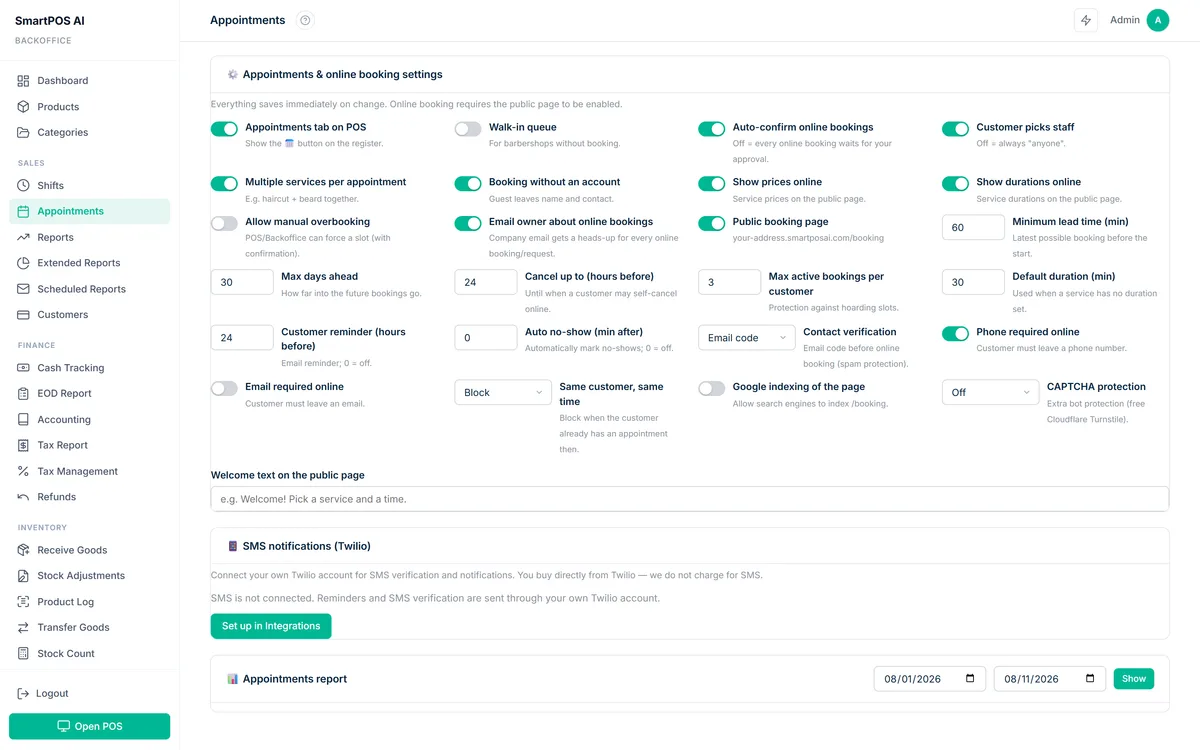
AppointmentsThe booking calendar, staff schedules and places
ReportsSales by store, employee, product, hour — CSV export
Extended reportsDeeper cuts and comparisons across periods
Scheduled reportsAny report, e-mailed on a timetable
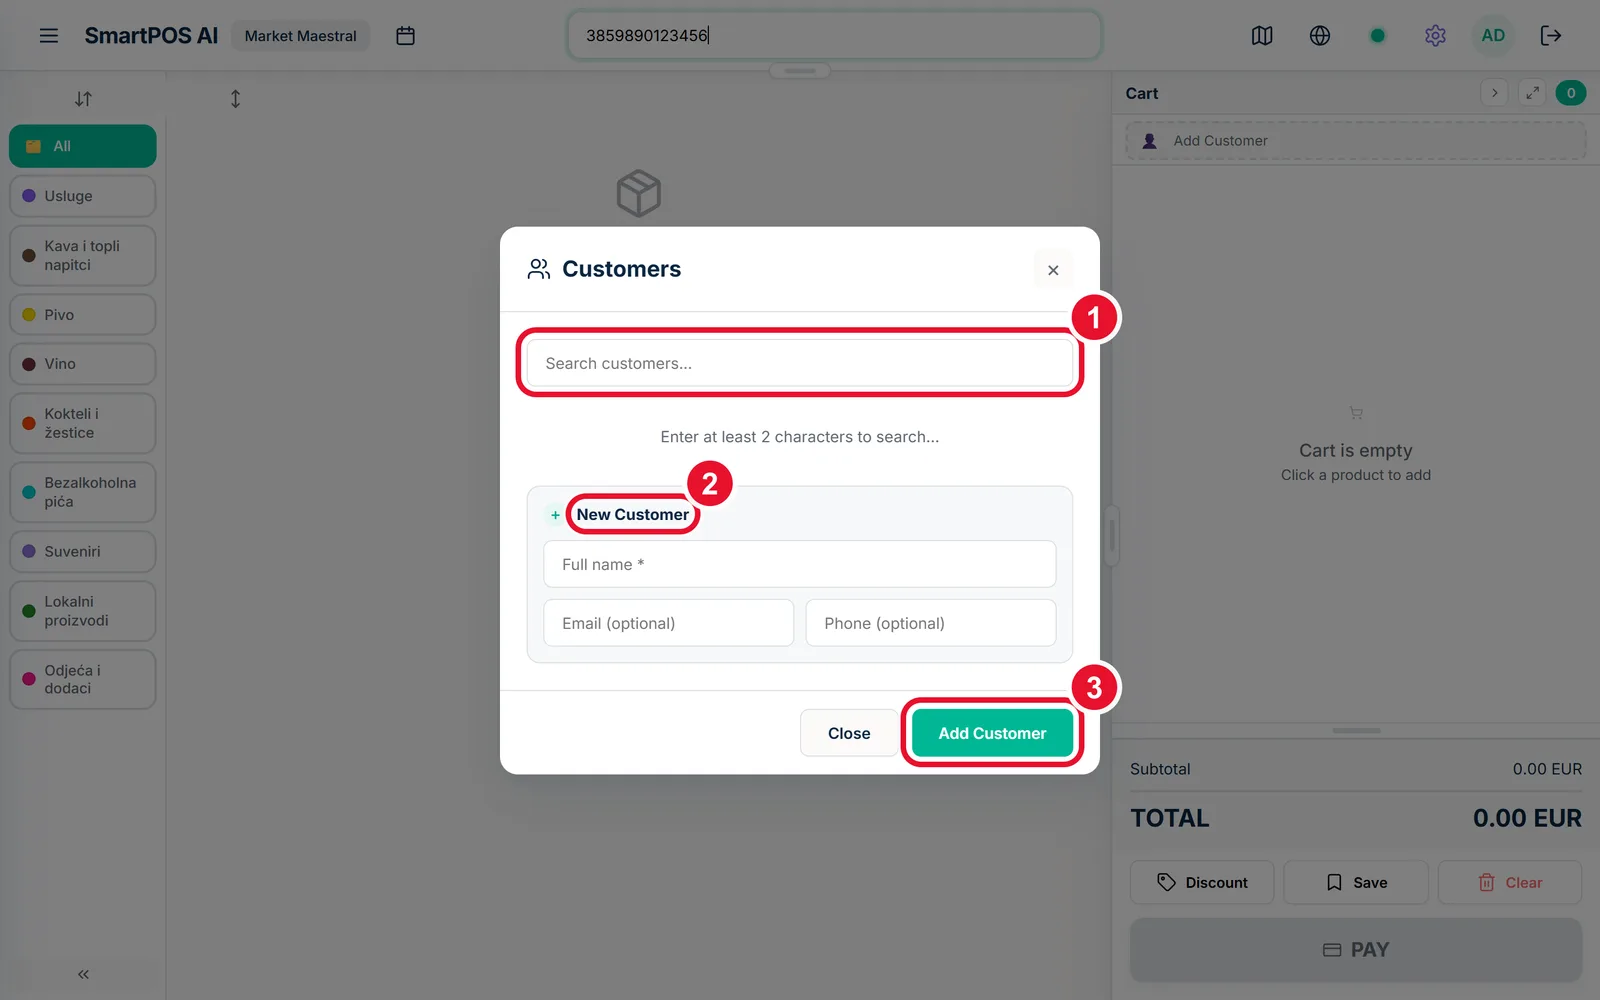
CustomersThe customer book: history, points, contact details
Cash trackingEvery handover and drawer movement, reconciled
End-of-day reportThe day summarised: sales, cash, card, differences
Bank reconciliationBank statements matched against your receipts
AccountingProfit & loss: revenue, cost of goods, margin
Tax reportVAT collected, month by month, by rate
Tax ratesYour rates and tax groups, per product type
RefundsEvery refund, who gave it and why
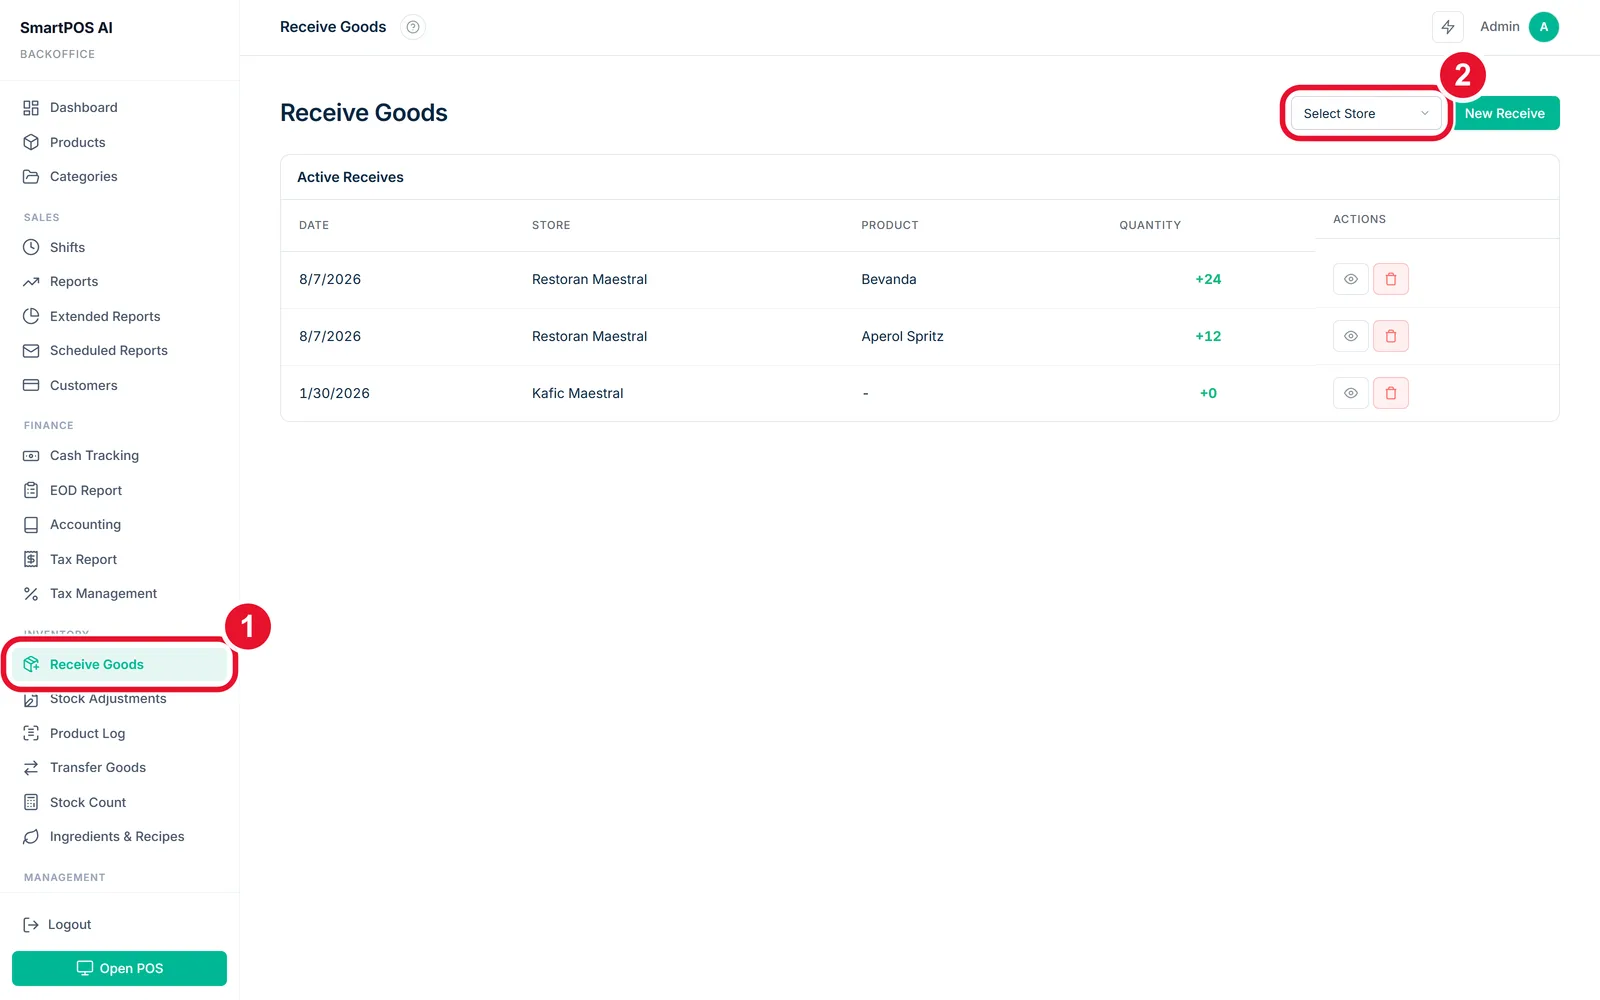
Receive goodsDeliveries booked into stock, supplier and cost
Stock adjustmentsBreakage, write-offs, corrections — with reasons
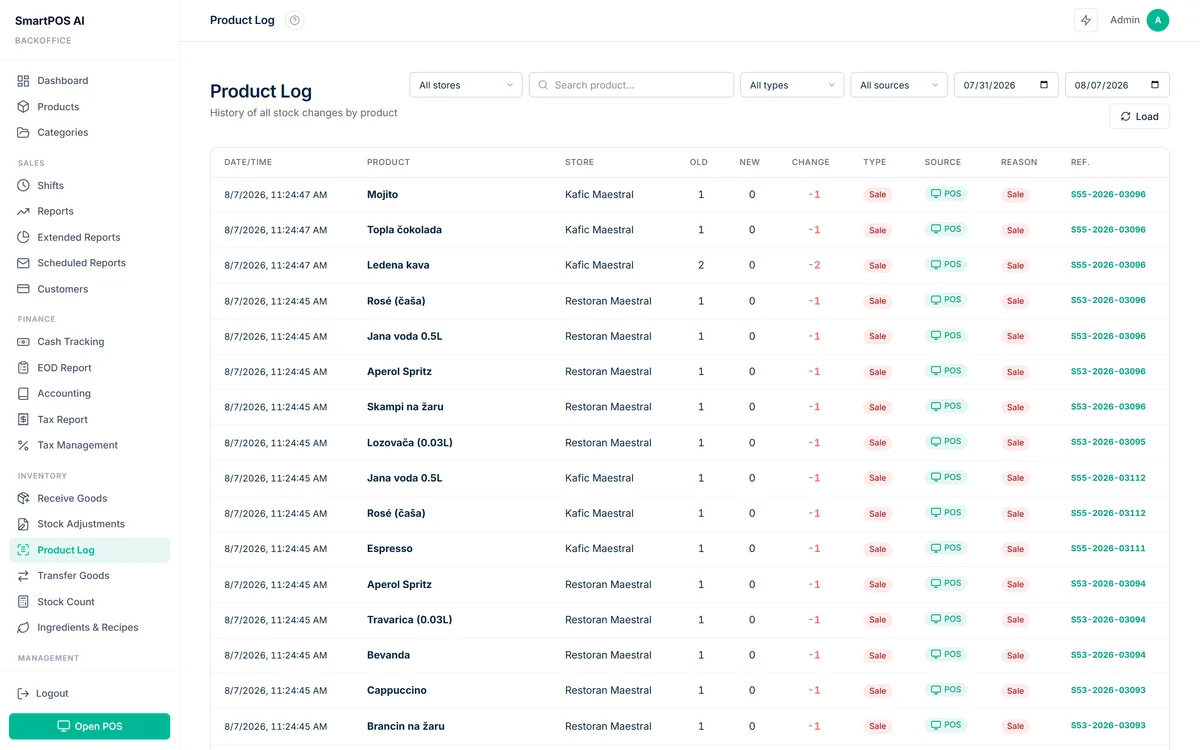
Inventory logEvery stock change ever, traceable to its receipt
Stock transferGoods moved between stores, both sides recorded
Stock countPhysical counts with differences in money
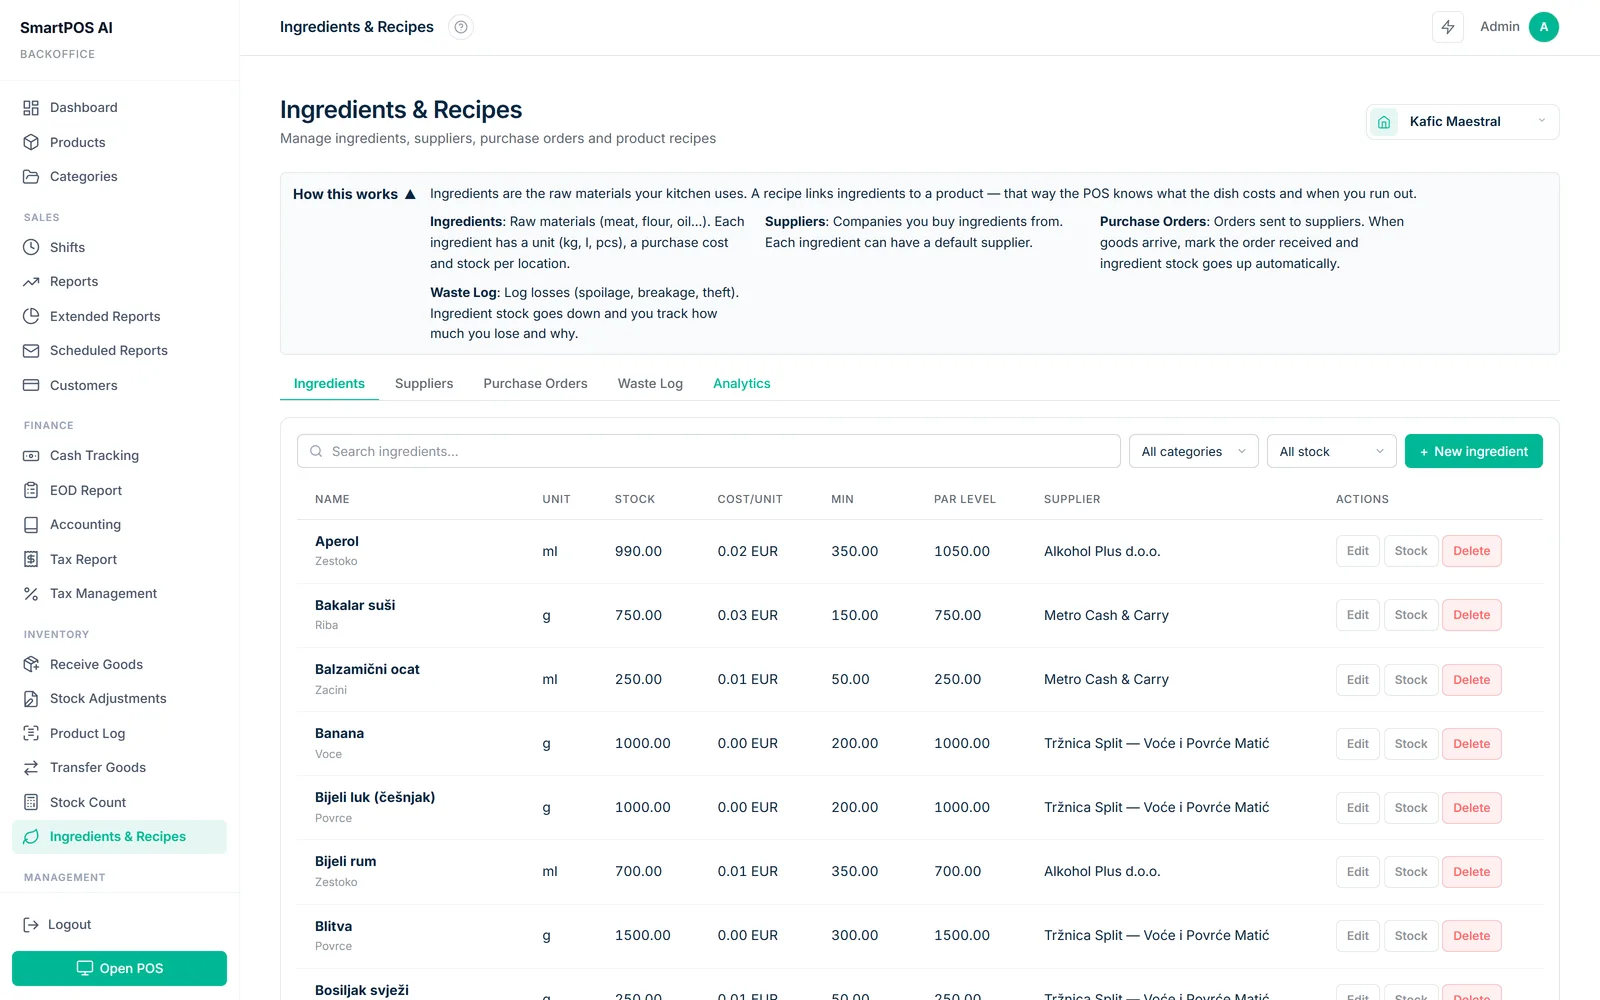
Ingredients & recipesWhat each dish is made of — sales deduct the parts
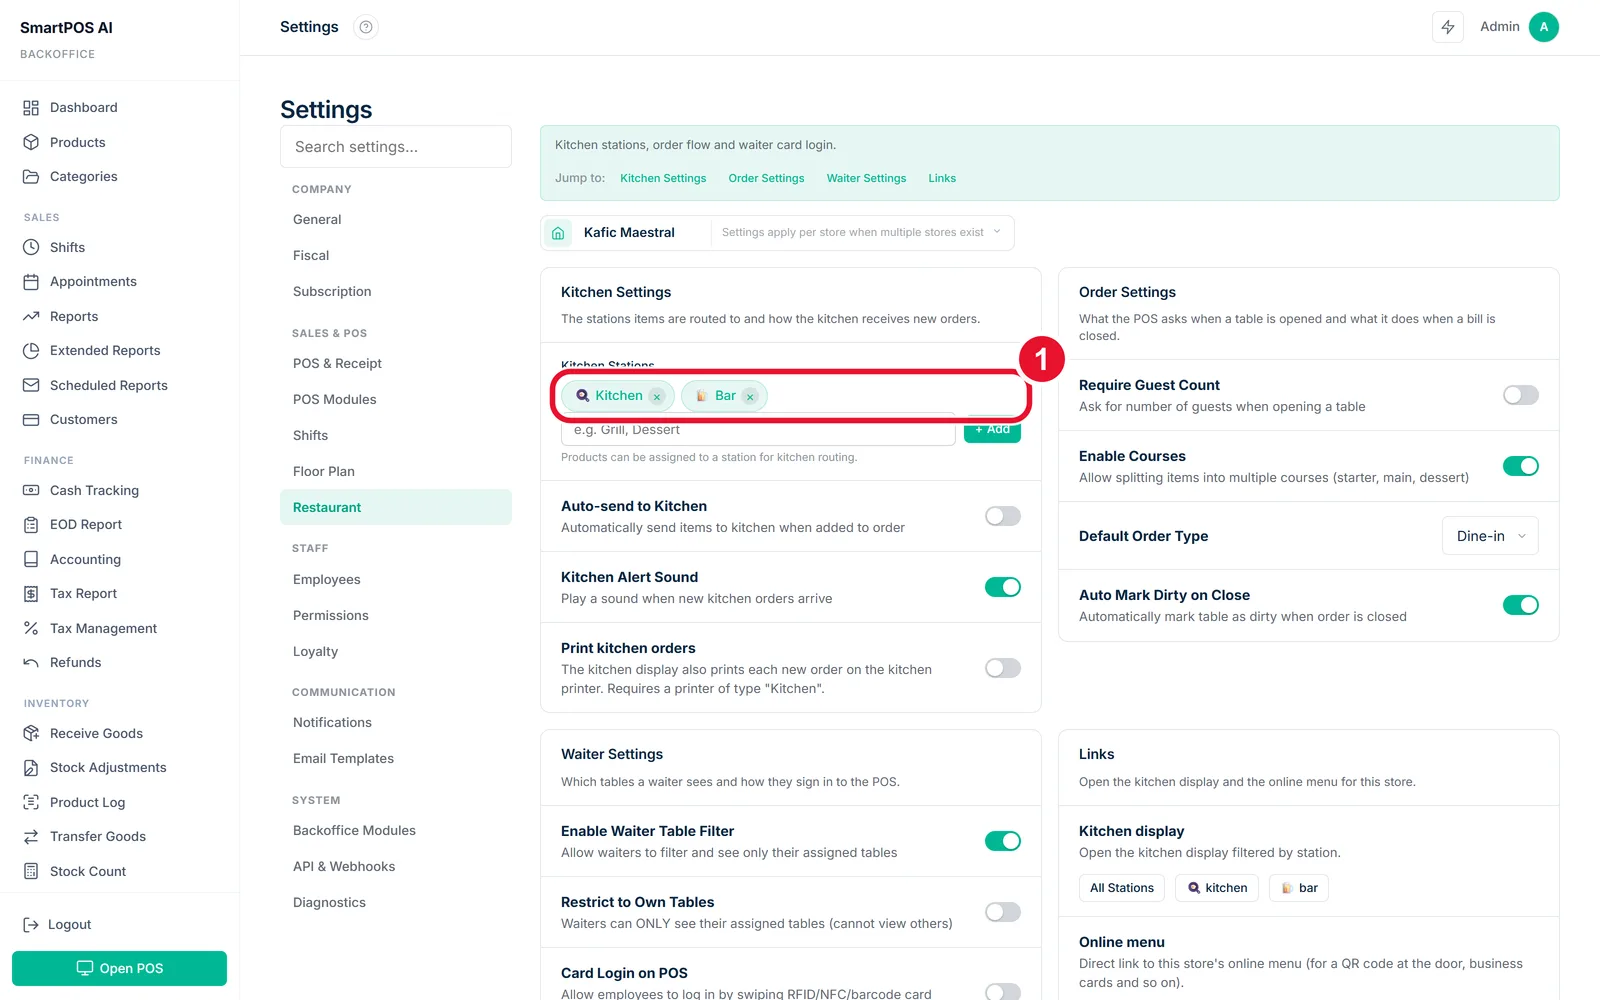
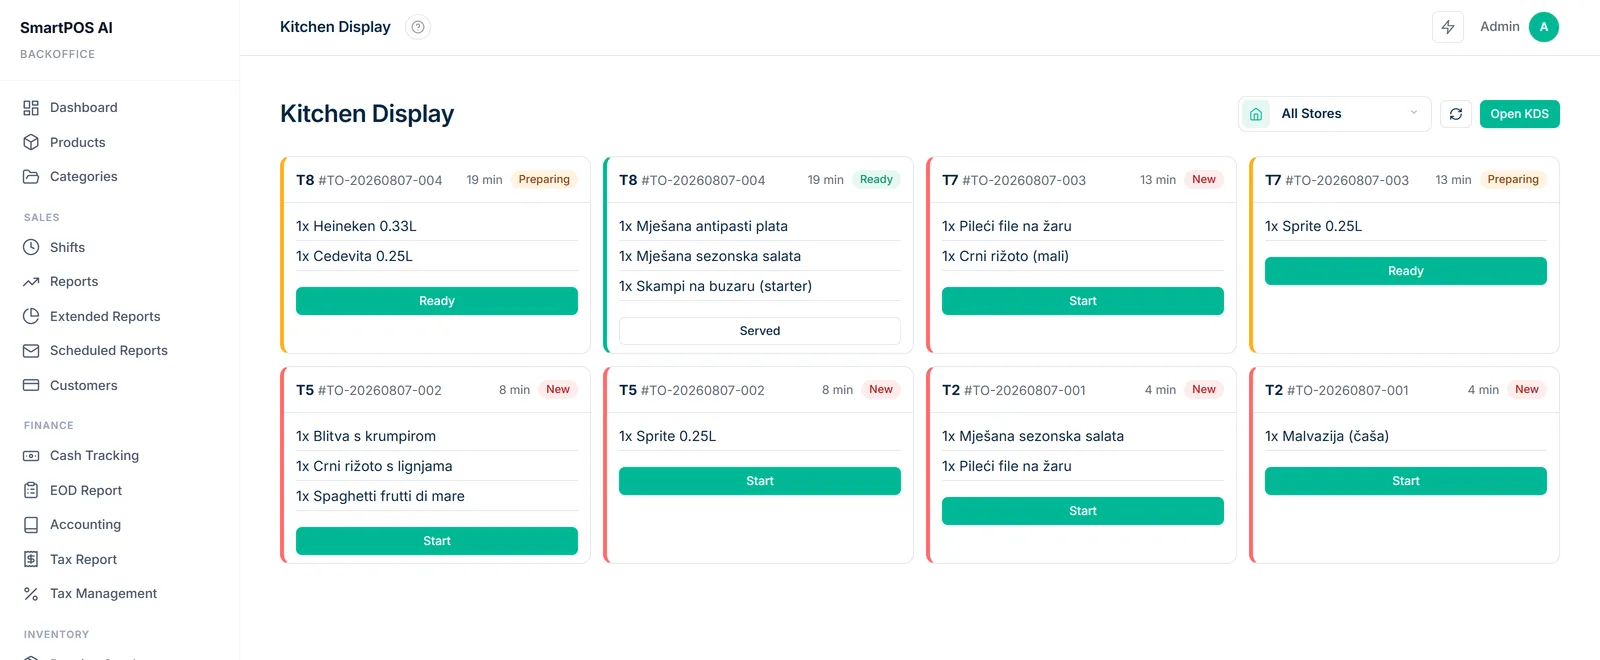
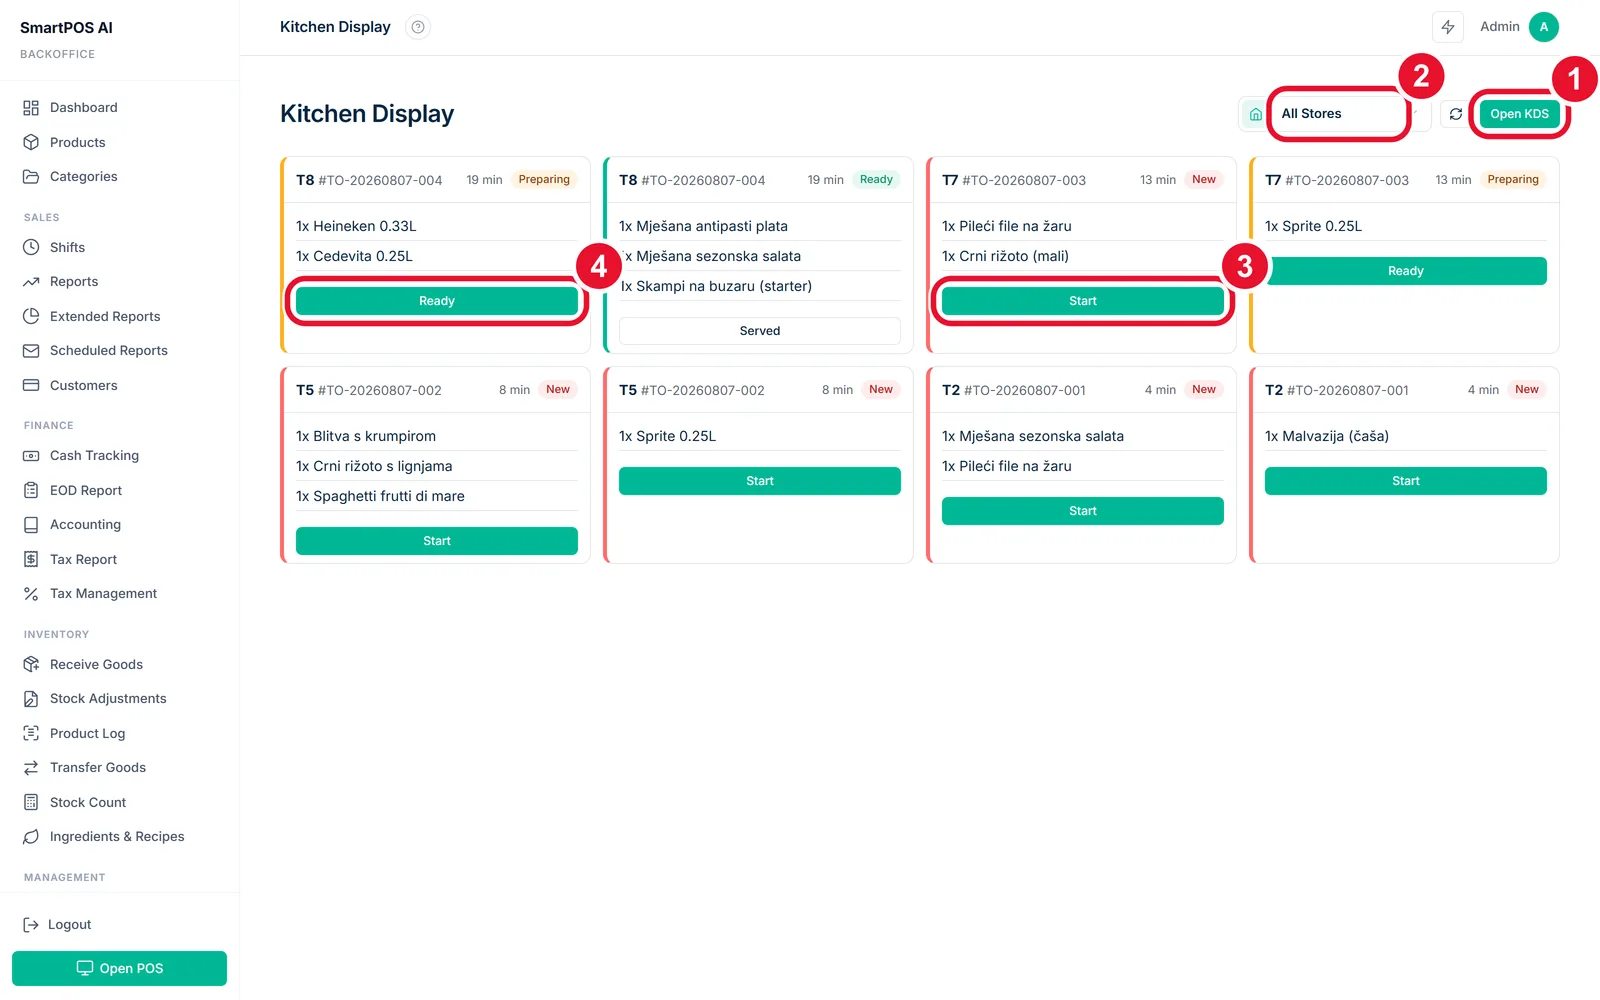
Kitchen display restaurantThe kitchen’s screen, per station
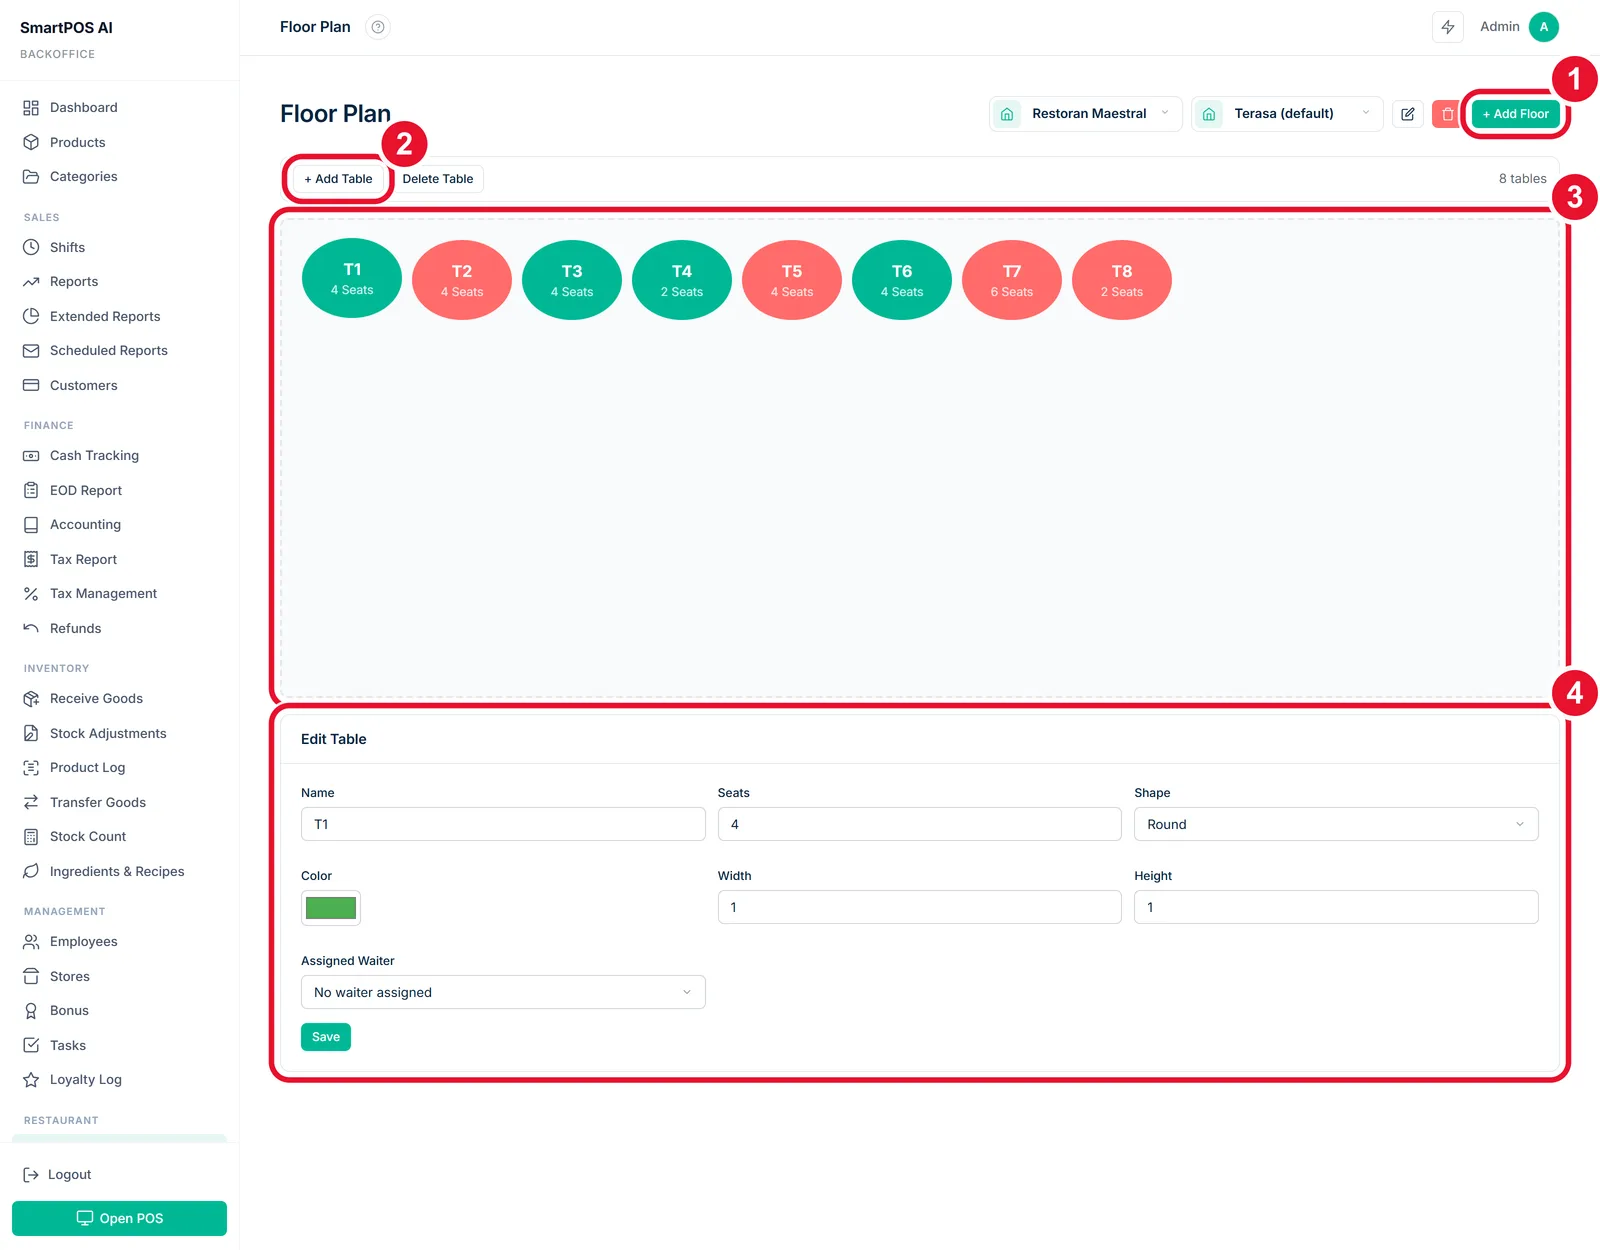
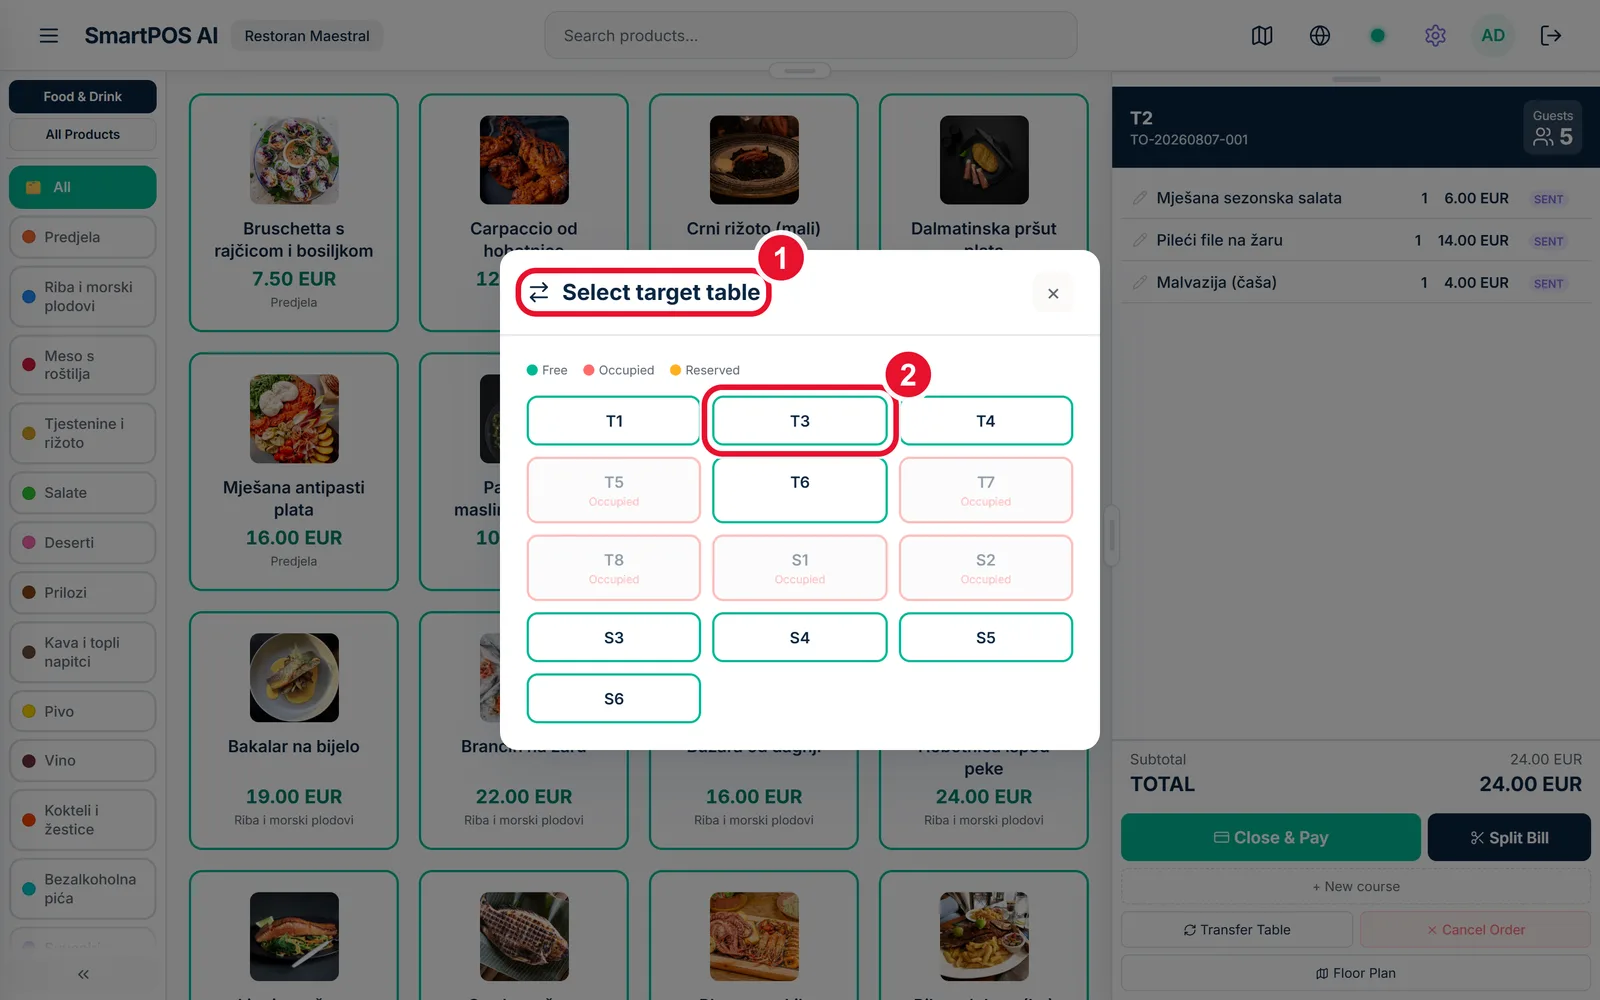
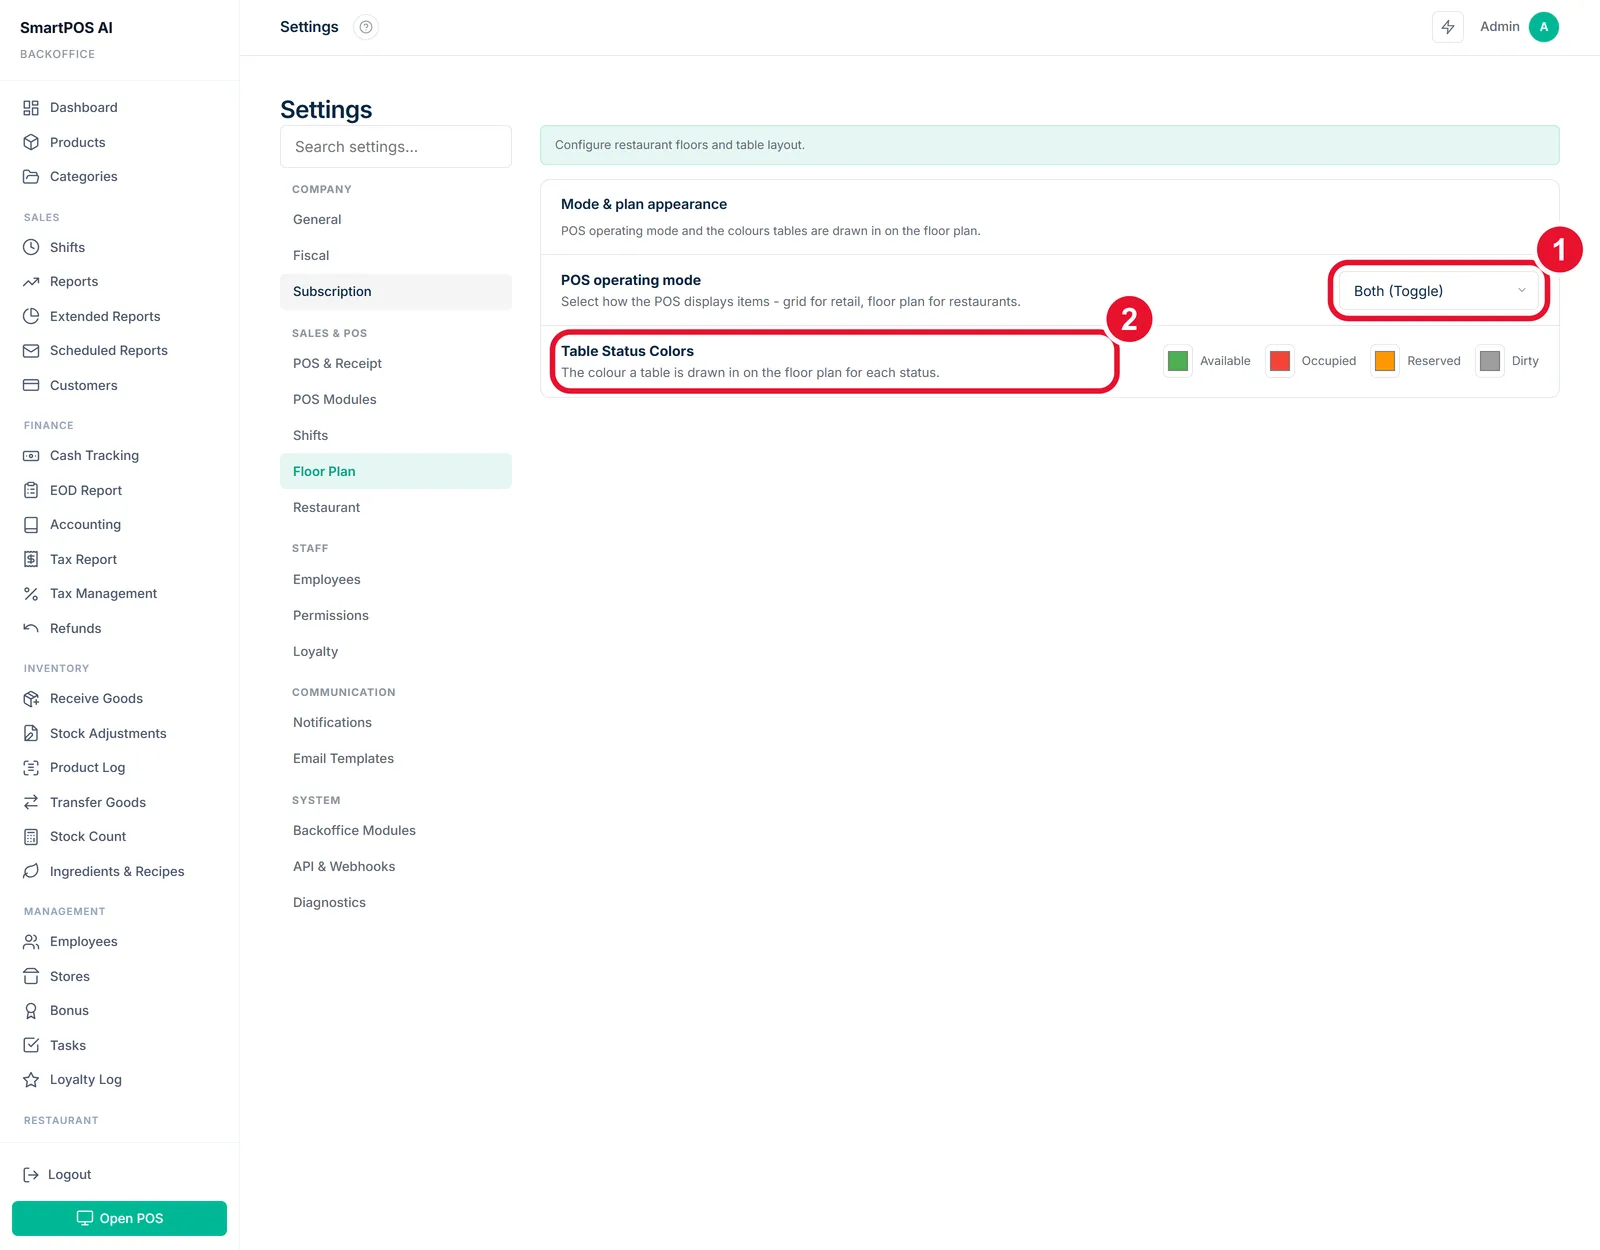
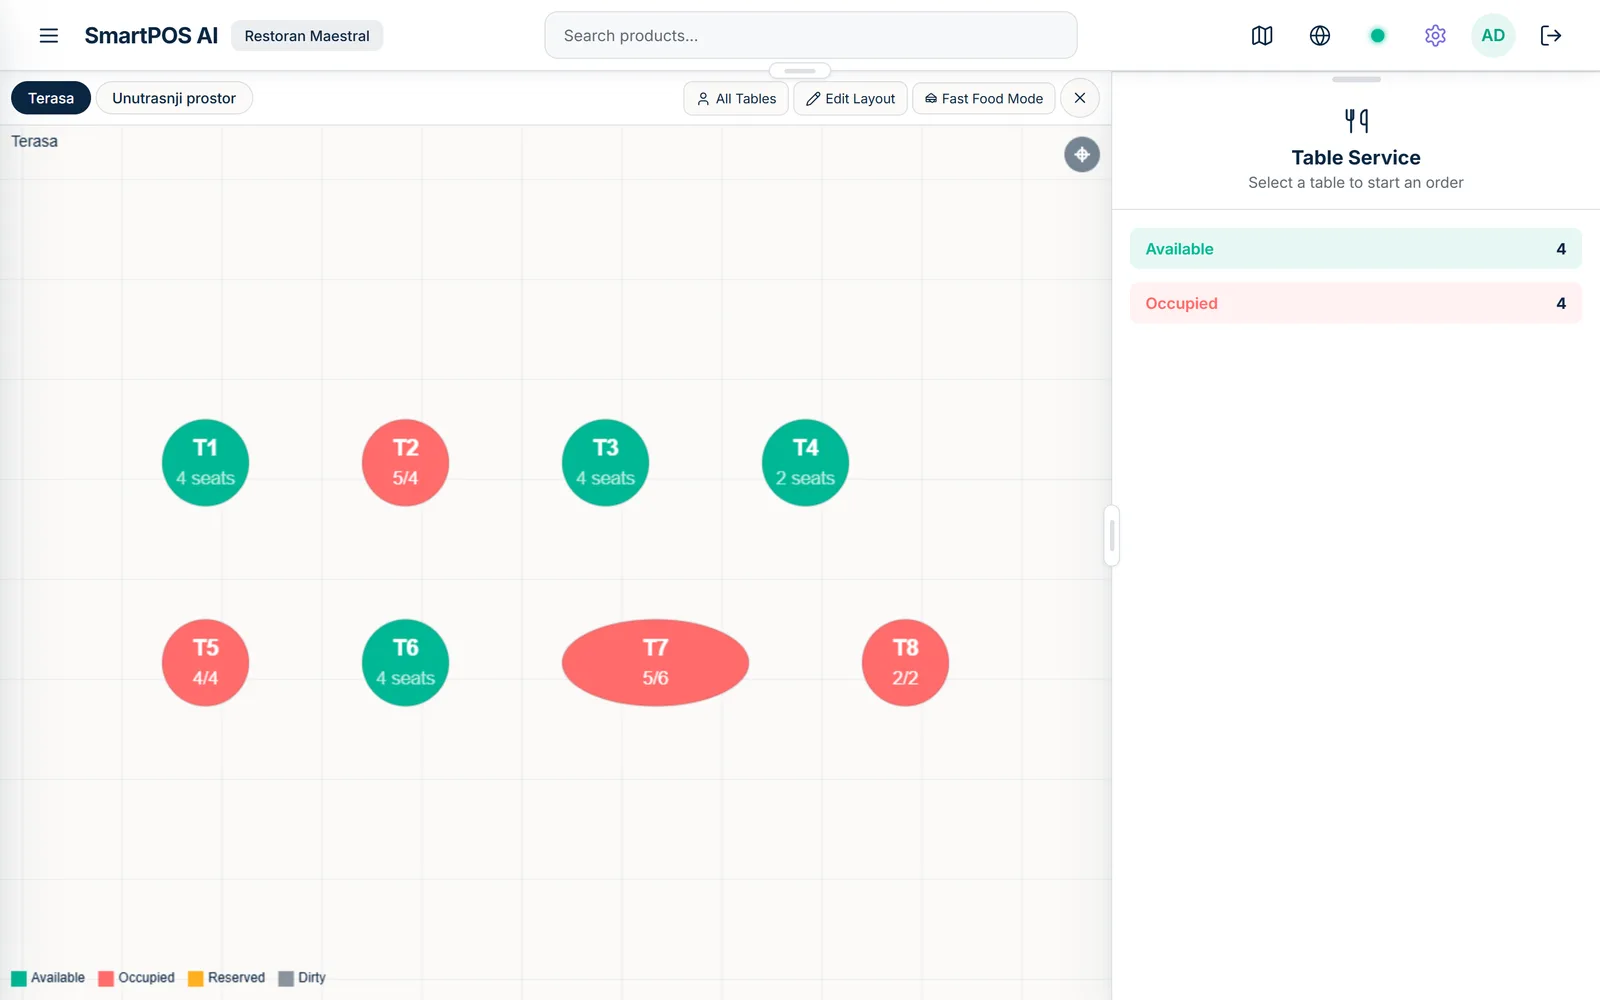
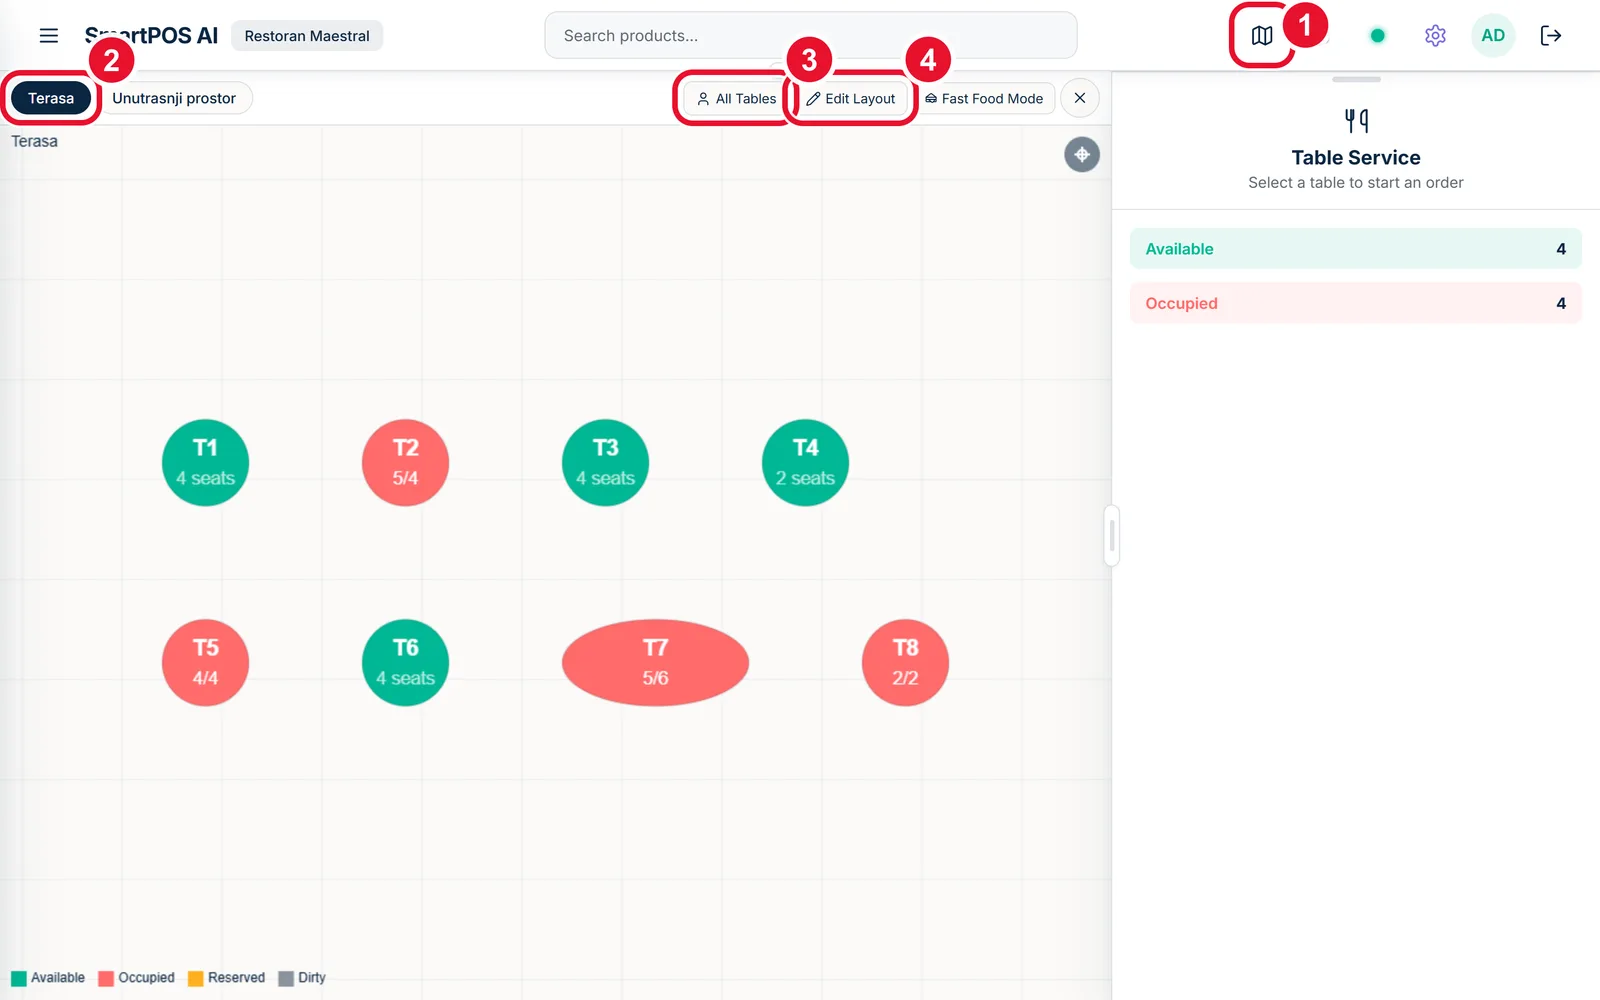
Floor plan restaurantThe designer: floors, tables, shapes, waiters
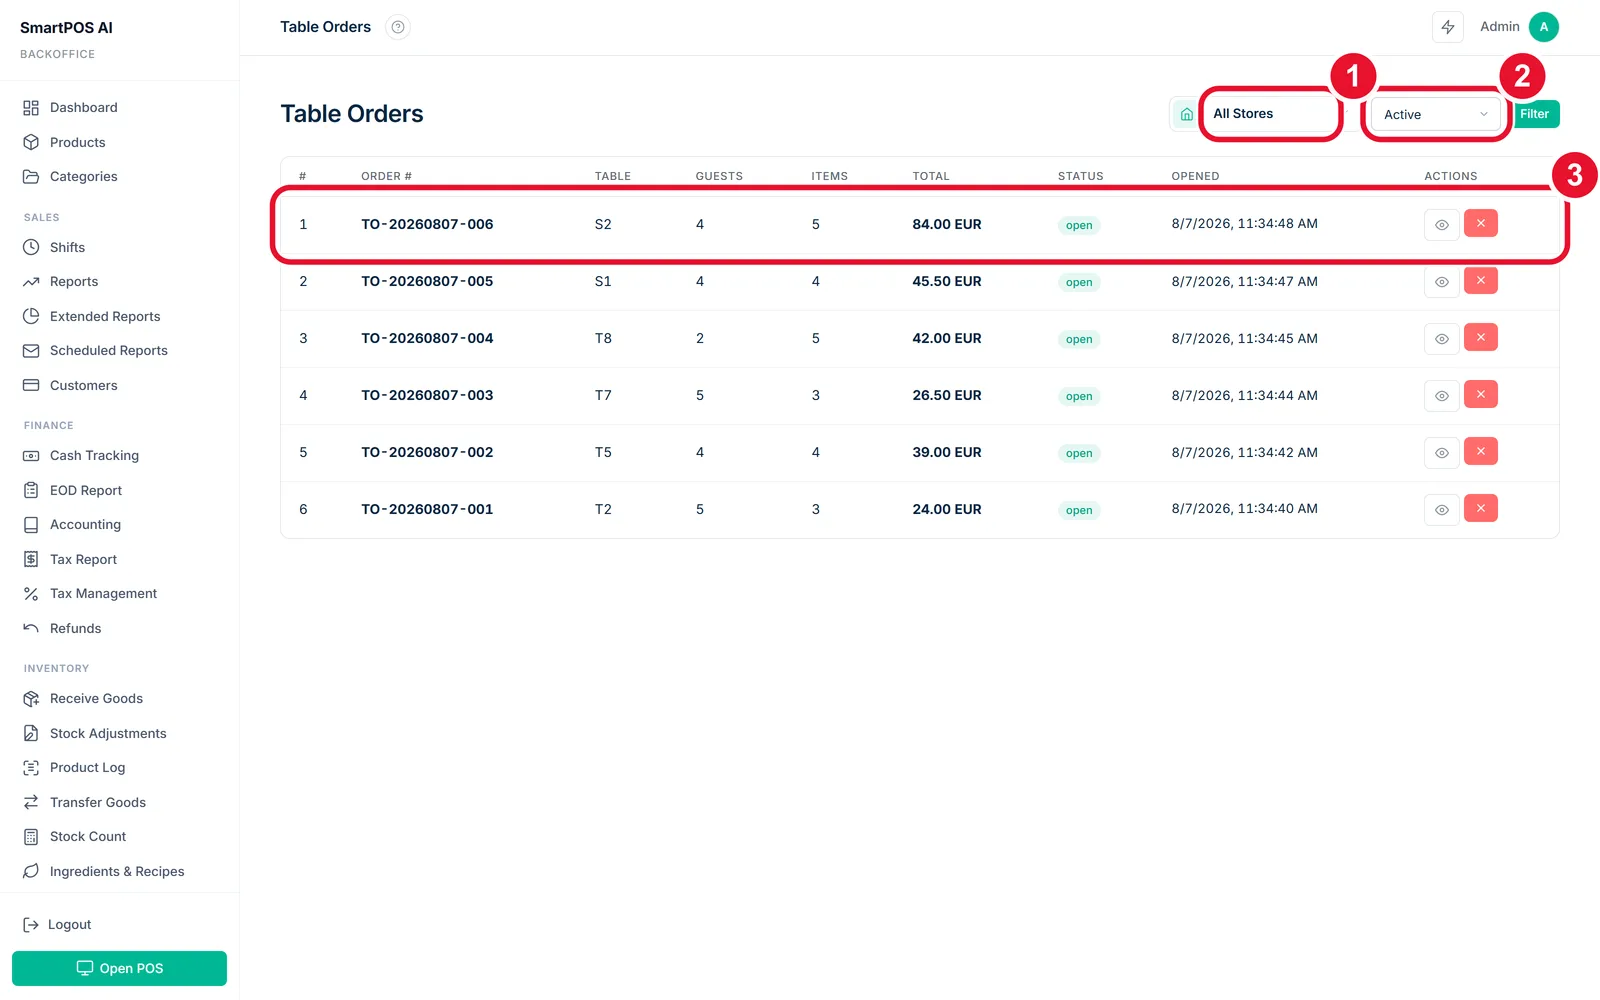
Table orders restaurantEvery open table across every store
Online menu restaurantYour public menu page, per store
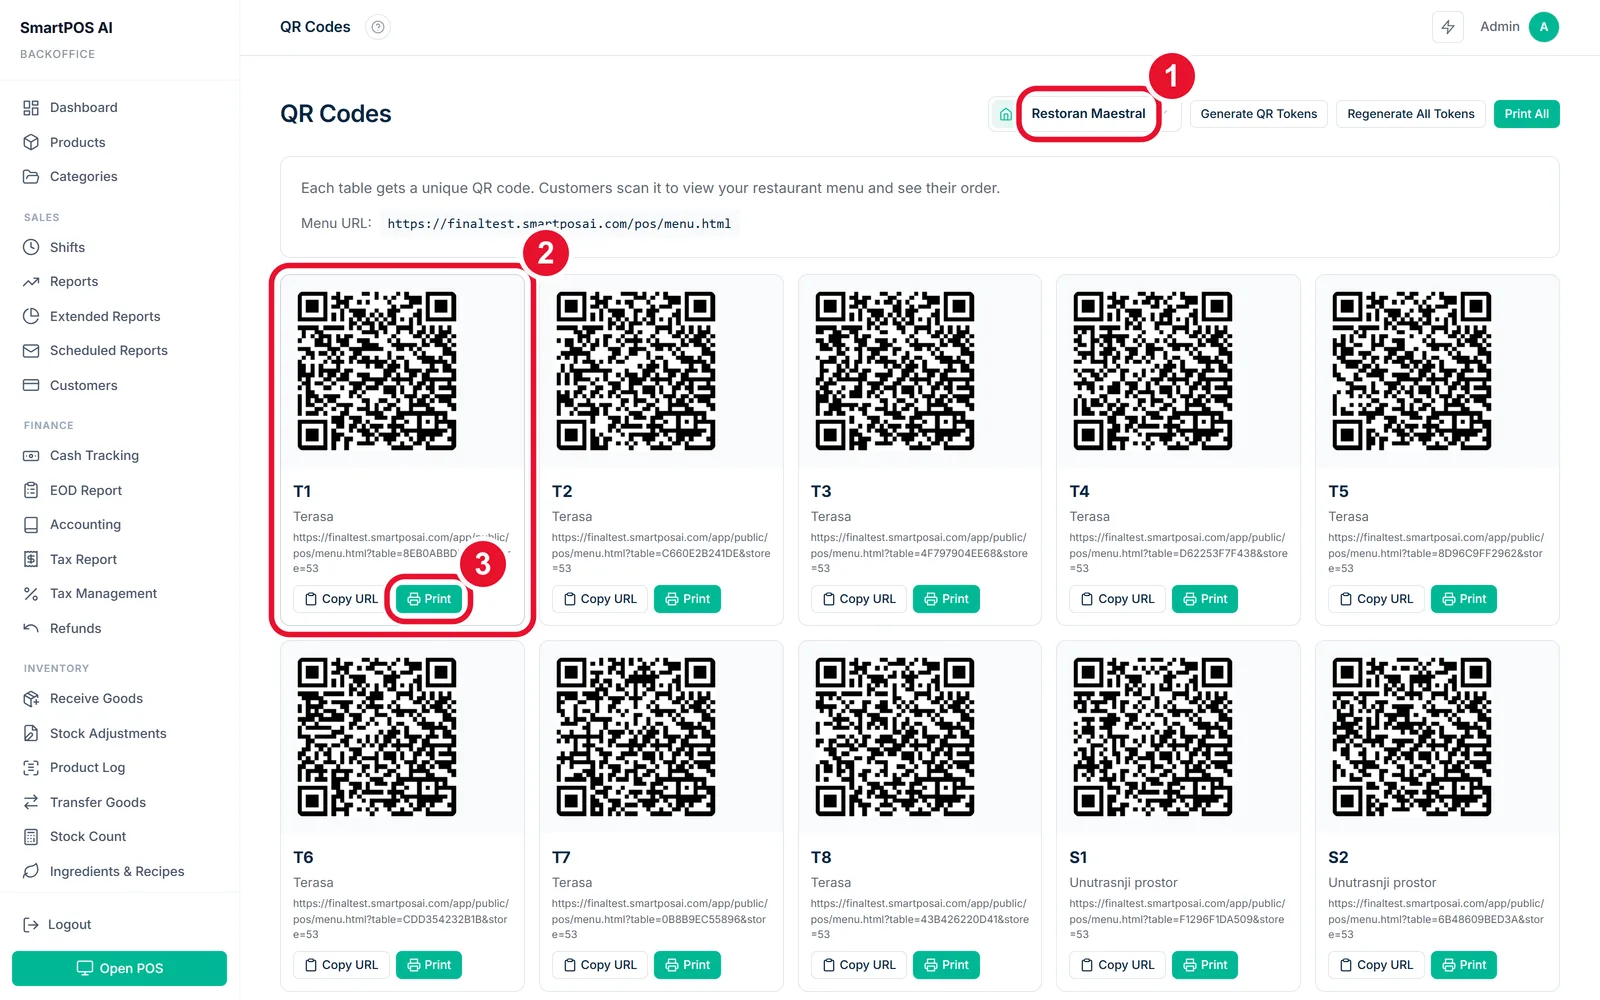
QR codes restaurantA unique ordering code for every table
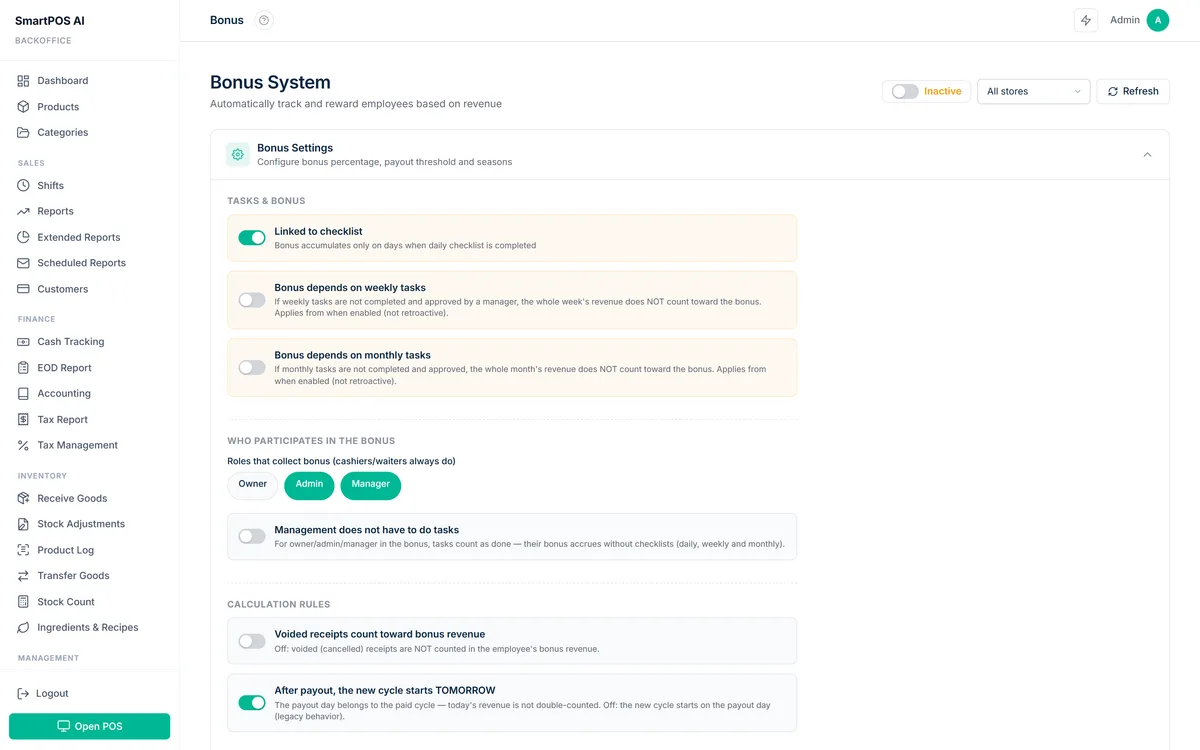
BonusStaff bonuses tied to revenue and tasks
ChecklistsDaily, weekly, monthly duties — and who did them
Loyalty logEvery point earned and spent, per customer
Executive dashboardThe owner’s cross-store cockpit
Loss preventionVoids, discounts and patterns that deserve a look
Customer DNABuying habits: who buys what, how often
Smart pricingPrice suggestions from your own sales
Stock & ordersWhat to order and transfer, from real sales — plus the forecast
AntifraudSuspicious receipt patterns flagged automatically
PrintersUSB, Bluetooth, network, serial or browser printing
DevicesEvery POS terminal, its browser and last seen time
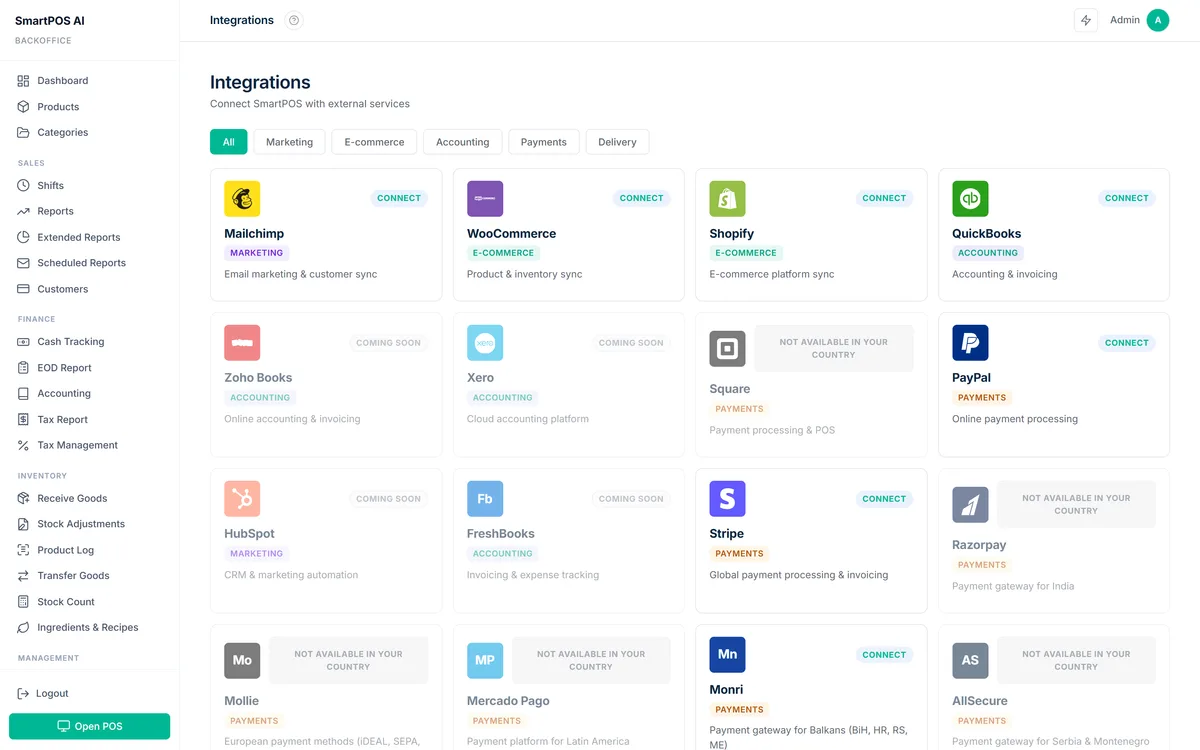
IntegrationsWooCommerce, Shopify, Stripe, PayPal, Mailchimp…
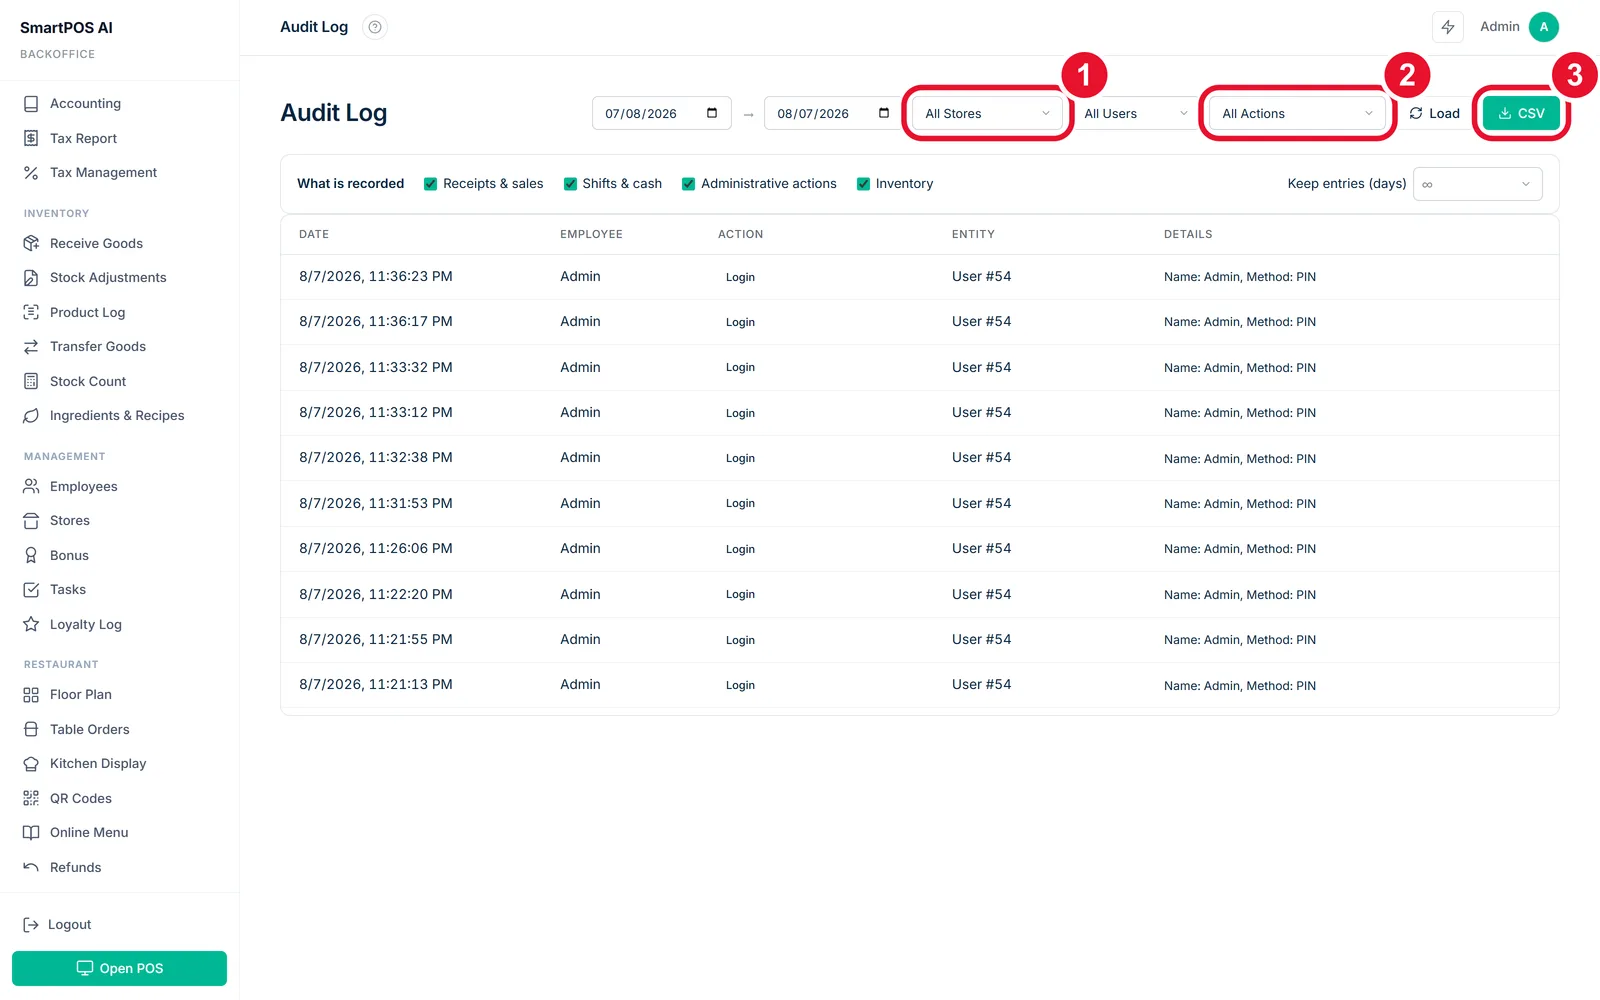
Audit logWho changed what, when — nothing edits silently
Support ticketsYour line to us, with the history kept
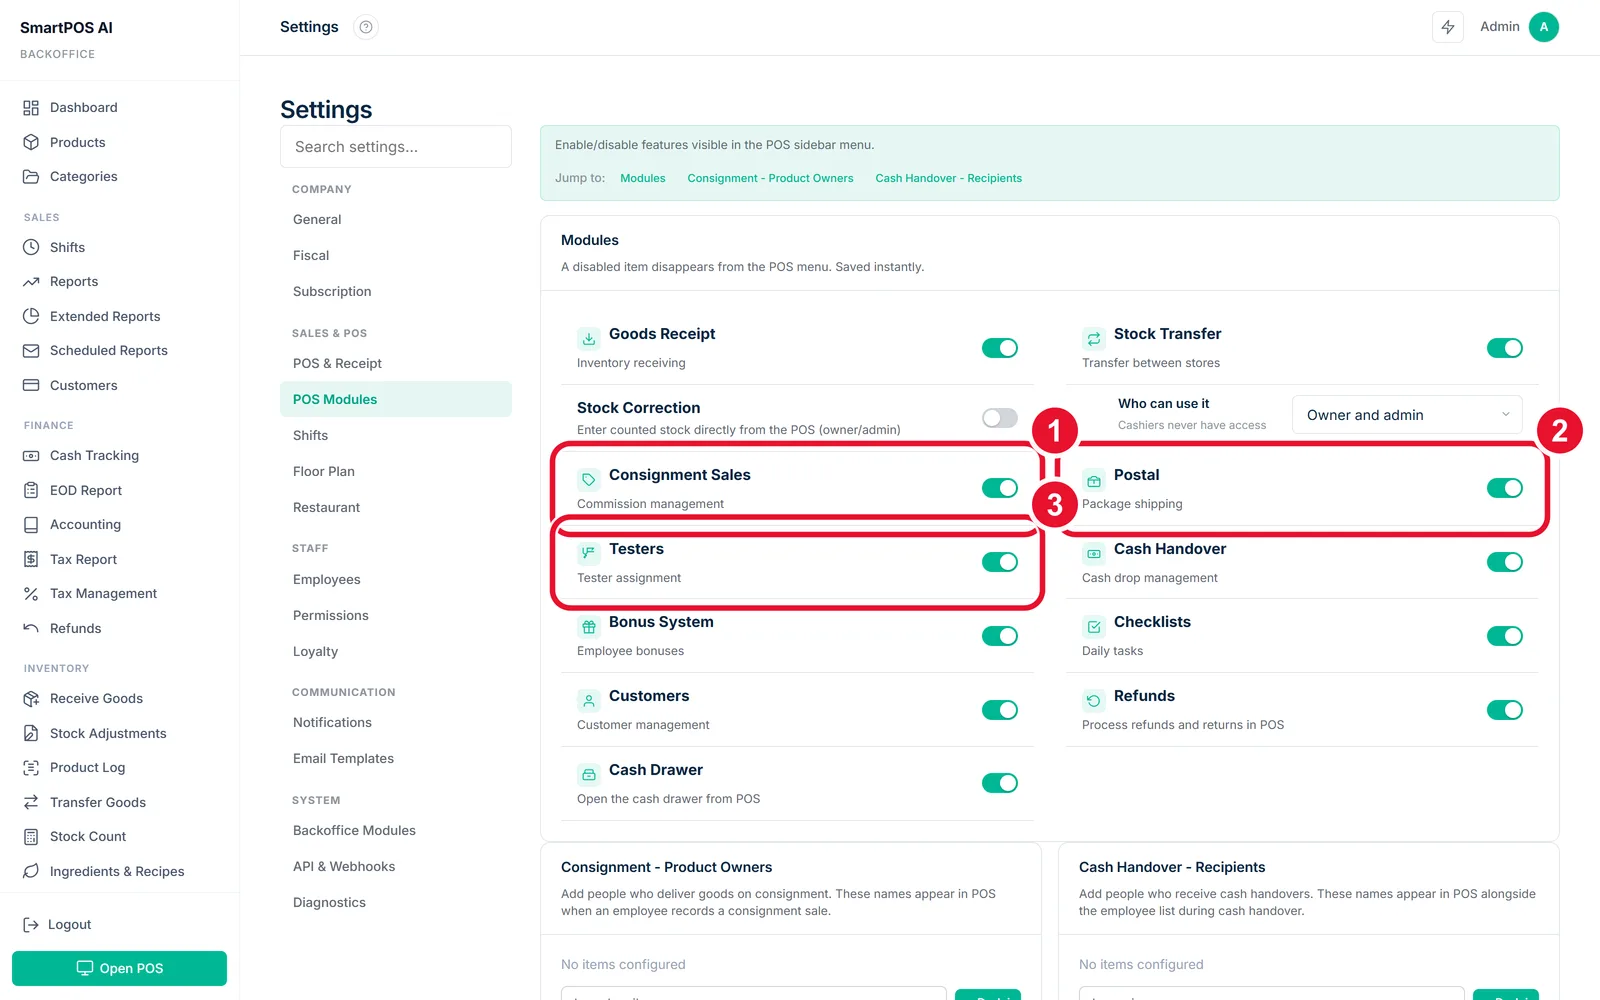
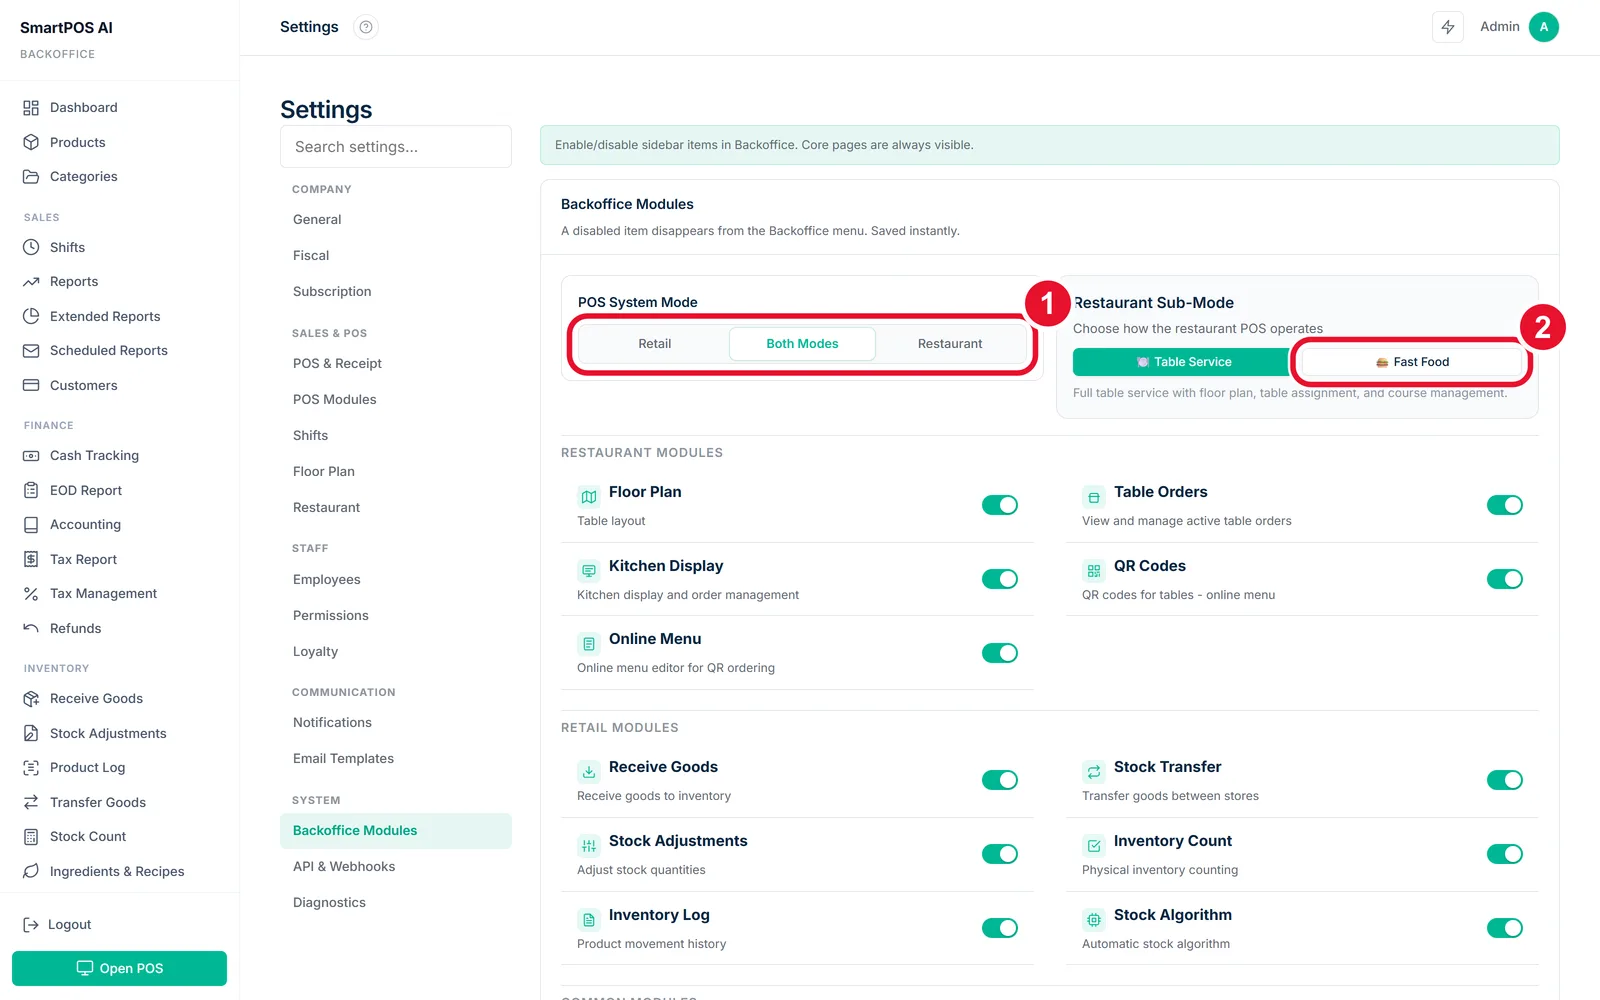
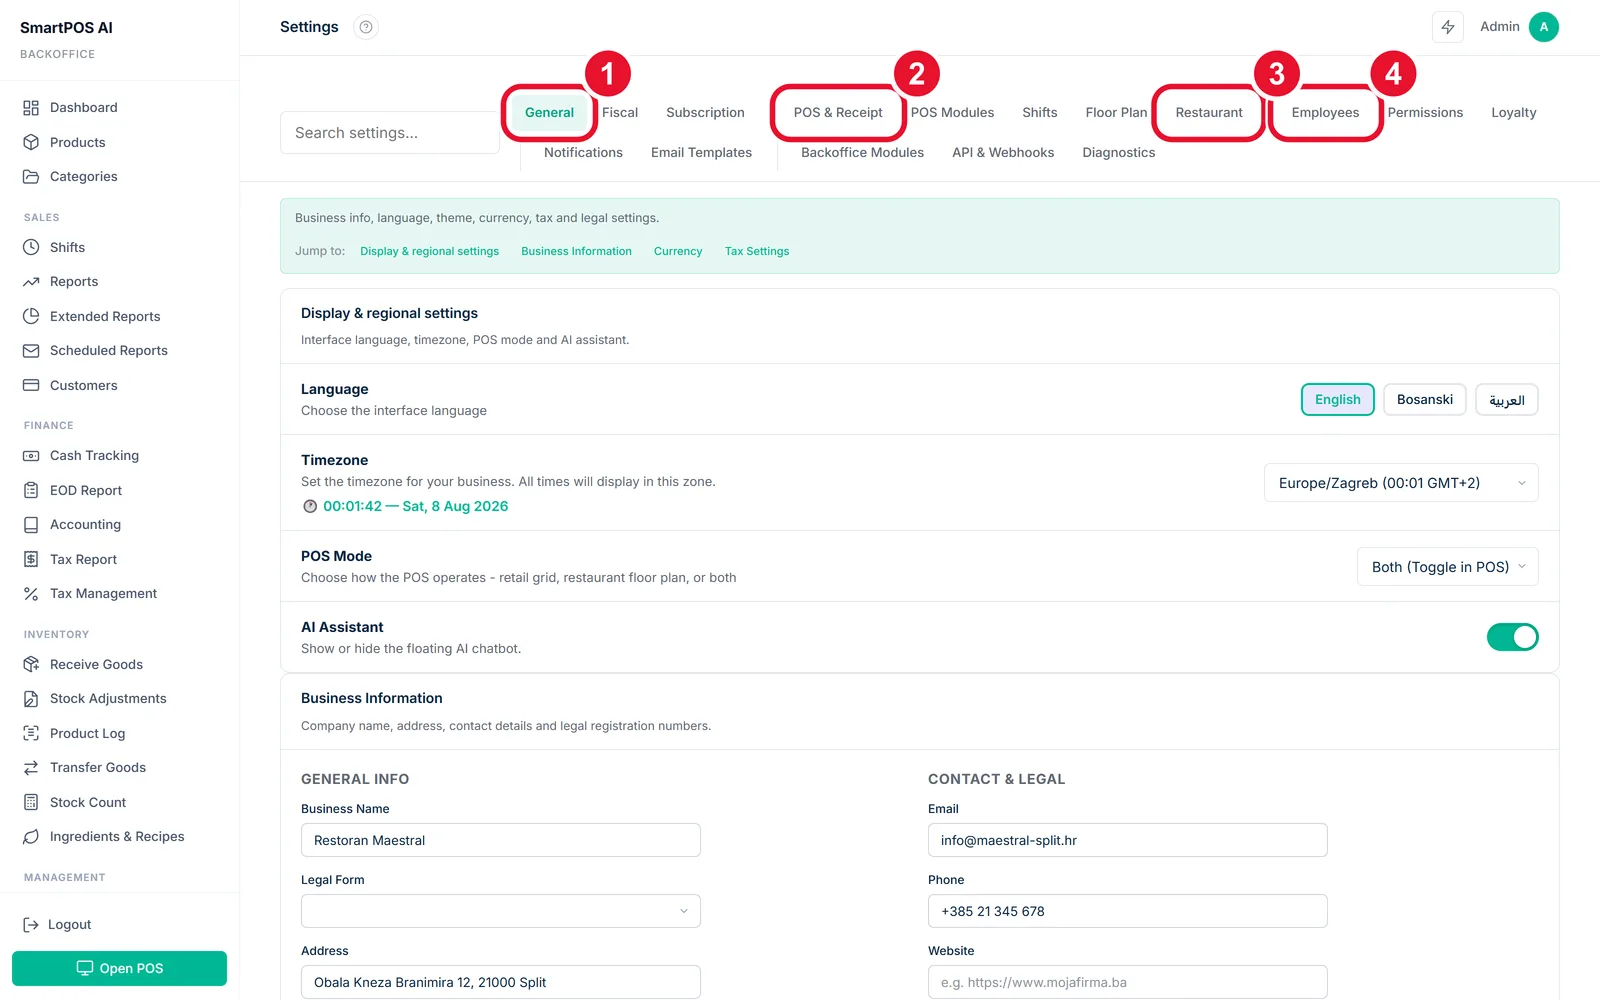
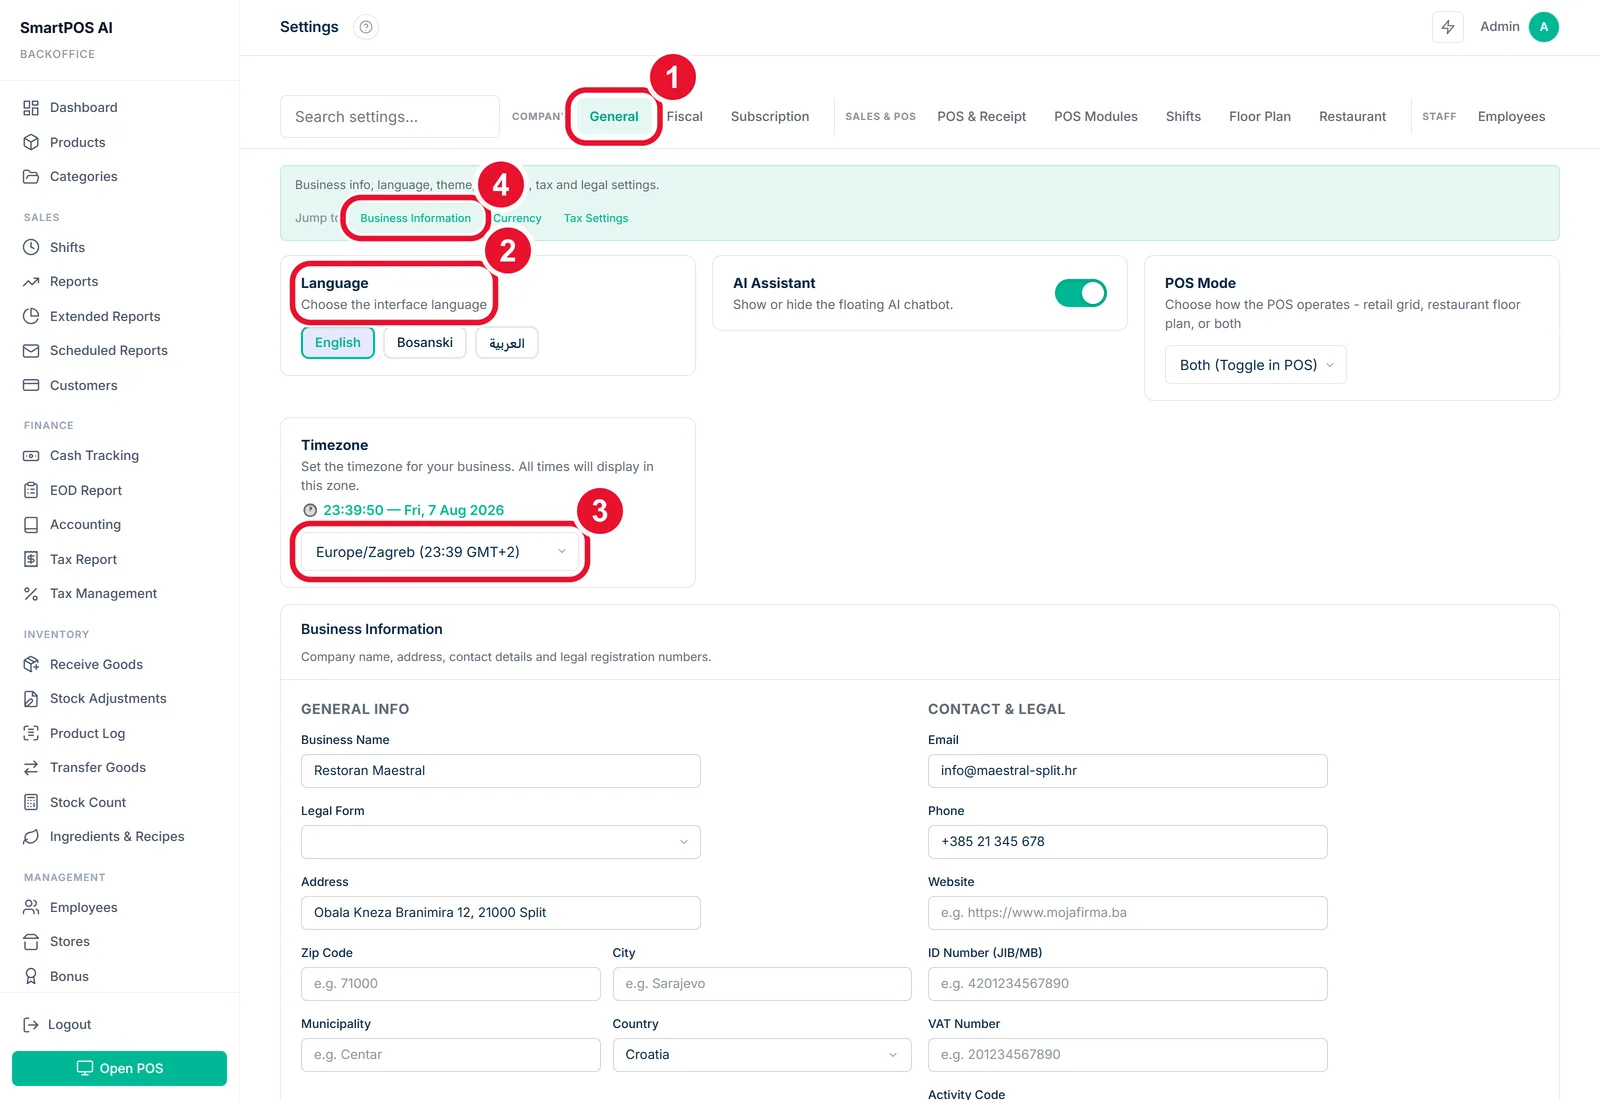
SettingsSixteen tabs — the whole system bends here